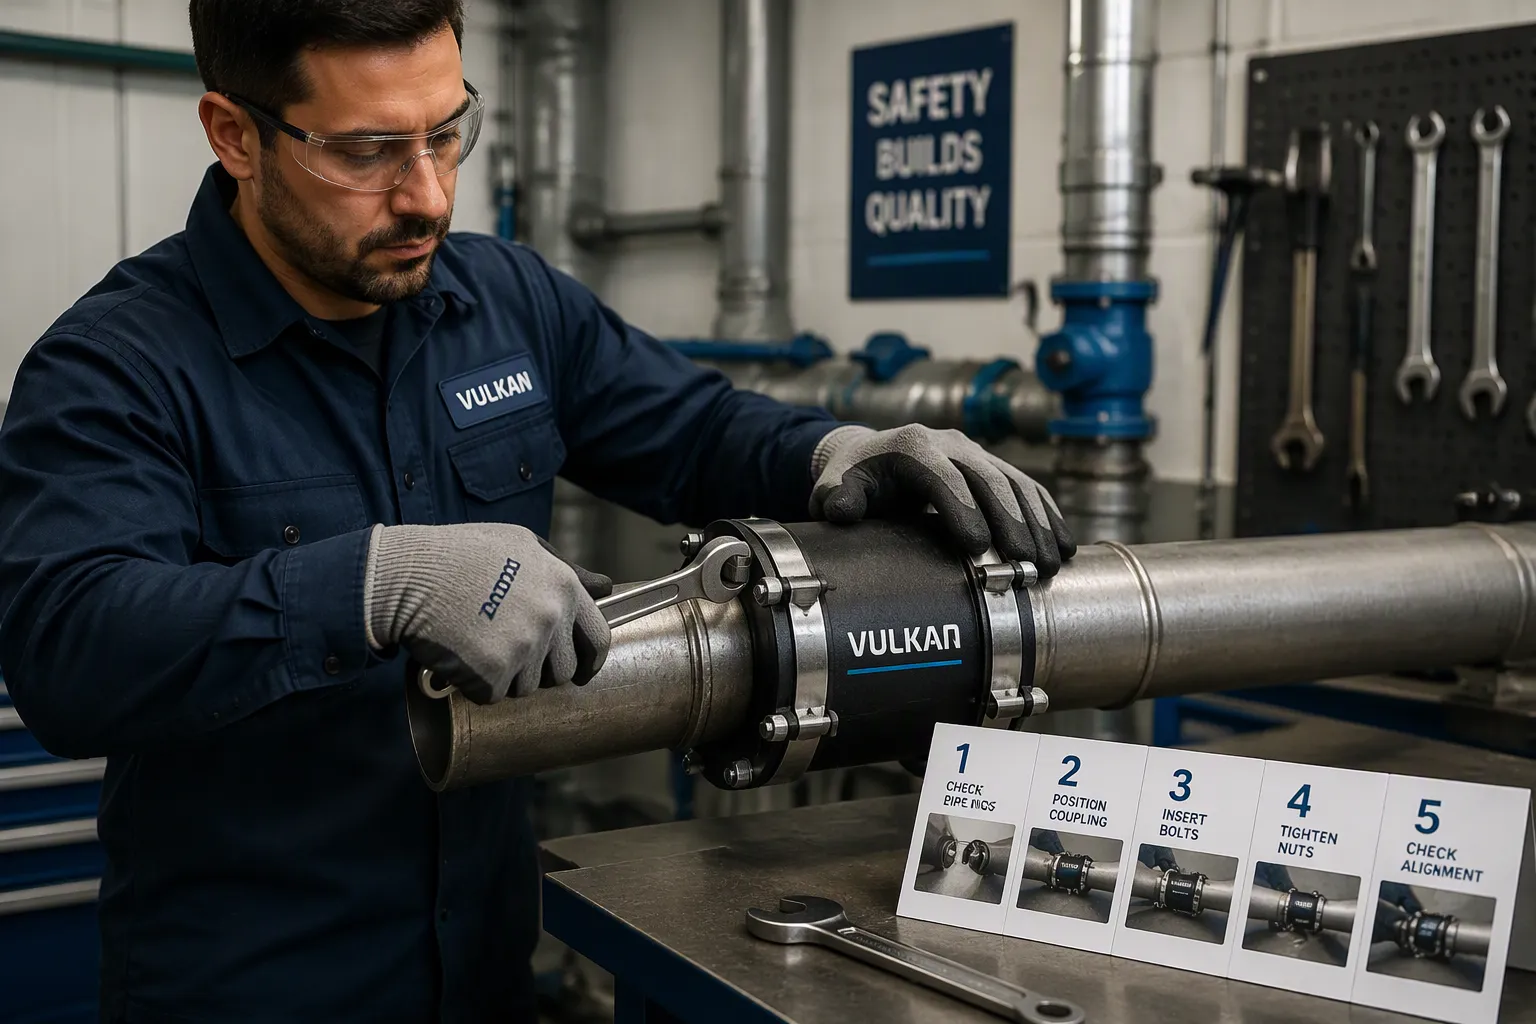
A vulkan coupling joins pipe sections with a flexible connector. This design soaks up vibration and pipes that are not lined up. When you install one correctly, you keep your system safe from stress and early wear.
Bad installation causes leaks, broken joints, and costly damage. You can avoid these problems with careful work and the right method. Quality parts also matter, and YNF Rubber supplies reliable couplings for these tasks.
The process uses basic hand tools. First, gather your materials, prepare the pipe ends, assemble the parts, tighten them, and do a pressure test. Each step builds on the last one. Follow every step closely for a tight, long-lasting connection.
Key Takeaways
Get all your tools and materials ready before you begin. This saves time and helps you avoid getting hurt.
Clean the ends of the pipe well. Remove dirt and burrs to stop leaks.
Put the parts together in the right order. If the order is wrong, the gaskets can get pinched.
Tighten the bolts evenly in a star pattern. If you tighten them too much, you can damage the gasket.
Always pressure test after installation. This shows your work can handle the pressure.
Gather Tools for Vulkan Coupling Installation
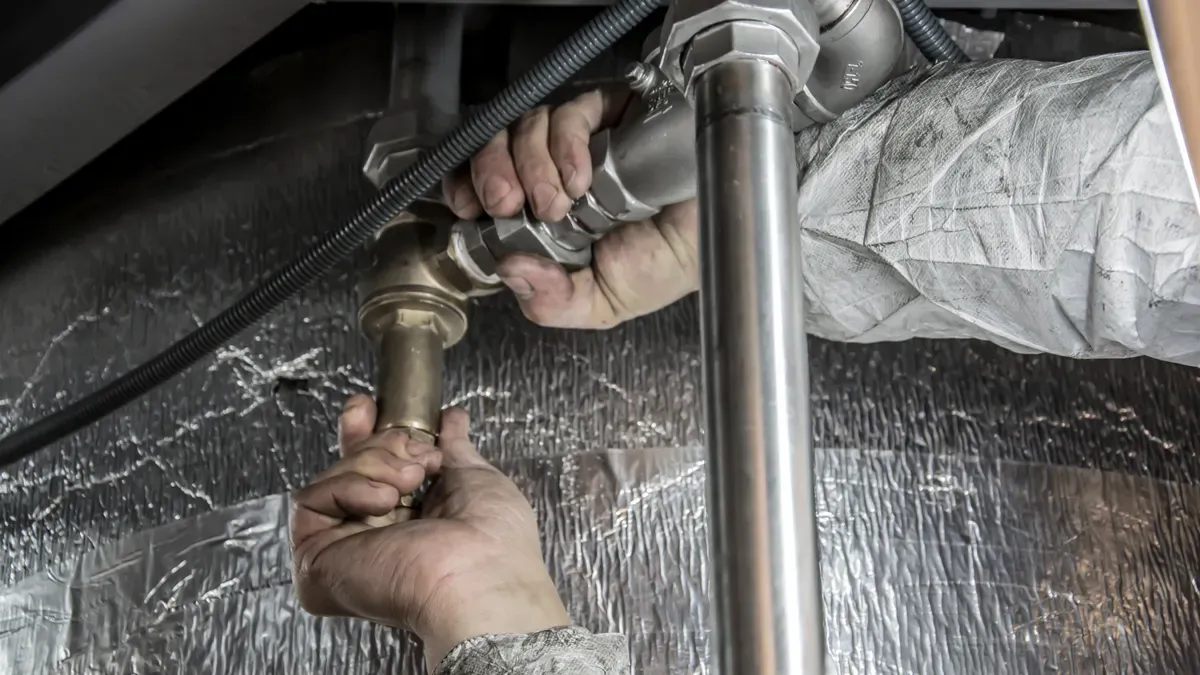
Before you touch any pipes, collect everything you need in one place. A little prep work now saves you trips to the toolbox later. You also protect yourself from injury when you wear the right safety gear.
Essential Hand Tools Needed
You need a pipe cutter or a fine-tooth saw to trim pipes to length. A deburring tool or a half-round file smooths the cut edges. Grab a tape measure and a marker for accurate layout marks. You also need a torque wrench to tighten bolts to the correct specification. A rubber mallet helps seat components without damaging them.
Wear protective gloves and safety glasses whenever you handle solvents or touch sharp metal edges. Solvents can irritate your skin, and burrs can cut deep. These simple precautions keep you safe during the whole job.
Materials From the Coupling Kit
Open your vulkan coupling kit and check that every part is present. You should find the sleeve, the gasket, and the rings. Count the bolts and washers too. Missing pieces stop the job cold, so verify the contents before you start.
You also need a conventional solvent for cleaning. Isopropyl alcohol works well for this task. It removes grease, oil, and dirt from pipe surfaces. Pour some onto a clean lint-free cloth. Do not soak the parts directly.
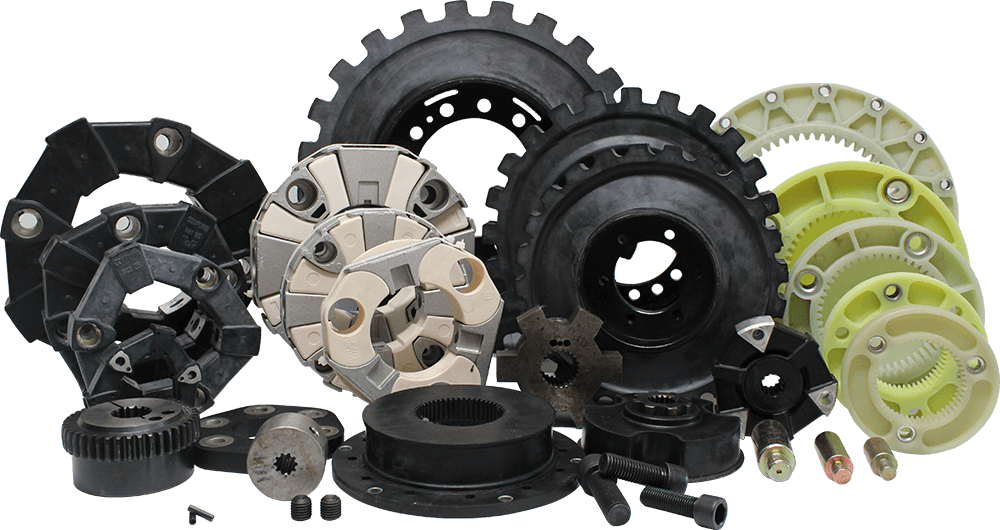
YNF Rubber supplies complete coupling kits with all the components you need. Their kits include the coupling body, gaskets, rings, and fasteners. You get everything in one package, which saves time and prevents mismatched parts. Check the kit label against your pipe size before you begin.
Prepare Pipe Ends for Installation
Clean, smooth pipe ends make the difference between a joint that holds for years and one that drips within weeks. You must remove every trace of grease, dirt, and burrs from the mating surfaces. These contaminants create gaps that let fluid escape under pressure. Take your time here, because a leak-free fit depends on this preparation work.
Cutting and Deburring the Pipes
Measure your pipe length twice before you cut. Mark the cut line clearly with your marker. Use a pipe cutter for metal pipes or a fine-tooth saw for other materials. A square cut matters, because an angled edge will not seat properly against the gasket inside your vulkan coupling.
After cutting, sharp burrs remain on both the inside and outside edges. Run your deburring tool or half-round file around each edge at a slight angle. You want a smooth chamfer, not a razor edge. Test the surface with a gloved finger. It should feel smooth in every direction. Any snag means more filing.
Wipe away all metal shavings when you finish. These tiny particles can lodge in the gasket and cause slow leaks. A clean rag catches most of them. Check the inside of the pipe too, since shavings often fall there during cutting.
Cleaning With Conventional Solvents
Pour isopropyl alcohol onto a clean lint-free cloth. Wipe the outside of each pipe end with firm strokes. The solvent breaks down oil, grease, and fingerprints that your eyes cannot see. Turn the cloth to a fresh side as it picks up dirt.
Let the surfaces air dry completely before you assemble anything. Alcohol evaporates quickly, so this takes only a short time. Do not touch the cleaned areas with bare hands afterward. Your skin carries natural oils that undo your work.
Inspect each pipe end under good light once it dries. Look for remaining film, rust spots, or rough patches. Re-clean any area that still looks or feels dirty. YNF Rubber recommends this careful approach, because their couplings perform best on properly prepared surfaces. A clean, burr-free pipe end gives the gasket a smooth surface to seal against.
Assemble the Vulkan Coupling Components
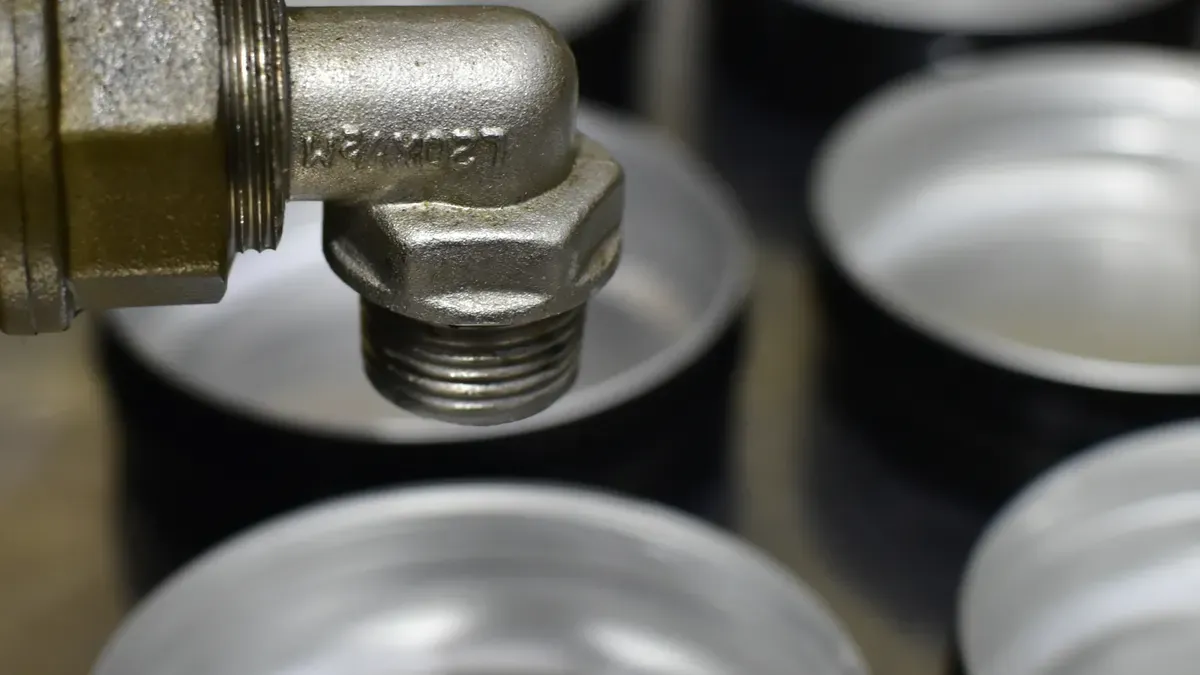
You have clean, dry pipe ends in front of you. Now the parts go together in a set order. Rushing this stage causes pinched gaskets and crooked sleeves. Work on a flat surface with good light, and keep your cleaned pipe ends off the ground.
Correct Order of Rings, Gasket, and Sleeve
Check the installation direction marking on the coupling body before anything else. If the coupling has an arrow, that arrow must point in the flow direction. A reversed coupling still fits, but it will not seal or flex the way the design intends.
Slide the rings onto the pipe ends first. The gasket follows, then the sleeve bridges the gap between the two pipes. For VULASTIK-L couplings, follow the specific assembly sequence printed in the kit. That sequence differs from the standard layout, and the kit instructions override any general guidance.
Lay every part out in order before you slide anything. This simple habit stops you from forcing a ring over a gasket that should sit underneath it. YNF Rubber ships each kit with its own component list, so match the parts to that list as you go. A step-by-step assembly video is also available on the VULKAN website if a printed diagram leaves you guessing.
Sliding the Gasket Over the Pipe End
Lubricate the gasket with the lubricant supplied in the kit, or with clean water if the kit does not include one. Never use oil or grease, because those attack the rubber over time. Push the gasket over the pipe end with steady hand pressure. Twist it slightly as it moves, and stop if it binds.
A gasket that rolls or folds will leak. Pull it back and start again whenever you see a crease. Seat the gasket evenly around the pipe, then check the gap on all sides with your fingers. The gap should feel the same at every point. Once the gasket sits flat and square, you are ready to position the coupling and tighten it.
Position and Tighten the Coupling
Your pipes now carry clean ends and seated gaskets. The next job centers the sleeve and locks everything down. Small errors here twist the coupling out of line. Work slowly and check your progress as you go.
Aligning the Pipes and Centering the Sleeve
Push the two pipe ends together until they meet the gap marked in your kit instructions. Slide the sleeve over the gasket and center it across the joint. The sleeve must cover equal amounts of pipe on both sides. Measure the overhang on each end with your tape measure. Unequal coverage pulls the gasket sideways and opens a leak path.
Check the pipe alignment with a straightedge laid along the top of both pipes. The pipes should form one straight line with no visible step at the joint. A vulkan coupling absorbs some misalignment by design, but you should still remove any offset you can see. Rotate the sleeve slightly by hand to confirm it turns freely. A binding sleeve means the pipes sit crooked or the gasket has rolled.
Applying Proper Torque (No Over-Tightening)
Tighten the bolts evenly in a star pattern. Start with one bolt, then tighten the bolt directly across from it. Move to the next pair and repeat until you have snugged every bolt. This pattern keeps the sleeve square against the pipe ends. A single bolt tightened all the way first will tilt the sleeve and pinch the gasket on one side.
Use your torque wrench and stop at the value printed in the kit instructions. Over-tightening crushes the gasket and cracks the sleeve. Under-tightening leaves the joint loose and prone to vibration damage. If your kit lists no value, tighten until the sleeve seats firmly against the pipe with no movement. YNF Rubber includes torque guidance with every kit, so check the paperwork before you start. Re-check each bolt one final time after the star pattern is complete.
Test the Installation
You have tightened every bolt and checked the alignment. One task remains before you call the job done. A proper test proves your work holds under real conditions. Skip this stage, and a small leak may surprise you weeks later.
Performing a Pressure Test
Fill the system with water or the fluid it will carry. Bring the pressure up slowly to the level your kit instructions or system specification list. A slow rise gives you time to watch for drips at the joint. Never jump straight to full pressure, because a sudden surge can blow a loose connection apart.
Hold the test pressure for the period your specification states. Walk the line and watch the vulkan coupling during this time. Look for weeping at the sleeve edges and around each bolt. A small drop in the gauge reading points to a leak somewhere in the run. Mark any wet spot you find, then release the pressure before you touch a single bolt.
Visual and Tactile Inspection Checks
Run your gloved hand around the entire joint once the pressure is off. You are feeling for gaps, uneven seating, and loose hardware. The sleeve should sit square with equal coverage on both pipes. A sleeve that has shifted sideways tells you the gasket may have rolled during assembly.
Check each bolt with your torque wrench one more time. Bolts often settle after the first pressurization, and a re-check catches that movement. Look at the gasket edges for pinching, cuts, or rubber that squeezed out of place. Any of these signs means you should take the joint apart and start the assembly again. YNF Rubber builds their kits for exactly this kind of careful verification, so trust the checks and redo anything that looks wrong.
You have now completed all five steps: gathering tools, preparing pipes, assembling the vulkan coupling, positioning and tightening, and testing. Each stage protects the next one. A clean pipe end keeps the gasket seated. Even bolt torque keeps the sleeve square.
Always double-check alignment and torque before you finalize the installation. A quick re-check with your straightedge and torque wrench catches small shifts. Fix these now, not after the system runs.
The result is a leak-free connection that will perform safely for years. YNF Rubber supplies kits that support this careful work. Trust your preparation, and the joint will hold.
FAQ
How do I know the correct torque for my coupling bolts?
Check the torque value printed in your kit instructions first. YNF Rubber includes torque guidance with every kit. If your paperwork lists no value, tighten until the sleeve seats firmly against the pipe with no movement. Always use a torque wrench and stop at the stated value.
Can I reuse the gasket after taking the joint apart?
Replace the gasket whenever you disassemble the joint. A used gasket may carry creases, cuts, or compressed spots that you cannot see. These flaws create leak paths under pressure. A fresh gasket costs little and protects the whole connection.
What causes a leak right after installation?
Most leaks trace back to a rolled gasket, uneven bolt torque, or dirty pipe ends. Recheck the gasket seating and the sleeve coverage on both pipes. Verify your star-pattern tightening. Clean any surface that shows grease or burrs, then reassemble.
Should I re-tighten the bolts after the pressure test?
Yes. Bolts often settle after the first pressurization. Release the pressure, then check each bolt with your torque wrench. Bring any loose bolt back to the specified value. This quick re-check keeps your vulkan coupling secure for the long run.
Where can I buy a complete coupling kit?
YNF Rubber supplies complete kits with the coupling body, gaskets, rings, and fasteners in one package. Their kits include the paperwork you need for correct assembly. Match the kit label to your pipe size before you order.