You may feel worried about changing motor mount bushings by yourself, but this job is not as hard as it seems. Many car owners, especially people with a Lexus LS460 from 2007 to 2017, have changed these bushings by following simple steps and using basic tools. Safety is the most important thing. Make sure your engine is safe and check if you have enough space before you start. With some patience and good planning, you can do this project at home.
Key Takeaways
Get the tools you need, like a socket wrench set, car jack, and safety gear, before you start. Getting ready the right way makes the job easier and safer.
Always hold up the engine before you take out any mounts. This step keeps you safe and stops the engine from getting hurt.
When you take out old bushings, use heat or spray to help loosen stuck parts. Take your time so you do not break anything.
Pick the bushings that fit what you want. Polyurethane bushings last longer, but rubber bushings make the ride smoother.
After you put in the new bushings, check the alignment and torque again. This helps stop noise or shaking when you drive.
Tools and Preparation
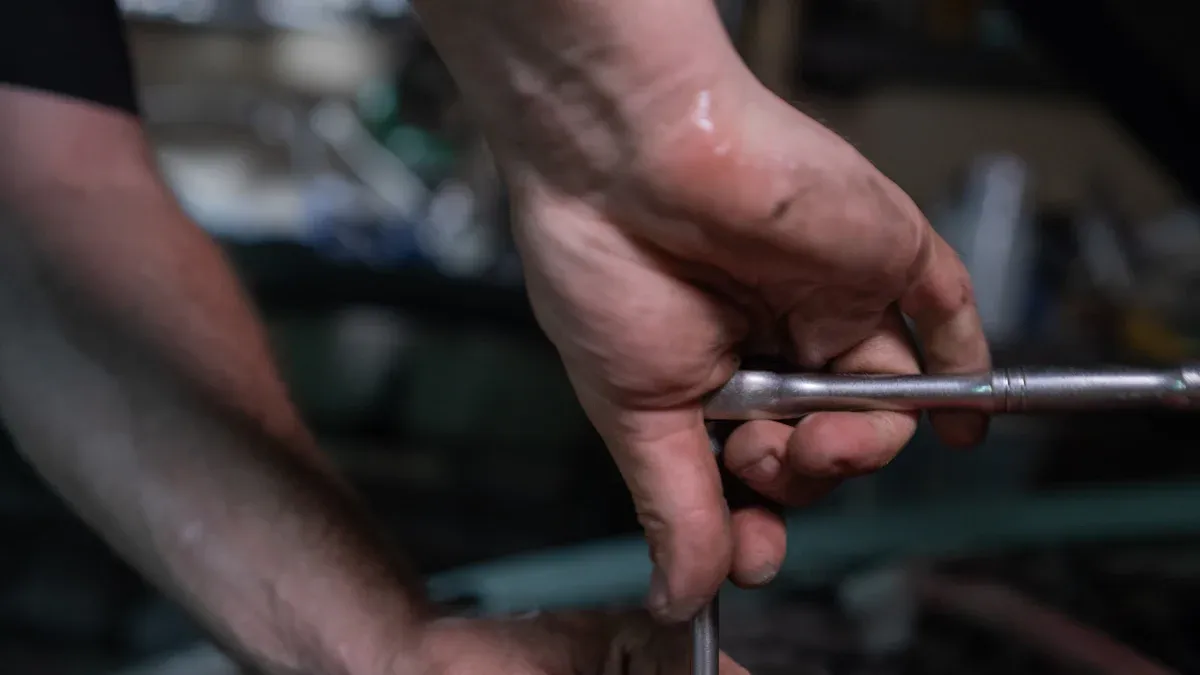
Before you start replacing your motor mount bushings, you need to gather the right tools and set up your workspace. Good preparation makes the job smoother and safer.
Basic Tools
You don’t need a fancy garage to do this job, but you do need some solid tools. Here’s a handy checklist to get you started:
Socket wrench set (for loosening and tightening bolts)
17mm, 5/8, and 3/4 inch wrenches or spanners
17mm, 5/8, and 3/4 inch sockets and ratchet
19mm socket, wrench, or breaker bar
Car jack and jack stands
Quick jack (if you have one)
Blocks of wood (to help support the engine)
Torque wrench (for proper bolt tightening)
Hammer, dead blow, or rubber mallet
Large screwdriver and pry bar
Impact tool (optional, but helpful)
You might spend anywhere from two to seven hours on this project, depending on your experience. If you’re new to this, take your time and don’t rush.
Safety Gear
Safety always comes first. You want to protect yourself while working under your car. Make sure you have:
Protective gloves (to keep your hands safe)
Safety glasses (to shield your eyes from debris)
Tip: Always wear your safety gear, even for quick jobs. It only takes a second for something to go wrong.
Engine Support
You need to support the engine before you remove any mounts. Never let the engine hang loose. Here are some common ways to support the engine and make bushing removal easier:
Method Description | Effectiveness |
|---|---|
Heating the outer shell with a torch | Melts the bushing where it contacts the shell, making removal easier. |
Using a propane heater | Allows for quick heating and removal of the rubber. |
Building a fire pit | Effective for complete bushing removal after prolonged exposure to heat. |
Drilling holes around the perimeter | Helps in pulling out the remaining rubber after heating. |
Cutting collar and using air or hammer | A method to dent and remove the bushing effectively. |
Before you start, check that you have enough clearance under the car. Place the jack and wood blocks under the oil pan or transmission (use a towel or rubber pad to avoid damage). Double-check that the engine is secure before you loosen any bolts. This step keeps you and your car safe.
Remove Motor Mount Bushings
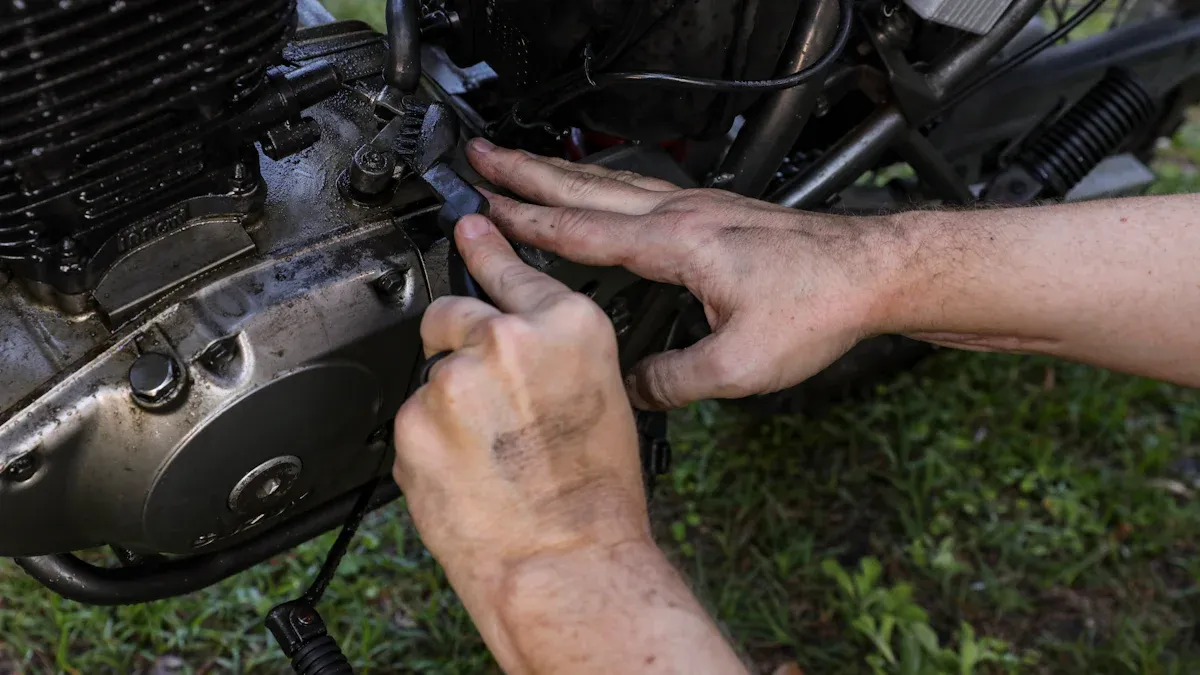
Locate Mounts
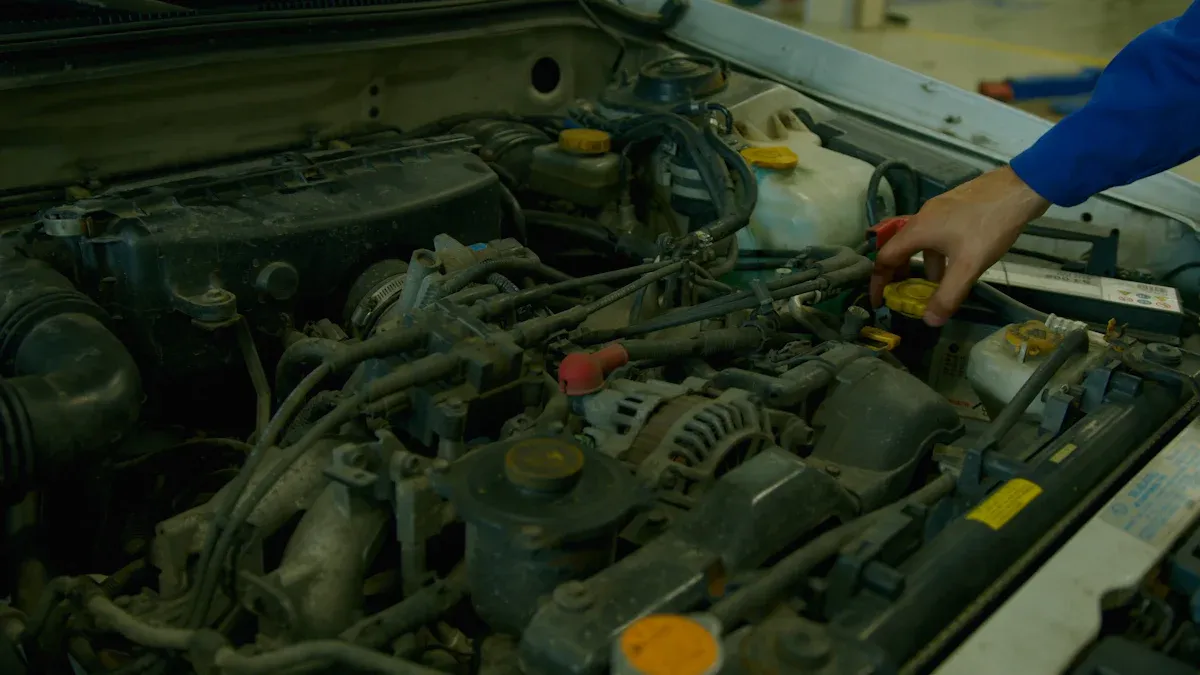
First, you need to find the motor mount bushings in your car. Most cars have these mounts in a few common spots. Check the sides of the engine, the back near the gearbox, and sometimes under the engine. Here’s a quick table to help you know where to look:
Location Type | Description |
|---|---|
Sides of the engine | Engine mounts are typically found on each side of the engine block. |
Back near the gearbox | Some mounts are located at the rear of the engine, close to the gearbox. |
Under the engine | In certain designs, mounts can also be positioned beneath the engine. |
You might need to remove some covers or shields to see the mounts. Take your time and use a flashlight if it’s dark under the car. If you get stuck, search for a DIY video for your car model. These videos can show you exactly where the mounts are and what they look like.
Loosen Bolts
Once you spot the mounts, you need to loosen the bolts that hold them in place. Always double-check that the engine is supported before you start. Use your socket wrench or breaker bar. Most bolts loosen by turning them counter-clockwise. Remember the saying, “lefty loosey.” This works for many cars, including models like the Lexus ES300 from the late 1990s and early 2000s.
Tip: If a bolt feels stuck, don’t force it. Try spraying a penetrant like Kroil or CRC Freeze-Off. Let it soak for a few minutes. If it still won’t budge, you can apply heat to the bolt or the area around it. Sometimes, rocking the bolt back and forth—tighten a little, then loosen—can help break it free. If nothing works, you might need to make a relief cut or even drill through the bolt, but that’s usually a last resort.
Take care not to strip the bolt heads. Use the right size socket and keep steady pressure. If you feel resistance, stop and check your setup.
Remove Old Bushings
With the bolts out, you can now remove the old motor mount bushings. Sometimes, the bushings slide out easily. Other times, they get stuck because of rust or age. Here’s a simple list of ways to handle stubborn bushings:
Apply heat to the bushing or the metal around it. This can help break the bond.
Use a penetrant spray to loosen up rusted parts.
If the bushing still won’t move, make a relief cut in the rubber or metal shell.
Try rocking the bushing back and forth to loosen it.
As a last step, drill through the center to weaken the bushing and make removal easier.
Note: Watching a DIY video for your specific car can help a lot. You’ll see exactly how the bushings come out and what tools work best.
Once you get the old bushings out, clean the area before you install the new bushings. This helps everything fit better and last longer.
Install Motor Mount Bushings
Now that you’ve removed the old motor mount bushings, you’re ready to put in the new ones. This part takes a little patience, but you can do it with the right steps and tools.
Compare Bushings
Before you start installing bushings, take a close look at your replacements. You want to make sure they match the size and shape of the originals. Many drivers choose polyurethane bushings because they last longer and handle tough conditions better than rubber. If you want a smoother ride, OEM rubber bushings absorb more vibration. If you want better performance and durability, aftermarket bushings made from polyurethane or metal transfer more power to the wheels, but you might feel more vibration in the cabin.
Here’s a quick comparison to help you decide:
Advantage | Polyurethane | Rubber |
|---|---|---|
Durability | Superior durability | Prone to cracking and degradation |
Wear Resistance | Excellent wear resistance | Limited wear resistance |
Performance Under Extreme Conditions | Performs well in extreme temperatures | Hardens in cold, softens in heat |
Chemical Resistance | Resistant to chemicals and UV light | Degrades with chemical exposure |
Load-Bearing Capacity | Higher load-bearing capacity | Lower load-bearing capacity |
Tip: Polyurethane bushings last much longer and resist chemicals, UV light, and oils. Rubber bushings may need more frequent replacements.
If you want reliable motor mount bushings, consider YNF Rubber. They offer quality bushings that fit most vehicles and provide good durability.
Pressing Motor Mount Bushings
You need to press the new bushings into the mount. You can use a large vice or a press for this job. Here’s how you do it:
Gather your tools: a vice or press, a piece of wood, and WD40 for lubrication.
Place the bushing in the vice with the wood on each side. The wood helps spread the pressure and keeps the bushing from getting damaged.
Spray WD40 on the mount insert. This makes it easier to slide the bushing in.
Slowly close the vice. Watch to make sure the bushing goes in straight. If one side sticks out, use a flat screwdriver to help it along.
Flip the mount and repeat for the other side.
Check the fit before you press it all the way through.
Note: Pressing motor mount bushings takes a little muscle. Go slow and steady. If you rush, you might damage the bushing or the mount.
Insert Center Pin
After you press in the new bushings, you need to insert the center pin. Hold the pin straight and close the vice until it slides into place. Make sure the pin sits in the middle and doesn’t tilt. This step is important for proper alignment.
Here are some tips to help you get the fit just right:
Measure the original mount height before you start. This helps you match the new setup.
Check alignment before and after installing bushings.
Use feeler gauges if you want to be extra precise.
Common Mistake | Description |
|---|---|
Wrong Accessory Choice | Using the wrong parts can make your motor unstable and increase vibrations. |
Poor Alignment | Rushing alignment can cause noise, wear, and even equipment failure. |
Ignoring Vibration Control | Skipping vibration checks can lead to early motor failure and damage. |
Alert: Always double-check alignment and fitment. If you skip this, you might hear strange noises or feel extra vibration when you drive.
Once you finish, look over your work. Make sure everything lines up and feels solid. You’re almost done!
Final Checks
Reinstall Mounts
You’re almost done! Now, you need to reinstall the motor mounts. Line up each mount with its bracket and slide the bolts through. Make sure the mounts sit flush against the frame. If you see any gaps or shiny metal on the crossmember, that’s a sign something isn’t right. Double-check the large bolt in the rear mount for movement or rust. Some mounts use hydraulic dampening, so if you swapped for a cheaper alternative, keep an eye out for early wear.
Tip: Always inspect for oil leaks around the mounts. Oil can speed up wear and cause the bushings to fail sooner.
Torque and Alignment
Getting the torque right is key. If you over-tighten or under-tighten, you risk damaging the motor mount bushings or causing misalignment. Use a torque wrench and follow the specs for your car. Here’s a quick table for reference:
Bolt Size | Torque Specification (ft-lbs) | Torque Specification (Nm) |
|---|---|---|
Top nut | 70 | 95 |
Bottom nuts | 64 | 87 |
After tightening, check the alignment. Here’s a simple checklist:
Inspect all mounts and bolts for damage or rust.
Make sure there are no flexible inserts between couplings.
Look at the flange faces for any marks or dents.
Use a feeler gauge to check for gaps between coupling faces.
Adjust the mounts if you find uneven compression.
Alert: Misalignment or wrong torque can lead to noise, vibration, or even early failure of your new bushings.
Test Drive
Time for the fun part—a test drive! Start with a visual inspection. Look for cracks, tears, or loose rubber around the mounts. Make sure all bolts are tight. When you drive, listen for odd noises like thuds or clunks. Pay attention to how the engine feels during acceleration and braking. If you notice extra vibration in the steering wheel or body, stop and check the mounts again.
Here’s a quick test drive checklist:
Watch for visible damage or leaks.
Listen for squeaks or clunks.
Feel for vibrations or movement when shifting gears.
Check for gaps in the bushings after your drive.
If you spot any issues, don’t ignore them. Sometimes, squeaking isn’t from the mounts but from something like a broken balance shaft. Heat from the exhaust can also crack rubber mounts, so make sure they’re insulated. Regular checks help your motor mount bushings last longer.
You can change motor mount bushings at home if you are careful and have the right tools. Take your time and always wear safety gear. Check your work more than once to stay safe. If you need help, look online for advice from other people. Many people talk about easy ways to hold up the engine, like using jack stands or an engine hoist. Some say you can lift the motor by putting a jack under the oil pan.
Fixing your own car is also good for the earth:
Benefit Description | Impact on Environment |
|---|---|
Using recycled or remanufactured auto parts | Makes less trash and saves resources |
Choosing eco-friendly alternatives | Lowers pollution and keeps water clean |
Keeping your car in good shape | Cuts down on emissions and saves gas |
Picking high-quality parts | Means you throw away fewer broken parts |
Try more DIY car jobs later. You might find out you can do more than you think!
FAQ
How do I know if my motor mount bushings need replacing?
You might hear clunks or feel extra vibration when you drive. If you see cracks or worn rubber on the mounts, it’s time to change them. A quick visual check helps you spot problems early.
Can I replace motor mount bushings without special tools?
You can do most of the job with basic tools like a socket set, jack, and vice. A press makes things easier, but you don’t need fancy equipment. Take your time and use what you have.
What type of bushings should I use for my car?
Polyurethane bushings last longer and handle tough conditions. Rubber bushings give a smoother ride. If you want reliable bushings, you should choose YNF Rubber. They offer quality parts for many vehicles.
Is it safe to drive with worn motor mount bushings?
Driving with worn bushings can cause more vibration and damage other parts. You might hear strange noises or feel shaking. It’s best to fix them soon to keep your car safe.
