You can get good results and stop leaks by using best practices for seal kit installation. Good hydraulic seals, like ones from YNF, give you strong and leak-free connections. These seals can handle high pressure and shaking. Their tight design keeps your system safe and working well in hard places. Clean work areas and the right tools keep new seals safe from dirt or harm. Checking seals often and training workers helps you find problems early and make equipment last longer.
Key Takeaways
Pick the right seal material for your hydraulic system. Materials like Nitrile, Polyurethane, Fluorocarbon, and PTFE work for different jobs.
Check seals before you put them in. Look for any damage, wear, or dirt. This helps stop leaks and makes seals last longer.
Keep everything clean when you install seals. Use cloths that do not leave lint and use clean tools. Dirt can hurt seals if it gets in.
Put on the right lubricant and spread it evenly. This helps seals fit well and lowers friction. It also helps seals last longer.
Check your seals often, every 500 to 1000 hours. Finding problems early saves money and keeps your equipment working well.
Selecting Seal Kit
Material & Type
Picking the right seal material and type matters for your hydraulic system. YNF has many hydraulic seals made from strong materials like Nitrile (NBR), Polyurethane (PU), Fluorocarbon (FKM), and PTFE. Each material is good for different jobs:
Nitrile (NBR): Handles oils well and works at medium temperatures.
Polyurethane (PU): Stands up to wear and is great for high-pressure work.
Fluorocarbon (FKM): Resists heat and chemicals, stays bendy when it’s hot.
PTFE: Slides easily, works in many temperatures, and fights chemicals.
The material you pick changes how seals deal with heat, pressure, and fluids. For hot places, FKM seals last longer. PU is tough for high-pressure jobs. PTFE is best if you need chemical resistance and smooth movement.
YNF’s Excavator Seal Kit Selection Guide helps you find the right material and seal type for your machine and job. This guide makes picking the best seal kit easier.
Size & Compatibility
Getting the right size and making sure seals fit is very important. If you use the wrong size, oil can leak, dirt can get in, or pressure can drop. Seals that don’t match can get bigger, smaller, or break from chemicals.
To pick the right kit, do these steps:
Find out which hydraulic part you need, like a cylinder or pump.
Look at the part number to see if it fits your machine.
Measure the seal’s size, like shaft diameter, bore diameter, and width.
Check the system’s pressure to make sure the seals can handle it.
Try fitting the seals before you finish putting them in.
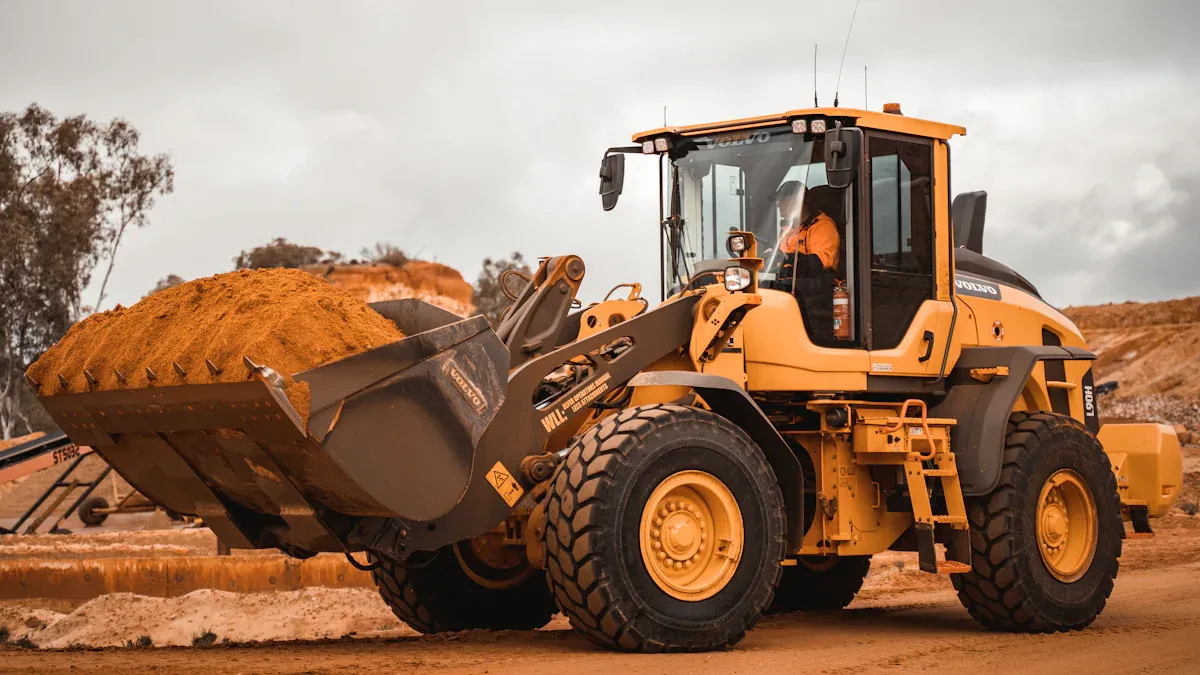
YNF gives you seal kits for big brands like Komatsu, Caterpillar, and Hitachi. You can count on YNF to give you kits that fit your equipment and keep your hydraulic system working well.
Pre-Installation Checks
Inspect Seals
Before you start, always check each seal in your kit. Look for any signs of damage, like scratches, cuts, or cracks. Even small flaws can cause leaks or early failure. You should also check for thinning or worn spots. If you see any of these problems, do not use the seal. Damaged seals can let oil leak out or let dirt get in. This can harm your hydraulic system and shorten its life.
Tip: Hold each seal up to the light. This helps you spot tiny cracks or cuts that are hard to see.
Here is a quick checklist for inspecting seals:
Check Type | What to Look For |
|---|---|
Leakage | Signs of oil or fluid on the seal |
Wear & Tear | Thinning, cracking, or rough surfaces |
Damage | Cuts, tears, or missing pieces |
Contamination | Dirt or debris stuck to the seal surface |
Check Surfaces
Next, check the surfaces where you will install the seals. A smooth surface helps the seal work better and last longer. Scratches, dents, or rough spots can create leak paths and wear out the seal faster. Always run your finger along the cylinder rod or bore. If you feel any bumps or sharp edges, fix them before you install the new seal.
A smooth finish means less friction and better sealing.
Scratches or imperfections can cause leaks and early seal failure.
The life of a wiper seal depends on the rod’s surface finish.
Note: Lower surface roughness usually means better seal performance.
Remove Contamination
Cleanliness is key for a good seal installation. Dust, dirt, or metal shavings can damage seals or cause leaks. Always keep your work area clean. Do not unpack the seal until you are ready to install it. Wash your hands and use clean tissue paper on your workbench. Avoid touching the sealing faces with your fingers. Clean all parts with a soft tissue and an approved solvent before assembly.
Follow these steps to remove contamination:
Wait to open the seal package until you are ready to use it.
Wash your hands before handling seals.
Use clean tissue or cloth on your work area.
Clean all surfaces with a soft tissue and solvent.
Never set seals down on their sealing face.
By following these checks, you help your YNF hydraulic seals work their best and last longer in tough conditions.
Cleaning & Preparation
Clean Components
You need to start with clean hydraulic parts before installing new seals. Dirt, dust, or old oil can damage seals and cause leaks. Use lint-free cloths to wipe down every component. These cloths do not leave fibers behind, so your seals stay clean. Always use clean tools for installation. Dirty tools can bring in dust or small particles that harm the seal.
Here is a quick guide to cleaning techniques:
Cleaning Technique | Description |
|---|---|
Lint-free cloths | Use to prep and clean seals before installation. |
Clean installation tools | Remove excess dust and solid particles to prevent leaks. |
You should also clean and treat the inside of tubes, hoses, and other system parts. Many experts use hot oil flushing to reach the right cleanliness level. After cleaning, check that you have removed all dirt and oil. This step helps your YNF hydraulic seals last longer and work better.
Tip: Chemically clean and treat all internal surfaces. Hot oil flushing can help you reach the target cleanliness level. Always inspect and verify that you have achieved the right level of cleanliness.
Prepare Surfaces
Proper surface preparation makes a big difference in how long your seals last. Smooth, clean, and well-aligned surfaces help seals work better and prevent leaks. You should check the cylinder head groove and piston steps before you start. Make sure there are no sharp edges or burrs. These can cut or damage the seal during installation.
Check the groove surface for sharp angles or burrs.
Make sure the groove size and shape match the seal’s needs.
Confirm that all surfaces meet the required geometric standards.
Proper surface preparation directly affects seal performance and life. Clean, smooth surfaces help seals fit tightly and move smoothly. This lowers the risk of leaks and extends the service life of your YNF hydraulic seals. When you take time to prepare, you protect your equipment and keep your hydraulic system running strong.
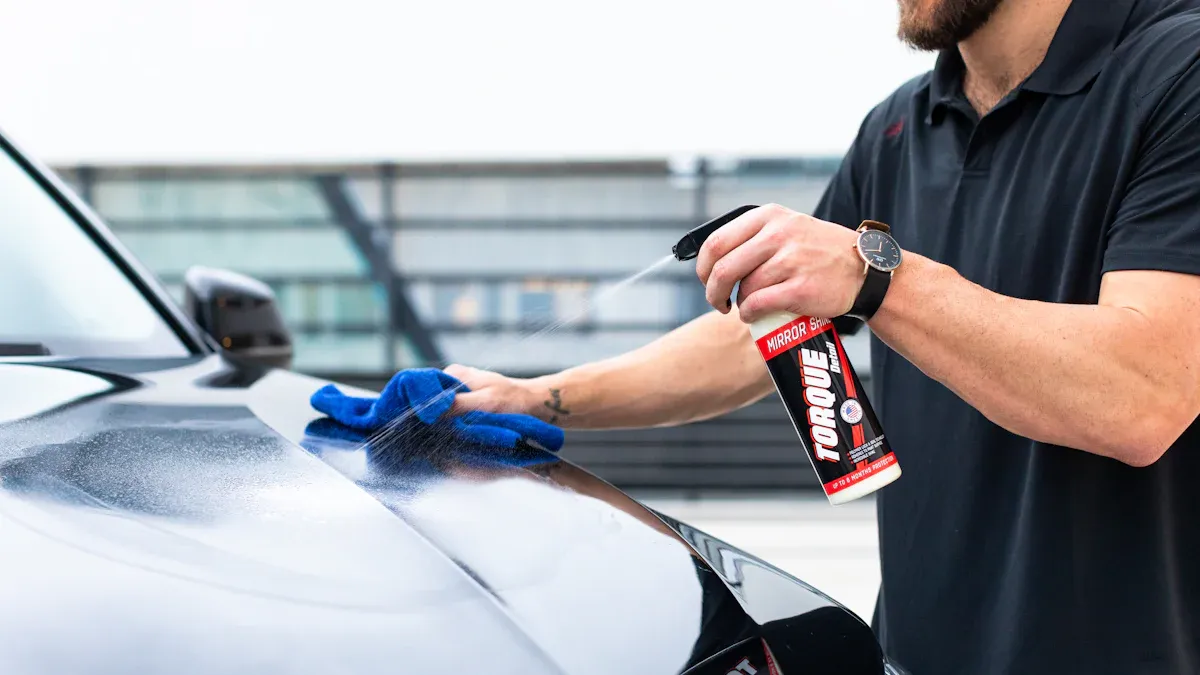
Lubrication
Choose Lubricant
You need to pick the right lubricant before you start seal kit installation. The right lubricant helps the seal slide into place without damage. It also protects the seal from heat and friction during the first use. Always check that the lubricant matches the seal material. Some lubricants can harm certain types of seals, so you must choose carefully.
Here are some lubricants that work well for hydraulic seal installation:
Petroleum-based lubricants help most seals slide smoothly.
Silicone grease or oil works well for many rubber seals.
Barium grease gives extra protection in tough jobs.
Fluorocarbon fluid fits high-temperature or chemical-heavy systems.
Pro Tip: Always match the lubricant to the seal material. This step prevents swelling or softening of the seal.
Apply Evenly
You must spread the lubricant evenly on the seal and the surface where you will install it. Even coverage helps the seal fit right and prevents damage. If you miss spots or use too much in one area, you can face problems later.
Risks of uneven lubricant application include:
Improper sealing, which can cause leaks.
Extra wear on one part of the seal, leading to early failure.
High friction and heat, which can break down the seal.
Uneven wear on the seal lip, showing poor installation.
The seal may twist or roll, making it work poorly.
Use a clean, lint-free cloth or your gloved finger to apply a thin, even layer. Take your time and check your work. Good lubrication makes seal kit installation smoother and helps your YNF hydraulic seals last longer.
Seal Kit Installation
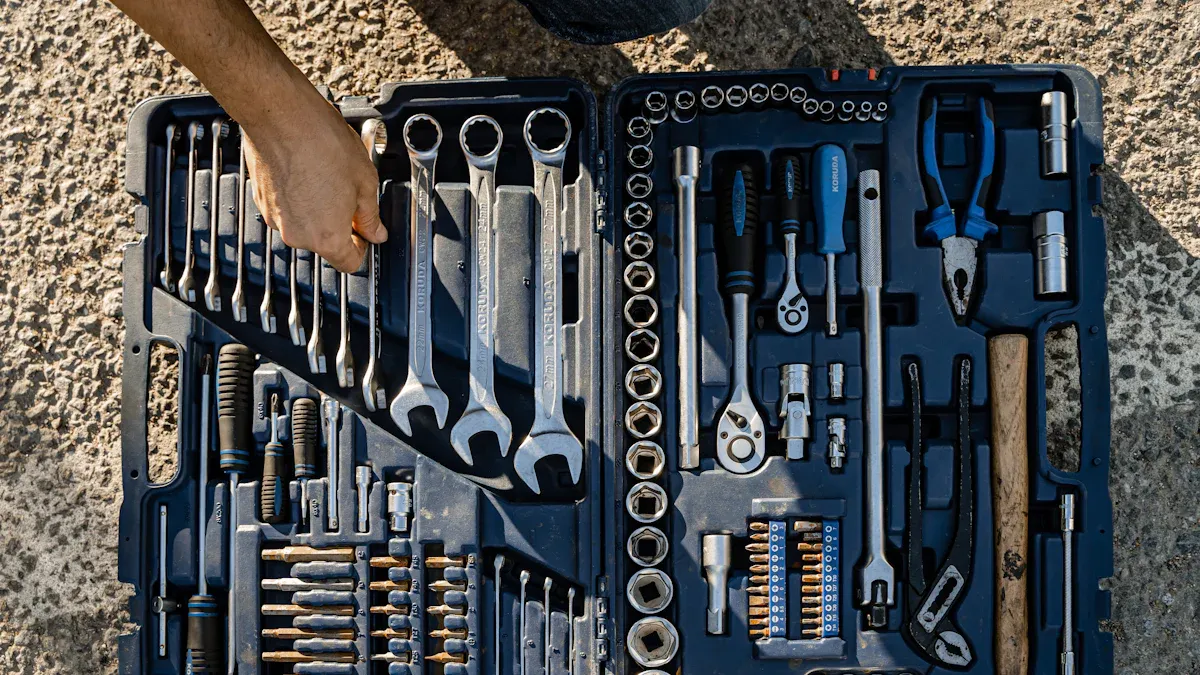
Use Proper Tools
You need the right tools for seal kit installation. Specialized tools help you avoid damage and make the process smoother. Using the wrong tool can scratch or pinch the seal, which leads to leaks. Always choose tools designed for hydraulic seals. These tools help you place seals correctly and keep them in good shape.
Here is a table of recommended tools for seal kit installation:
Tool Name | Description |
|---|---|
Hydraulic Seal Installation Tool | Helps you install cylinder seals and align O-rings to prevent leakage. |
Kit King – Rod Seal Install Tool Set | A 6-piece set for rod seals from 0.7-inch to 6.5-inch. |
Autowanderer Tool Set | Makes installing different cylinder seals quick and easy. |
Sixcow Hydraulic Seal Tools | Offers many sizes for flexible rod seal installation. |
VEHIFOMO Hydraulic Seal Tools | Includes three sizes for various rod seal jobs, improving efficiency. |
Shenkenuo 3PC Tool Kit | Designed for both technicians and DIY users for efficient installation. |
Tip: Always inspect your tools before use. Clean tools help prevent contamination during seal kit installation.
Align & Seat Seals
You must align and seat each seal with care. Proper alignment keeps the seal from twisting or getting pinched. If you do not align the seal, it can wear out fast or start leaking. Make sure the surfaces are clean and flat before you begin. Place the seal gently into its groove. Press it down evenly so it sits flat.
Proper alignment and seating of seals are essential in hydraulic systems to prevent leaks. Misalignment can cause extra stress on seals, which leads to early wear and possible failure. When you keep components clean, flat, and aligned during assembly, you help the seal last longer and work better under pressure. Regular checks help you spot any misalignment or wear that could hurt sealing.
Note: Most seal failures come from poor alignment, using the wrong tools, or not keeping things clean during seal kit installation.
Apply Even Pressure
You need to apply even pressure when installing seals. This step helps the seal fit tightly and prevents damage. If you press too hard on one side, the seal can twist or tear. Uneven pressure can also cause leaks or make the seal wear out faster.
Follow these best practices for applying even pressure:
Clean all parts and tools before starting.
Inspect each seal for damage.
Use the tools provided by the manufacturer to avoid over-tightening.
Tighten bolts or fittings in a criss-cross pattern to keep pressure even.
Check alignment with a dial indicator if possible.
If you do not apply even pressure, you may face problems such as:
Misalignment, which causes uneven wear and leaks.
Damage to the seal from cuts or pinching.
More heat from friction, which breaks down the seal.
Loss of seal integrity, leading to leaks.
YNF’s technical data and installation instructions recommend these steps for the best results:
Choose the correct O-ring size and material for your job.
Start threading connections by hand to avoid cross-threading.
Follow the torque specifications from the manufacturer to prevent over-tightening.
Keep everything clean to avoid contamination.
Use only undamaged fittings and check for wear or corrosion.
Lubricate with a product that matches the seal material.
Test the system under pressure after installation.
Always follow the manufacturer’s best practice guidelines.
Pro Tip: Take your time during seal kit installation. Precision and care help you avoid leaks and extend the life of your hydraulic system.
Inspection & Testing
Visual Check
After you finish seal kit installation, you need to check your work. Start with a careful look at each seal. This helps you spot problems before they cause leaks or damage. Use these steps to guide your inspection:
Inspection Step | Description |
|---|---|
Markings Check | Confirm “IN”/”OUT” labels or arrows on the seal housing. |
Visual Lip Inspection | Check the direction of the primary and secondary lips. |
Spring Position | Make sure the spring lines up with the sealing lip. |
You should also look at the outer surface of each oil seal. Watch for cracks, cuts, or tears in the rubber. These signs mean the seal might not work well. If you see any damage, replace the seal before you move on.
Look for any marks or labels on the seal.
Check for cracks or cuts in the material.
Make sure the spring sits in the right place.
Tip: Good lighting helps you see small problems that are easy to miss.
Leak Test
Once you finish the visual check, you need to test for leaks. This step shows if the seal kit installation worked. Start the hydraulic system and watch for any oil or fluid escaping. Use a clean cloth to wipe around the seals. If you see any wet spots, you may have a leak.
You can also use a pressure test. Slowly raise the system pressure to its normal level. Watch the seals closely. If you see bubbles or drops of oil, stop the test and fix the problem. Always follow safety rules during this step.
Note: Never skip the leak test. It helps you catch problems early and keeps your equipment safe.
Record Results
You should always write down your inspection and test results. Good records help you track the health of your equipment. They also make it easier to find and fix problems in the future. Use a checklist to keep your notes organized.
Element | Description |
|---|---|
Equipment ID | Write down the unique number for the machine you checked. |
Inspection date | Record the day you did the inspection. |
Inspector’s name | Add your name or the name of the person who checked the seals. |
Checklist items | List what you looked at during the inspection. |
Observed deficiencies | Note any problems you found. |
Risk levels | Mark how serious each problem is. |
Photographic evidence | Take pictures to show what you found. |
Follow-up actions | Write down what you did to fix any issues. |
Digital signatures | Sign the record to show who did the work. |
Keeping good records helps you stay ready for audits and keeps your equipment running longer. You can use these notes to plan future maintenance and avoid costly breakdowns.
Maintenance & Regular Inspection
Schedule Checks
It is important to check hydraulic seals often. This helps you find problems early. Your equipment will work better and last longer. For big machines like excavators, check seals every 500 to 1000 hours. Doing regular checks stops expensive breakdowns. It also keeps your system safe.
Look at seals every 500 to 1000 hours.
Check for leaks, wear, and dirt each time.
Write down the date and what you find.
Tip: Use a calendar or log book to remind you about inspections. This helps you remember and stops you from missing checks.
Routine maintenance does more than stop breakdowns. It helps your hydraulic equipment last longer. You get more value from your machines. Keeping seals in good shape protects your investment.
Aspect | Impact on Lifespan and Reliability |
|---|---|
Regular Inspection | Makes equipment last longer and keeps its value |
Prevents Failures | Cuts down on wear and means fewer repairs |
Maintains Optimal Performance | Keeps things working well and makes them safer |
Address Issues
If you see a problem during inspection, fix it fast. Early signs mean your seals need help. Watch for these clues:
🛠️ Leaking Fluid: Bad seals or broken parts let oil out.
⚠️ Slow or Inconsistent Movement: Dirt or bad seals slow things down.
🔊 Unusual Noises or Vibrations: Wrong alignment or bubbles can hurt seals.
📈 Excessive Pressure Buildup: Blocked filters or bad seals make pressure too high.
👀 Visible Wear and Tear: Scratches or rust need a close look.
If you notice any of these, change the seals right away. Acting quickly stops bigger problems. It keeps your equipment safe. Fixing things early costs less than big repairs. Regular checks help you avoid huge failures and keep your machines worth more.
Note: Taking care of hydraulic oil helps your system work well and last longer. If you ignore oil health, dirt can get in and break your system early.
Pick YNF Rubber for your hydraulic seal kits. Their strong seals help you keep your equipment working. Good seals mean fewer fixes and more work done by your machines.
If you follow each step for seal kit installation and inspection, your hydraulic system will work well. Clean surfaces, using the right tools, and checking often help stop leaks and save money. YNF hydraulic seals last longer and work better than regular seals.
Benefit | YNF Hydraulic Seals | Standard Seals |
|---|---|---|
Material Quality | High-grade polyurethane | Lower quality rubber |
Durability | Minimizes wear and creep | Prone to degradation |
Performance | Handles tough conditions | Limited effectiveness |
Pick YNF Rubber when you need seal kits. Using these good steps all the time helps you spend less, fix things less often, and keep your machines running longer.
FAQ
How often should you replace hydraulic seals?
You should check seals every 500 to 1000 hours of use. Replace them if you see leaks, cracks, or wear. Regular checks help you avoid bigger problems.
What tools do you need for seal kit installation?
You need clean, lint-free cloths, seal installation tools, and the right lubricants. Using proper tools helps you avoid damaging the seals and ensures a good fit.
Can you reuse old hydraulic seals?
No, you should not reuse old seals. Old seals can lose shape and strength. Always use new YNF hydraulic seals for the best performance and leak prevention.
Why is lubrication important during installation?
Lubrication helps the seal slide into place without damage. It also reduces friction and heat. This step keeps your seals working longer.
Where can you find high-quality hydraulic seal kits?
You can get reliable hydraulic seal kits from YNF Rubber. Their kits fit many machines and use strong materials for long-lasting performance.