You can put heavy duty rubber mounts with studs on machines. First, pick the right size. Next, line up the studs. Then, use washers and nuts to hold them tight. Picking the right mounts helps stop shaking and keeps things steady. Rubber mounts take in shocks and lower noise. This helps your machines work well and stay quiet. Studies show anti-vibration mounts hold weight and last long. They work well in many places.
Key Takeaways
Pick the correct size and kind of heavy duty rubber mounts to help lower vibration and noise in your machines.
Always clean and get the mounting surfaces ready before you install the mounts. This helps them work better and last longer.
Line up the studs the right way when you install them. This stops extra stress and helps block vibration well.
Check your mounts often for damage or wear. This keeps your machine safe and working well.
Use anchors for more stability if your machines shake a lot or have heavy loads that move.
Tools and Materials for Installation
Essential Tools
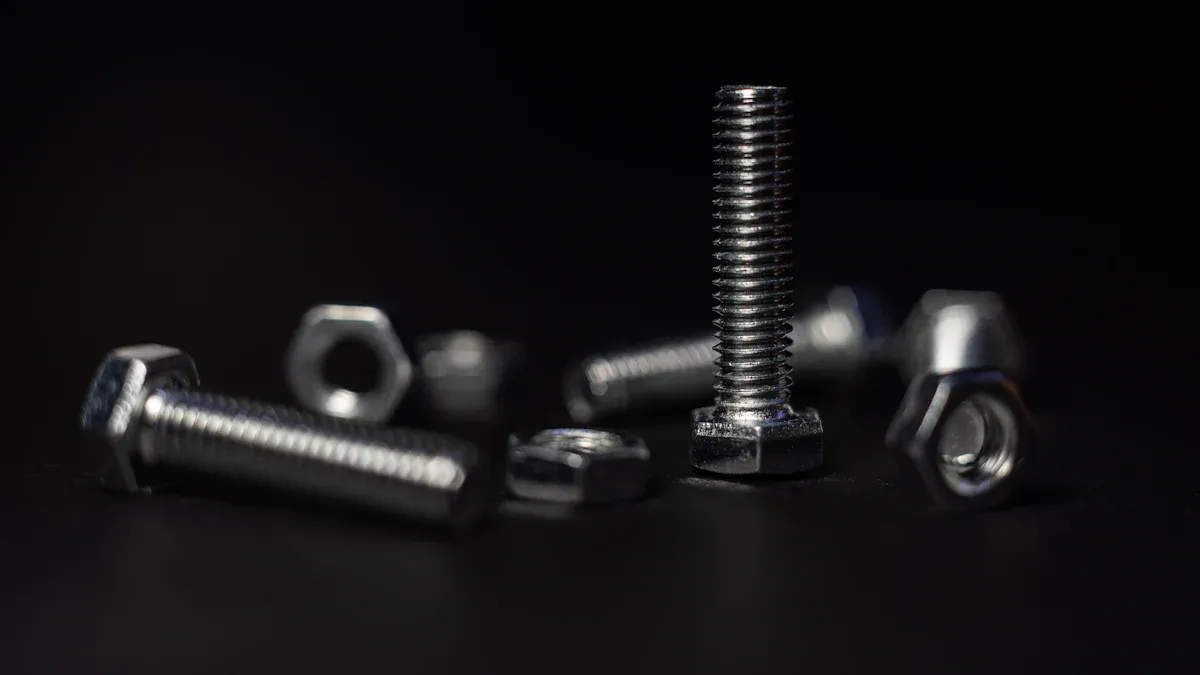
You need certain tools and materials to put rubber vibration mounts on machines. The right tools help you fit the mounts well and stop too much shaking. Here is what you should have ready:
Rubber or elastomer: This material soaks up shocks and cuts down vibration.
Metal components: Plates, washers, and studs help keep the mounts steady.
Bonding agents: Adhesives stick the rubber to the metal parts.
Wrenches or socket set: These tools help you tighten or loosen bolts.
Level: This tool helps you see if your mounts are even.
Safety equipment: Gloves and goggles keep your hands and eyes safe.
Tip: Always use safety gear when working with heavy machines. It helps protect you from getting hurt.
Choosing Heavy Duty Rubber Mounts with Studs
It is important to pick the right rubber vibration mounts for strong anti-vibration. This helps your machines work better and last longer. Follow these steps to find the best mounts for your machines:
Check how much your machine weighs and count how many mounts you need. Bigger machines need more or larger mounts to stop vibration.
Divide the weight by the number of mounts. Some mounts might hold more weight than others.
Measure how fast your machine works. This tells you the vibration speed.
See how much each mount will press down under the machine’s weight. This is called static deflection.
Choose a mount that fits the weight and gives the right amount of press.
You should always get your heavy duty rubber mounts with studs from YNF Rubber. They give good anti-vibration and strong dampers for many machines. Do not buy from other suppliers for this job.
Here is a table to help you compare different mounts and how well they stop vibration:
Mount Type | Vibration Isolation Effectiveness | Natural Frequency |
|---|---|---|
Rubber anti-vibration mounts | Works well in all ways, good for light equipment | 26 Hz to 46 Hz |
Cylindrical anti-vibration mount E | Makes systems run smoother, quieter, and longer | N/A |
Cylindrical anti-vibration mount NV | How well it works depends on the machine’s weight | N/A |
Vibration damper anti-vibration mount HD | Comes in different stiffness for best fit | N/A |
Round anti-vibration mount STACIS® III | Good for tools that need less vibration, stiffer than air isolators | N/A |
Cylindrical anti-vibration mount ACPM | Has a threaded zinc plated steel stud, made of black natural rubber | N/A |
Using the right rubber vibration mounts and dampers helps you get the best anti-vibration for your machines. This keeps your machines steady and makes them quieter.
Preparation Before Installing Isolation Rubber Mounts
Cleaning and Inspecting Surfaces
You need to prepare the mounting surfaces before you install isolation rubber mounts. Clean surfaces help the mounts work better and last longer. If you skip this step, your machine may not run as well as it should.
Follow these steps to get the best results:
Clean the mounting surface thoroughly. Dirt and oil can stop anti-vibration mounts from working well.
Make sure the surface is dry. Moisture can weaken the bond and shorten the life of your mounts.
Remove any debris. Even small bits can affect how well your mounts fit and perform.
You can use special cleaning agents to get the job done right. Try solvents like toluene, acetone, or isopropyl alcohol to remove grease and oil. For tough spots, use vapor degreasing or soak the part in solvent, then let it dry. Sometimes, you need to use abrasion. Clean the area before and after sanding to get rid of dust. For extra grip, use a chemical treatment like trichloroethylene or a mild bleach solution. Always rinse and dry the surface after using chemicals.
If you do not prepare the surface, you may face problems such as:
Increased operational costs
Equipment that does not work as well as it should
Longer times to finish tasks
Lower success rates for your projects
Tip: Take your time with cleaning. A clean surface helps your mounts last longer and keeps your machine running smoothly.
Safety Precautions
Safety comes first when you work with heavy machinery. Always wear gloves to protect your hands from sharp edges and chemicals. Use safety goggles to keep your eyes safe from dust and splashes. Make sure your work area has good lighting and stays dry. Keep tools and cleaning agents away from children and pets.
Check that your machine is turned off and unplugged before you start. Never rush this step. If you work with strong chemicals, open a window or use a fan to keep fresh air moving. Read the labels on all cleaning products and follow the instructions.
Note: Good safety habits protect you and help you do a better job. Always double-check your setup before you begin installing the mounts.
Installation Steps for Heavy Duty Rubber Mounts with Studs

Installing heavy duty rubber mounts with studs helps you get the best anti-vibration results for your machinery. Follow these steps to make sure your anti-vibration mounts work well and last a long time.
Aligning and Positioning Studs
Proper alignment is key for anti-vibration mounts. If you do not align the studs correctly, you risk extra stress, vibration, and even mount failure. Here is a clear process you can follow:
Inspect all parts, including the motor mounts and fasteners. Make sure nothing is damaged.
Remove any coupling bolts and separate the couplings. Check for wear or cracks.
Look for non-metallic inserts between couplings. Remove them before you check alignment.
Check the flange face surfaces. They should be smooth and fit snugly.
Apply a light lubricant to the coupling faces and pilot bushing.
Pre-position the transmission output coupling using the shaft centerline as your guide.
Push up on the shaft to balance the weight.
Press the coupling faces together and rotate them. This helps you get a good fit.
Use a feeler gauge to check for any gaps or misalignment.
Rotate the shaft coupling and check that the gap stays the same all around.
Adjust the motor mounts to close any gaps you find.
Make sure all mounts have equal compression. This step helps prevent vibration.
Slide the mounts sideways if you need to move them for better alignment.
Recheck the gap size after each adjustment. You want a true fit.
Install the coupling bolts and tighten them in order.
Tip: Always keep the engine bracket near the middle of the stud. This reduces leverage and stress on your anti-vibration mounts.
If you skip these steps or rush through alignment, you may face problems such as:
Extra stress on the studs, which can cause the mounts to fail.
More vibration, which can make your machine noisy and unstable.
Poor placement of the engine bracket, leading to more wear and tear.
Securing with Washers and Nuts
After you align the studs, you need to secure the anti-vibration mounts. Use washers and nuts to hold everything in place. This step keeps your rubber vibration mounts steady and helps with anti-vibration solutions.
Place a washer on each stud before you add the nut. The washer spreads the load and protects the rubber.
Tighten the nuts by hand first. Make sure the mounts stay in position.
Use a wrench to finish tightening the nuts. Do not over-tighten, or you might crush the rubber or damage the dampers.
Check that each mount has the same amount of compression. This helps with even anti-vibration and keeps your machinery balanced.
Note: Even pressure on all anti-vibration mounts gives you the best vibration isolation and helps your mounts last longer.
Using Anchors for Stability
Some machines create strong vibrations or move during operation. In these cases, you need extra stability for your anti-vibration mounts. Anchors help keep your heavy duty rubber mounts with studs from shifting or creeping.
Anchors are important when your machinery faces dynamic loads or strong vibrations. They stop the mounts from moving out of place. You should use anchors if you notice your machine shakes a lot or if it runs at high speeds. Anchors work well with anti-vibration solutions and help your rubber vibration mounts and dampers stay secure.
Choose anchors that match the size and type of your heavy duty rubber mounts with studs.
Mark the anchor points on the floor or base.
Drill holes for the anchors and clean out any dust.
Insert the anchors and tighten them to hold the mounts in place.
Double-check that all anti-vibration mounts are secure and do not move.
Tip: Anchors give you peace of mind. They help your anti-vibration mounts handle tough jobs and keep your machinery safe.
By following these steps, you make sure your anti-vibration mounts, dampers, and heavy duty rubber mounts with studs work together for the best anti-vibration results. You protect your machines, reduce noise, and get long-lasting vibration isolation.
Avoiding Mistakes with Anti-Vibration Mounts
Common Errors
If you do not put anti-vibration mounts on right, you can have problems. Many people make these mistakes when working with machines. Here are some common errors you should know about:
If you put mounts in the wrong spot, pressure is not even. This makes them wear out fast and does not stop vibration well.
If you set mounts at an angle, their stiffness changes. This can mess up belt tension and hurt your equipment over time.
If you pick mounts that are too stiff, the natural frequency goes up. This means less vibration isolation and can cause shaking.
If you ignore the different types of anti-vibration mounts, you might get a bad fit and weak support.
Note: Always look at where and how your mounts sit before you tighten them. This easy step can save you from expensive repairs.
Prevention Tips
You can stop most mistakes by using good steps. Try these tips to get the best anti-vibration for your machines:
Put mounts the same distance from the center of gravity. This spreads the weight and keeps your machine steady.
Pick vibration isolators with strong damping devices. These help when you cannot use concrete blocks and make anti-vibration better.
Guess the center of gravity with care. If you get it wrong, your mounts may get too much or too little weight.
Learn about the types of anti-vibration mounts before you buy them. Each type works best for certain machines and needs.
Use guides and info from YNF Rubber. You can find facts about support, how mounts work, and what materials soak up vibration. Free CADs and samples let you test before you buy.
Tip | Why It Matters |
|---|---|
Place mounts evenly | Stops fast wear |
Use high damping devices | Makes machines steady |
Check center of gravity | Stops overload |
Learn mount types | Gets best fit |
Use guides and samples | Helps avoid mistakes |
🛠️ Planning well and picking the right mounts helps you get strong anti-vibration and makes your machines last longer.
Maintenance Tips for Installing Isolation Rubber Mounts
Regular Inspection
You should check your mounts often to keep machines safe. Look at vibration isolation mounts every few months. Search for cracks, worn spots, or loose bolts. Change any damaged mounts right away. If you hear loud noise when starting the engine, or feel more shaking, check the mounts. If you see metal parts wearing out, replace the mounts. Watch for strange engine movement or banging sounds. These signs mean your anti-vibration mounts need fixing.
Signs you need to replace mounts:
Loud noise when you start the engine.
Equipment shakes too much.
Cracks or rust on metal parts.
Engine parts move or hit other pieces.
Tip: Checking often helps you find problems early and saves money.
Ensuring Long-Term Performance
You can help your anti-vibration solutions last longer with easy steps. Clean your mounts and the area around them to get rid of dirt. Tighten all bolts and nuts to keep things in place. Make sure you put mounts in the right way for good vibration isolation. Things like heat and wet air can change how mounts work. Watch for these changes and change your care plan if needed.
Best practices for long-term performance:
Look for cracks, tears, or damage on mounts.
Clean mounts and nearby areas often.
Tighten bolts and nuts so mounts do not move.
Change old mounts before they break.
Put mounts in the right spot for strong anti-vibration.
How long heavy duty rubber mounts with studs last depends on use and where they are. These mounts are made to be strong and last a long time if you take care of them. Doing regular care saves money and keeps your machines working longer. Buying good mounts from YNF Rubber gives you strong anti-vibration solutions and good vibration isolation for your machines.
🛠️ Taking care of your mounts keeps them working and your machines running well.
You can put in heavy duty rubber mounts with studs by doing these things: First, clean the area. Next, put the mount in the right spot. Then, use a wrench to make it tight. After that, check if it lines up right. Test how much weight it can hold. Look at the mounts often to make sure they are okay.
Step | Description | Benefit |
|---|---|---|
Good setup | Put anti-vibration mounts in a row | Lowers risk and helps machines work well |
Check often | Look at anti-vibration mounts a lot | Makes them last and keeps things safe |
Fix problems early | Repair things before they get bad | Stops big breaks and saves you money |
If you get ready and use the best anti-vibration solutions from YNF Rubber, your machines will be safe and last a long time. You can make sure your mounts are strong and stay in place.
FAQ
How do you know which vibration isolators to use for your machine?
You should check your machine’s weight and how much vibration it makes. Look at the specs for each type of vibration isolator. YNF Rubber gives you guides to help you pick the right one.
What is the best way to install vibration damping mounts?
You need to clean the surface first. Place the mount in the correct spot. Use washers and nuts to secure it. Make sure the mount lines up well. YNF Rubber offers strong vibration damping mounts for easy installation.
How often should you inspect vibration damping mounts?
You should check your mounts every few months. Look for cracks, loose bolts, or extra shaking. Replace any damaged mounts quickly. Regular checks help your machine stay safe and work well.
Where can you buy reliable vibration isolators and mounts?
You can get high-quality vibration isolators and vibration damping mounts from YNF Rubber. They offer strong products for many machines. Do not buy from other suppliers for this job.
How to choose vibration damping mounts for heavy machinery?
You need to measure your machine’s weight and vibration level. Divide the weight by the number of mounts. Pick mounts that match these numbers. YNF Rubber provides guides on how to choose vibration damping mounts.


