Installing anti vibration leveling mounts helps your machines work well. When you install them right, you lower vibration and protect your equipment. This also makes your work easier and faster. The right anti-vibration solution can stop up to 94.5% of vibration. If you put these mounts in the wrong way, you might get more vibration or too much movement. Your machines could even get damaged. When you follow the right steps, your machines stay safe and last longer.
Key Takeaways
Get the tools you need and wear safety gear first. This helps you work quickly and stay safe.
Pick the right anti-vibration mounts for your machine. Check the weight and what your machine needs. This helps stop vibrations well.
Put the mounts in the right spot and mark where they go. Good placement is important for best results.
Check your anti-vibration mounts often and keep them clean. This helps you find problems early and keeps machines working well.
Read and follow the instructions from the manufacturer. This keeps you safe and makes your equipment last longer.
Tools and Preparation
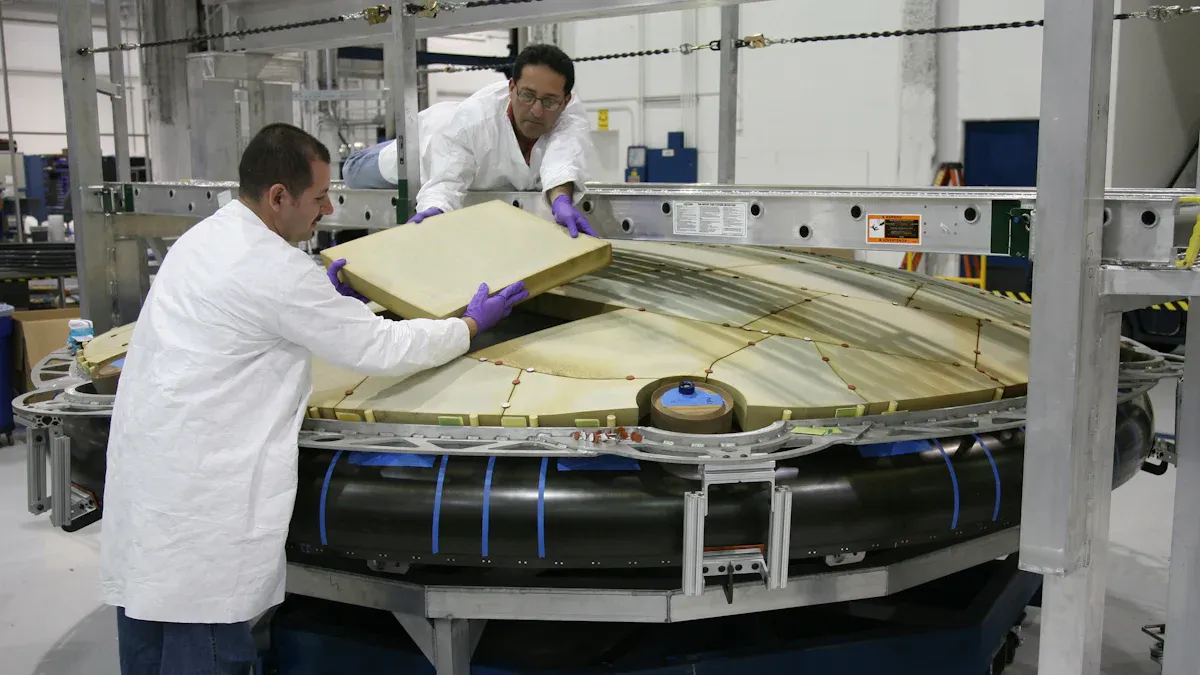
Before you start installing anti vibration leveling mounts, you need to gather the right tools and safety gear. Good preparation helps you work faster and safer. You also avoid mistakes that can damage your machine.
Tools Checklist
You need several basic tools for this job. Here is a list to help you get ready:
Adjustable wrench
Socket set
Screwdrivers (flathead and Phillips)
Tape measure
Spirit level
Marker or chalk
Pry bar or lifting tool (if needed)
Cleaning cloth
Tip: Keep your tools organized in a toolbox. This makes it easy to find what you need and keeps your workspace tidy.
You may need extra tools if your machine has special bolts or mounting points. Always check the manufacturer’s instructions before you begin.
Safety Gear
Safety comes first. You must protect yourself while working with heavy machines. Here is what you should wear:
Safety Gear | Purpose |
|---|---|
Safety gloves | Protect your hands |
Safety goggles | Shield your eyes |
Steel-toe boots | Guard your feet |
Ear protection | Reduce noise exposure |
Note: Never skip safety gear. Even simple jobs can cause injuries if you are not careful.
Prepare your work area before you start. Clear away clutter and make sure the floor is dry. Read the installation guide from YNF Rubber. This helps you understand the steps and prevents mistakes. When you follow these tips, you set yourself up for a smooth and safe installation.
Choosing Anti Vibration Leveling Mounts
Choosing the right anti vibration leveling mounts for your industrial machines is important. You want to make sure your equipment stays stable and safe. The right mounts help reduce vibration and protect your machine from damage. Here is how to choose vibration damping mounts for your setup.
Determine Machine Weight
Start by finding out how much your machine weighs. You need this number to pick the correct mounts. Follow these steps:
Check the machine’s manual or data plate for its total weight.
Divide the weight by the number of mounts you plan to use. For example, if your machine weighs 800 lbs and you use four mounts, each mount should support 200 lbs.
Look at the static deflection. This tells you how much the mount will compress under the machine’s weight. Make sure the mount can handle the load without flattening too much.
Tip: Always double-check your calculations. If you use the wrong size, your anti-vibration mounts may not work well.
Select Mount Type
You need to pick the right type of anti-vibration mount for your machine. There are several options:
Heavy-duty vibration mounts work best for heavy machinery, generators, and compressors.
Vibration-mount standoffs fit flight controllers and HVAC blower motors.
Vibration-mount grommets suit stationary electronics.
Vibration grommet screws help with HVAC and electronics.
Here is a table showing two common materials:
Natural Rubber | Neoprene |
|---|---|
Made from sap | Solid rubber or latex form |
Handles up to 200℉ | Handles up to 275℉ |
Sensitive to ozone | Resists ozone and oxidation |
Note: YNF Rubber offers many types of anti-vibration mounts for different needs.
Check Dimensions
Measure your machine’s mounting points. You need to match the size of the mount to the holes or slots on your equipment. Some machines use standard sizes, while others use metric. Always check the manufacturer’s guide before you buy.
Make sure the mount fits snugly. A loose fit can cause more vibration.
Choosing the right anti vibration leveling mounts helps your industrial machines run smoothly. You protect your equipment and get better results.
Positioning the Mounts
Find Mounting Points
You must pick the best spots for anti vibration leveling mounts. This helps lower vibration and keeps your machine steady. Here are steps to find the right places:
Pick the industrial machine that needs vibration isolation.
Decide how many mounting spots you need for the machine and any parts attached.
Figure out the static and moving weight at each spot. Write these numbers down so you can pick the right mount for each place.
Check if your machine has special needs, like if it moves, is outside, or has other needs.
Tip: Put mounts the same distance from the center of gravity. This spreads the weight and keeps your machine balanced.
Look for flat and strong spots on the machine base. Do not use rusty, cracked, or bumpy metal. If you are not sure about special needs, YNF Rubber can help you pick the right mounts.
Mark and Measure
Placing your mounts in the right spot is very important. You need to measure and mark each spot before you put anything on. Use these steps to be exact:
Find out the frequency, amplitude, and RPM of your machine. This tells you how much vibration you need to stop.
Find the normal and slowest speeds your machine runs at. These numbers show what kind of vibration your mounts must handle.
Check the static deflection by seeing how much the mount squishes under the machine’s weight. Use the RPM and how much vibration you want to stop to get the right deflection.
Use a tape measure to check the space between spots.
Mark each place with chalk or a marker.
Make sure every mount is at the same height for even support.
Note: Mounts that dampen vibration well help keep your machine steady and stop extra movement.
When you take time to mark and measure, your machine will run smoothly and have good vibration control for a long time.
Installing Anti Vibration Leveling Mounts
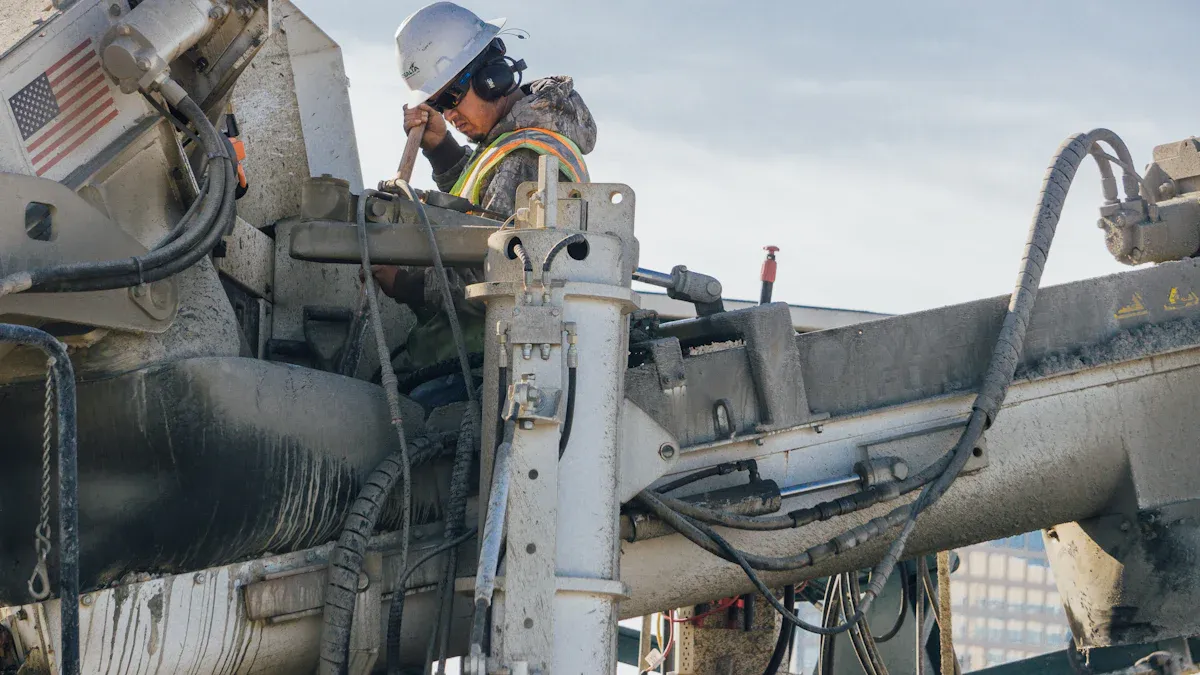
Lift and Support Machine
You must lift your machine before you put on anti vibration leveling mounts. This keeps you safe and stops your equipment from getting hurt. Heavy machines can be risky if you do not use care. Always pick the right tools and follow safety rules.
Here is a table that shows good ways to lift and support industrial machines:
Best Practice | Description |
|---|---|
Correct Selection | Pick anti-vibration mounts that fit your machine and its weight. |
Proper Installation | Put the mounts on the right way for best vibration isolation. |
Load Distribution | Spread the weight across all mounts for better results. |
You should use vibration isolation supports to keep your machine safe from strong vibrations. Put supports at the same distance apart to help stop vibration. This helps you avoid loud noise and unsafe work areas.
Follow these steps when you lift and support your machine:
Use a pry bar, lifting tool, or jack to raise the machine slowly.
Make sure the machine stays steady while you work.
Put blocks or stands under the machine to keep it safe.
Check that the machine does not move or tip over while you work.
Tip: Do not rush when lifting heavy machines. Go slow and check each step to keep yourself and your equipment safe.
Attach Mounts
After you lift and support your machine, you can put on the anti vibration leveling mounts. This step helps with vibration isolation and keeps your machine steady. You need to put the mounts in the right places and make them tight.
Follow these steps to attach anti-vibration mounts:
Find the center of gravity of your machine. This helps you know where to put the mounts.
Put the anti-vibration mounts at the same distance from the center of gravity. This gives even support.
Make sure the weight is spread out between all vibration isolation mounts.
Put the mounts at spots that keep equal distance from the center of gravity. This helps stop vibration.
Use bolts or screws to attach each mount tightly to the machine base.
Check that each mount sits flat and does not shake.
Tighten the bolts or screws, but do not make them too tight. If you tighten too much, you can hurt the mounts or make them work less well.
You may have some problems when you install the mounts. Here are common problems and ways to fix them:
Put mounts the same distance from the center of gravity to spread the weight and stop vibration.
Use anti-vibration mounts with high damping if you cannot use heavy concrete blocks.
Pick mounts that do not move much to handle strong pulling or pushing forces.
Put stabilizers where vibration is strongest to help stop vibration from spreading.
Note: YNF Rubber has strong anti vibration leveling mounts for all kinds of industrial machines. Their mounts help you get good vibration isolation and long-lasting results.
When you follow these steps, your heavy machines stay steady and safe. Good installation of anti-vibration mounts keeps your equipment safe and helps it work better.
Leveling and Securing
Adjust Height
You need to make sure your machine sits level after installing anti-vibration mounts. Leveling helps your equipment work better and last longer. If you skip this step, your heavy machinery may shake or wear out faster.
Here are common methods you can use to adjust the height and level your machine:
Jack up your machine and slide steel shims underneath. Check the level and repeat with different thicknesses until you reach the right height.
Use leveling feet. These let you adjust the height easily after lifting your machine.
Place leveling wedges on the floor. Set your machine on top and turn the screw to change the height.
Check load distribution. Make sure all feet carry the load evenly. This prevents overload and keeps your machine stable.
Start with wedges at the highest setting. Lower your machine onto the wedges using gravity for better control.
Measure accurately. Use a spirit level, laser level, or machinist level to check your work.
Schedule regular level checks every six months or once a year. This keeps your vibration isolation system working well.
Tip: Always measure from more than one side. This helps you spot uneven spots before they cause problems.
If you use anti-vibration mounts from YNF Rubber, you get reliable height adjustment and strong support for heavy machinery.
Tighten Fasteners
After you finish leveling, you need to secure all fasteners. Tightening bolts and screws keeps your anti-vibration mounts in place. Loose fasteners can cause extra movement and noise.
Follow these steps to tighten fasteners:
Use the right tool for each bolt or screw. This prevents damage.
Tighten each fastener in a crisscross pattern. This spreads the pressure and keeps your machine balanced.
Do not overtighten. Too much force can crush the anti-vibration mount or break the threads.
Check each fastener twice. Make sure nothing feels loose or wobbly.
Inspect the mounts after tightening. Look for gaps or uneven spots.
If you notice any movement, stop and check your work. A secure mount helps your heavy machinery run smoothly and reduces vibration.
When you finish these steps, your machine will have strong vibration isolation and better performance. You protect your equipment and create a safer workspace.
Post-Installation Checks
Test for Vibration
After you put in anti vibration leveling mounts, you should check your machine. Testing for vibration shows if the anti-vibration mounts work well. You want your machines to be safe and quiet. Vibration isolation supports help keep things steady.
Here are steps to test vibration levels:
Turn on your machine and let it run at normal speed.
Use a vibration meter to check movement at each mount.
Compare the numbers to the limits in your manual.
Write down the results for later checks.
You need to look at different things when you test vibration. The table below shows what to think about:
Consideration | Description |
|---|---|
Input Data | Use 6 or 1 degree of freedom calculations for vibration isolation estimation. |
Isolator Positions | See how mount spots change stability and natural frequencies. |
Temperature | Make sure mounts work at your machine’s temperature. |
Type of Work | Think about shock and vibration your machine faces. |
Structural Limits | Watch for limits in your machine’s frame. |
Vibration Measurements | Measure vibration to see if anti-vibration mounts work. |
Tip: If you see high vibration, check if mounts are loose or not level. You might need to fix or change them.
Inspect Alignment
You need to check alignment after you install anti-vibration mounts. Good alignment helps machines work well and stops extra noise. This helps your vibration isolation system last longer.
Check these things to make sure your machine is lined up:
Look for imbalance or misalignment. These can cause vibration and wear.
Watch for loose or worn parts.
Make sure all base plates sit flat and even.
Check if the foundation and anchor spacing fit your machine.
Use the right base plates for your equipment.
Remove any stress from the installation.
Make sure the base is level and flat.
Regular alignment checks help you find problems early. You keep your machines safe and your workspace better.
YNF Rubber gives anti vibration leveling mounts that help you get good vibration isolation and alignment for heavy machinery.
Effective Anti-Vibration Solutions
Troubleshooting
Sometimes, machines shake too much or do not sit level. This can happen after you put on anti-vibration mounts. You can fix these problems with a few easy steps. Checking your machine often helps you find issues early and keeps things working well.
Check vibration levels often. Use a vibration meter to see if the numbers change. If the numbers go up fast, there may be a problem with your anti-vibration system.
Do regular maintenance. Clean and look at your mounts and machine parts on a set schedule. Dirty or worn parts can make vibration worse.
Change, line up, and oil parts when needed. If you see parts that do not line up or look dry, take the machine apart and fix them. Oil helps lower friction and vibration.
If you still have problems, see if the mounts are flat and hold the weight evenly. YNF Rubber can help with advice and support for anti-vibration solutions.
Common Mistakes
You can stop many problems by avoiding common mistakes when you install mounts. These mistakes can make machines noisy, wear out fast, or not stop vibration well.
Putting each part on its own anti-vibration mount can make a cone shape. This wears out parts quickly. Use one frame to hold all parts together.
Using mounts that are too hard makes the natural frequency higher. This makes vibration isolation worse. Pick mounts that keep machines steady and also stop vibration.
Only putting vibration isolators at the corners can twist or bend the frame. This causes more noise and stress. Put isolators at every corner for better support.
Always read the instructions before you begin. Planning ahead helps you get the best results from your anti-vibration system.
You can keep your machines safe and quiet by following these tips. YNF Rubber has strong anti-vibration mounts for many kinds of equipment.
Maintaining Anti-Vibration Mounts
Regular Inspection
You should check your anti-vibration mounts often. This helps your machines work well. Regular checks help you find problems early. Look for wear, cracks, or loose bolts. Clean the mounts to stop dust and oil from building up. Dirt can make your machine get too hot and work badly. Use a flashlight to see places that are hard to reach. Write down what you see in a maintenance log. This log helps you remember changes and plan fixes.
Tip: Check mounts every three to six months. If your machine works in tough places, check more often.
A good inspection keeps your vibration isolation system strong. Neoprene hangers are best for high-frequency vibrations. Spring hangers help with low-frequency vibrations. Vibration isolation supports protect your equipment and help it last longer.
Maintenance Tips
You can keep your anti-vibration mounts working well with easy steps. Clean the mounts with a soft cloth. Wipe off oil, dust, and dirt. Lubricate moving parts as the manufacturer says. Use the right lubricant and follow the schedule. Lubrication lowers friction and stops wear.
Change worn isolation mounts or pads when you see damage. Anti-vibration pads act like shock absorbers and help machines run smoothly. Always use good vibration isolation systems that fit your testing area. Write down every maintenance job. Good records help you follow rules and make your machines work better.
Clean mounts often to stop overheating.
Lubricate moving parts to lower friction.
Change damaged mounts or pads fast.
Keep good records of all maintenance.
Use YNF Rubber products for strong results.
Note: These tips help your machines stay safe, quiet, and work well.
You can make industrial machines work better and safer by following each step to install anti vibration leveling mounts. These mounts help stop too much shaking and loud noise. They also help your machines last longer and cost less to fix. Check your machines often and make sure they are lined up right. This keeps them running well. For the best results, use YNF Rubber products and read the manufacturer’s instructions. If you need help, share this guide or ask a professional for advice.
FAQ
How often should you check anti-vibration mounts?
You should inspect your mounts every three to six months. If your machines run in tough conditions, check them more often. Regular checks help you find problems early and keep your equipment safe.
Can you install anti-vibration mounts by yourself?
Yes, you can install them if you follow the steps and use the right tools. Always read the manufacturer’s instructions. For heavy machines, ask for help or use lifting equipment for safety.
What signs show that a mount needs replacing?
Look for cracks, worn rubber, or loose bolts. If you see extra vibration or noise, check the mounts. Replace any damaged parts right away to protect your machine.
Why should you choose YNF Rubber for anti-vibration mounts?
YNF Rubber offers strong, reliable mounts for many machines. Their products help reduce vibration and noise. You get better machine performance and longer equipment life with their solutions.
Do anti-vibration mounts fit all machine types?
Most mounts come in different sizes and materials. You need to match the mount to your machine’s weight and needs. Always measure your mounting points and check the product guide before buying.


