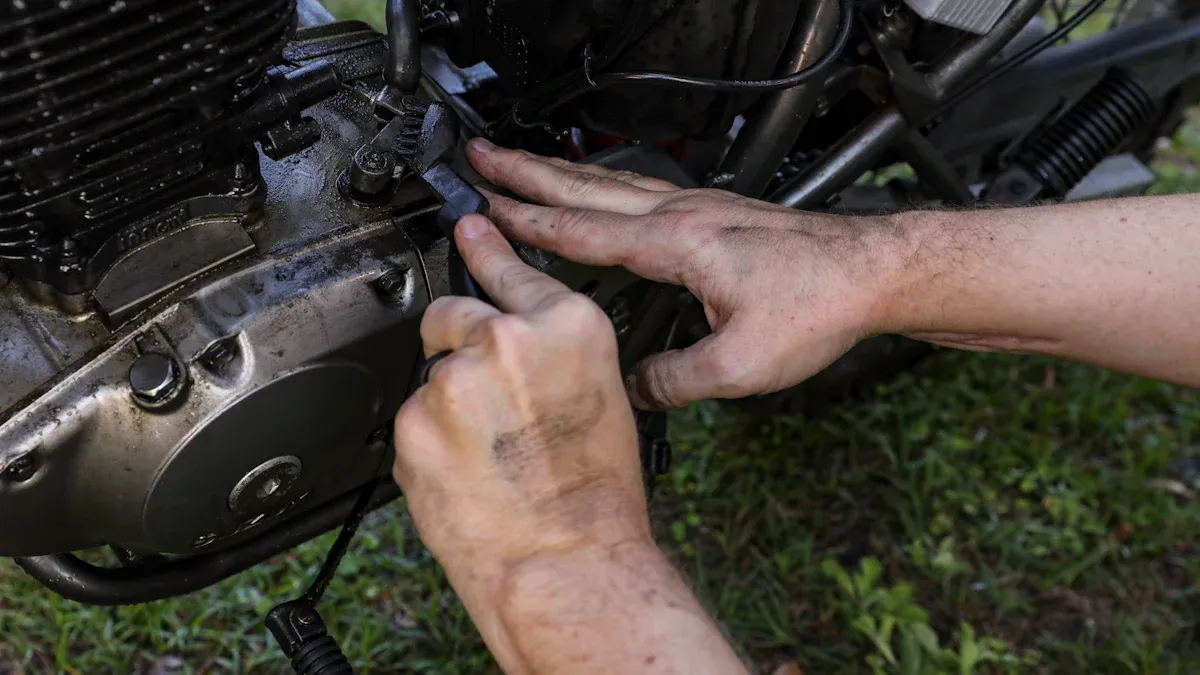
Ready to tackle your generator motor mounts? You can do this with a little patience and the right approach. A secure mount keeps your generator steady and safe. Incorrect installation can lead to noise or even damage. Let’s make sure you get it right the first time.
Key Takeaways
Get all the tools and safety gear you need first. This helps the installation go well and keeps you safe. – Always look at the size and type of new motor mounts. Compare them to the old ones. Matching them right stops problems and helps your generator work well. – Tighten all bolts to the right tightness with a torque wrench. This holds the motor in place and stops future issues.
Tools and Preparation
Tools Checklist
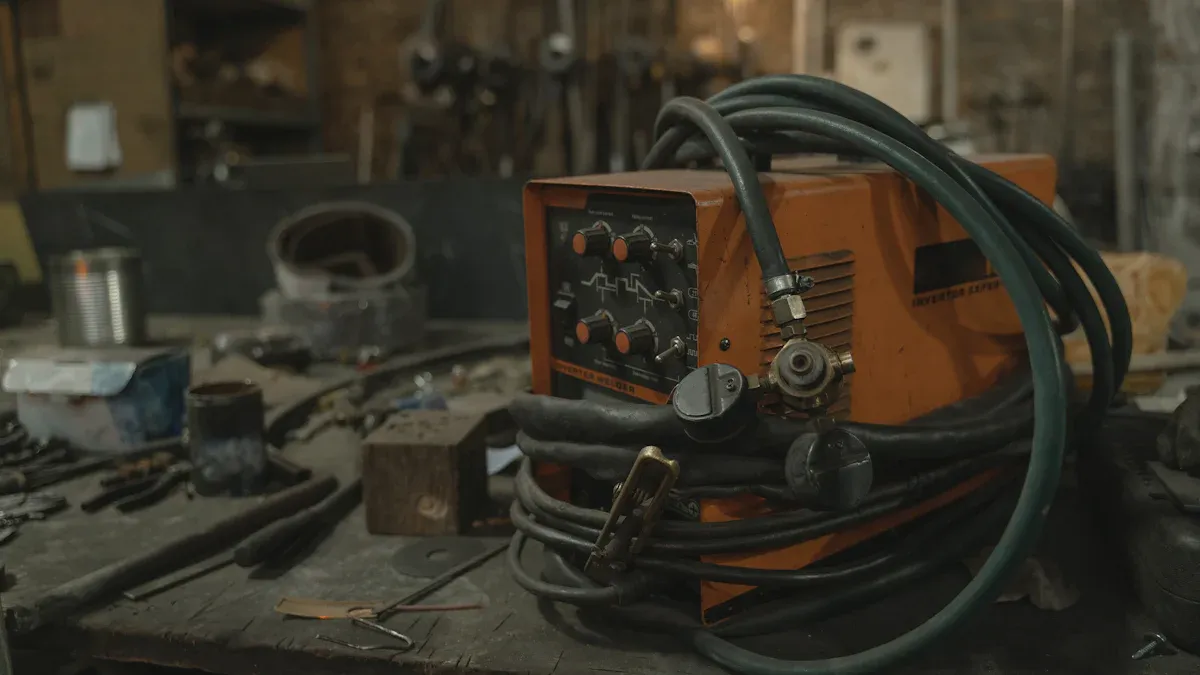
Get all your tools before you begin. The right tools help you work better and safer. Here is a simple list to check:
Socket set and wrenches
Screwdrivers
Pry bar
Torque wrench
Lifting equipment (like an engine hoist or jack)
Flashlight or work light
Thread locker
You do not want to stop because you forgot something. Check your list again before you start.
Safety Gear
Safety is very important. Always protect yourself when working on machines. Make sure you have these things before you start:
Safety Gear | Why You Need It |
|---|---|
Gloves | Protects your hands |
Safety glasses | Shields your eyes |
Steel-toe boots | Guards your feet |
Ear protection | Reduces loud noise |
Tip: Always unplug the generator before you work. This keeps you safe from getting shocked.
Mount Selection
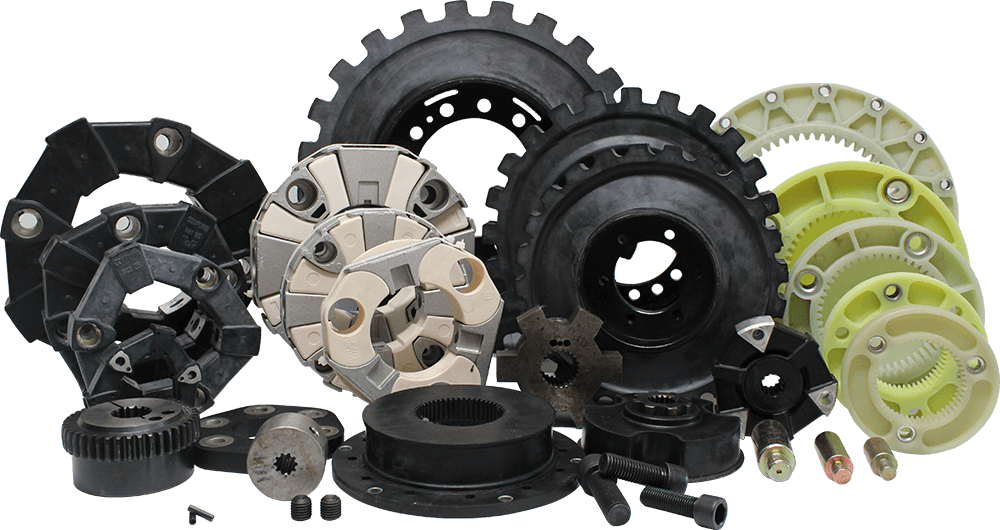
Picking the right generator motor mounts is important. It helps your generator work well. Look in your generator’s manual for the right size and type. Put the old mounts next to the new ones to see if they match. If you need new ones, YNF Rubber has good choices for most generators. Their mounts fit well and last a long time.
Now you are ready to install the mounts. Good planning helps you avoid problems and keeps your generator working well.
How to Install Generator Motor Mounts
Remove Obstructions
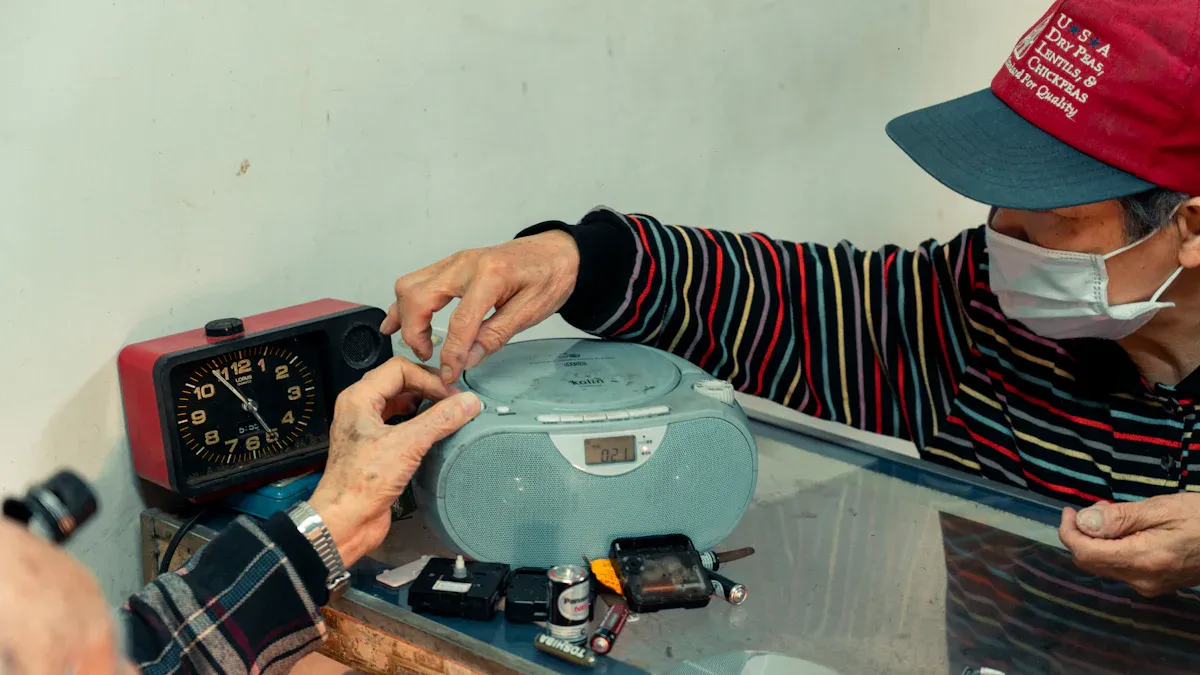
Start by clearing the area around your generator motor. Move any wires, hoses, or covers that block your way. You want a clear view of the engine and the motor mounts. Take photos before you move anything. This helps you put everything back in the right place later.
Tip: Keep small parts in a cup or tray so you do not lose them.
Lift Engine
You need to lift the engine to reach the generator motor mounts. Use an engine hoist or a strong jack. Place the lifting strap or chain on a solid part of the motor. Lift slowly. Watch for anything that might catch or pull. You do not need to lift the engine high—just enough to take the weight off the mounts.
Never put your hands under the engine while it hangs. Always check that the engine is steady before you work.
Remove Old Mounts
Now you can see the old generator motor mounts. Use your socket set or wrenches to loosen the bolts. Some bolts may be tight or rusty. Spray a little oil if needed. Take out the bolts and remove the old mounts. If the mounts stick, use a pry bar to help. Set the old mounts aside for comparison.
Compare Mounts
Put the old mounts next to the new ones. Check the size, shape, and bolt holes. The new generator motor mounts should match the old ones. If you see any big differences, stop and check your part number. Using the wrong mount can cause problems with engine installation and alignment.
Note: Flexible mounts help reduce vibration and noise. YNF Rubber offers mounts that fit most generators and last a long time.
Position and Align
Place the new mounts where the old ones were. Make sure the holes line up with the engine and the frame. Good alignment is key for smooth running. If the holes do not match, adjust the engine position a little. Do not force the bolts. Everything should fit without a struggle.
Install Adjustable Engine Mounts
If your generator uses adjustable mounts, now is the time to set them up. Follow the instructions that come with your mounts. Usually, you will turn a bolt or nut to raise or lower the motor. This helps you get the engine level and keeps the motor in the right spot. Take your time with this step. The ease of installation depends on careful adjustments.
Tighten and Check
Once the mounts are in place, put in the bolts by hand first. Then use your torque wrench to tighten them to the right spec. Do not guess—check your manual for the correct numbers. Use thread locker if needed. Tight bolts keep the motor safe and steady.
After you finish, lower the engine back onto the mounts. Double-check every bolt. Look for gaps or crooked mounts. Start the generator and listen. If you hear too much vibration or noise, stop and check your work. Good generator motor mounts and careful alignment make a big difference.
Safety Reminder: Always check for loose tools or parts before you run the engine.
You did it! You installed your generator motor mounts the right way. Careful alignment and tight bolts keep your generator safe. Always double-check every bolt and test for vibration. Regular inspections help you spot cracks, wear, or loose bolts early:
You prevent failures and keep things safe.
Anti-vibration mounts cut down noise and shaking.
If you feel unsure, check your manual or ask a pro. Keep your tools and safety gear ready for next time. For reliable mounts, YNF Rubber has you covered.
FAQ
How often should you check your generator motor mounts?
You should check your mounts every six months. Look for cracks, loose bolts, or signs of wear. Regular checks help you catch problems early.
Can you reuse old bolts when installing new mounts?
It’s best to use new bolts. Old bolts may be weak or damaged. New bolts keep your generator safe and secure.
Where can you buy reliable generator motor mounts?
You can get quality mounts from YNF Rubber. They offer strong, long-lasting mounts for many generator models.


