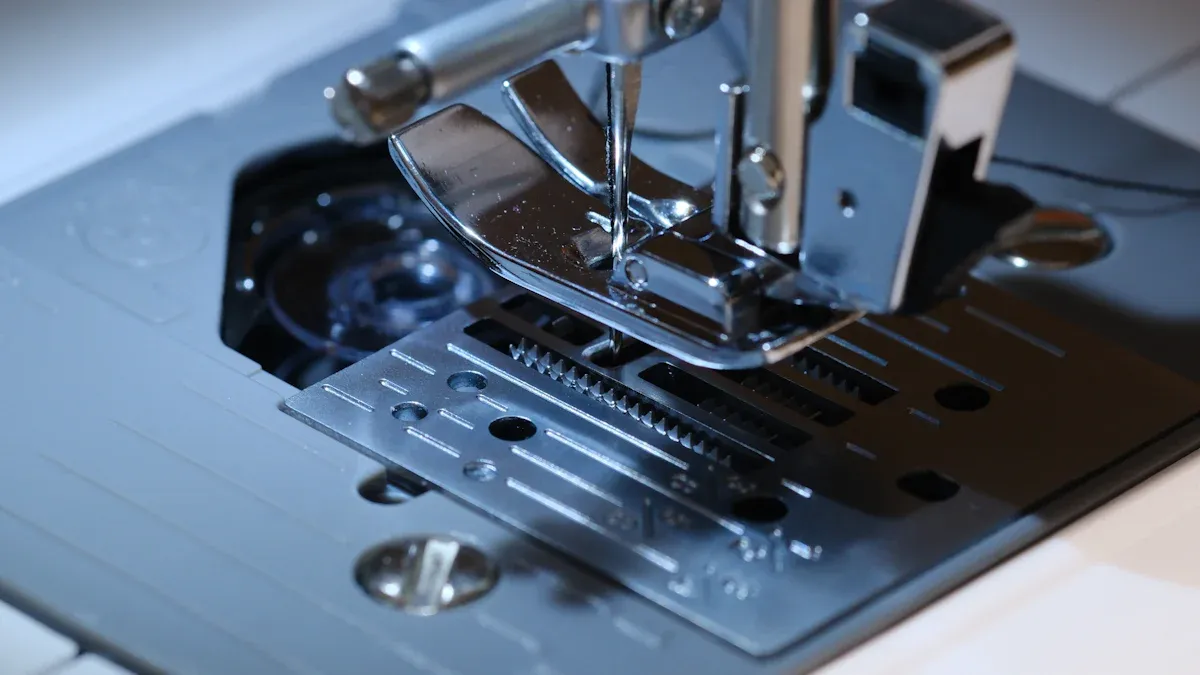
Choosing the right feet for machine work can feel tricky, but you only need a few sewing machine feet to get started. Most of your sewing projects will use basic presser feet. Start by checking your machine’s shank and how the feet attach. This step helps you avoid mix-ups and makes your sewing smoother. You’ve got this—learning about feet for machine use gets easier with each project!
Key Takeaways
Begin with basic presser feet like zigzag, zipper, and buttonhole foot. These are good for most sewing projects.
Look at your sewing machine’s shank type and how feet attach before you buy new presser feet. This helps you get the right fit and makes sewing easier.
Try different presser feet on extra fabric pieces. This helps you learn what each foot does and which one works best for your project.
Keep your presser feet neat and labeled so you can find them fast. This saves time and helps you pick the right foot quickly.
When you feel ready, add special feet to your set. These can help with hard jobs and make your sewing better.
Identify Sewing Needs
Common Tasks
When you start sewing, you might wonder which feet for machine work best for your projects. You probably use your sewing machine for tasks like hemming pants, adding zippers, or making buttonholes. Each job can feel different, but most sewing machine feet handle these tasks with ease.
Here’s a quick look at some common sewing jobs and the presser feet that make them easier:
Presser Foot Type | Common Sewing Tasks |
|---|---|
All-Purpose Foot | Works for most stitches, heavy fabrics, applique, and embroidery |
Teflon Foot | Helps sew leather and vinyl without sticking |
Buttonhole Foot | Makes buttonholes quickly and evenly |
Blind Hem Foot | Creates neat hems without hand sewing |
Rolled Hem Foot | Makes narrow hems on lightweight fabrics |
You can see that sewing machine presser feet help you finish many projects faster and with better results. If you want a comprehensive guide, start by looking at the tasks you do most often.
Matching Feet to Projects
Choosing the right sewing machine feet depends on your project. If you sew jeans, you need a foot that handles thick seams. For delicate fabrics, you want a foot that glides smoothly. You don’t need every presser foot out there. Start with the basics, then add specialty feet for new techniques.
Tip: Try using the all-purpose foot for most sewing. Switch to a zipper foot when you add zippers or piping. Use a buttonhole foot for shirts and dresses with buttons.
Feet for machine projects come in many shapes, but you only need a few to get started. As you try new sewing styles, you can add more presser feet to your collection. This way, you build skills and confidence without feeling overwhelmed.
Presser Feet Compatibility
Understanding presser feet compatibility helps you avoid frustration and wasted money. If you want your sewing machine feet to work smoothly, you need to know two things: your machine’s shank type and how the feet attach. Let’s break it down so you can feel confident every time you shop for new presser feet.
Shank Types
Your sewing machine has a shank, which is the part that connects the presser foot to the machine. There are three main shank types: high shank, low shank, and slant shank. Each type fits different machines, so you need to check yours before buying new feet for machine projects.
Shank Type | Description | Common Brands |
|---|---|---|
Low Shank | Short, close to the needle plate | Most home machines |
High Shank | Tall, stands higher above the plate | Some industrial |
Slant Shank | Angled, tilts toward the needle | Vintage Singer |
If you use a straight stitch foot or zigzag foot, you need to match the shank type. Most modern machines use low shank, but always double-check. You can find this info in your sewing machine manual or by searching your brand and model online.
Tip: If you’re unsure about your shank type, measure from the screw hole to the bottom of the presser foot holder. Low shank is usually about 1/2 inch, high shank is about 1 inch.
Attachment Methods
Presser feet attach to your machine in different ways. The most common methods are snap-on, screw-on, and clip-on. Each method makes changing sewing machine presser feet easier or harder, depending on your machine.
Snap-On: You press the foot into place, and it clicks on. Most new machines use this method. It’s quick and easy.
Screw-On: You use a small screw to hold the foot. This method feels more secure but takes a little longer to change.
Clip-On: Less common, but some machines use a clip to hold the foot.
If you want a comprehensive guide, always check your sewing machine manual. The manual tells you which attachment method works for your machine. You can also search your brand and model online for more details.
Note: Not all presser feet fit every machine. If you buy a set, make sure it matches both your shank type and attachment method. YNF Rubber offers a wide range of compatible presser feet, so you can find the right fit for your sewing needs.
When you know your shank type and attachment method, you can shop for presser feet with confidence. You’ll avoid buying the wrong feet and make your sewing projects easier.
Essential Presser Feet
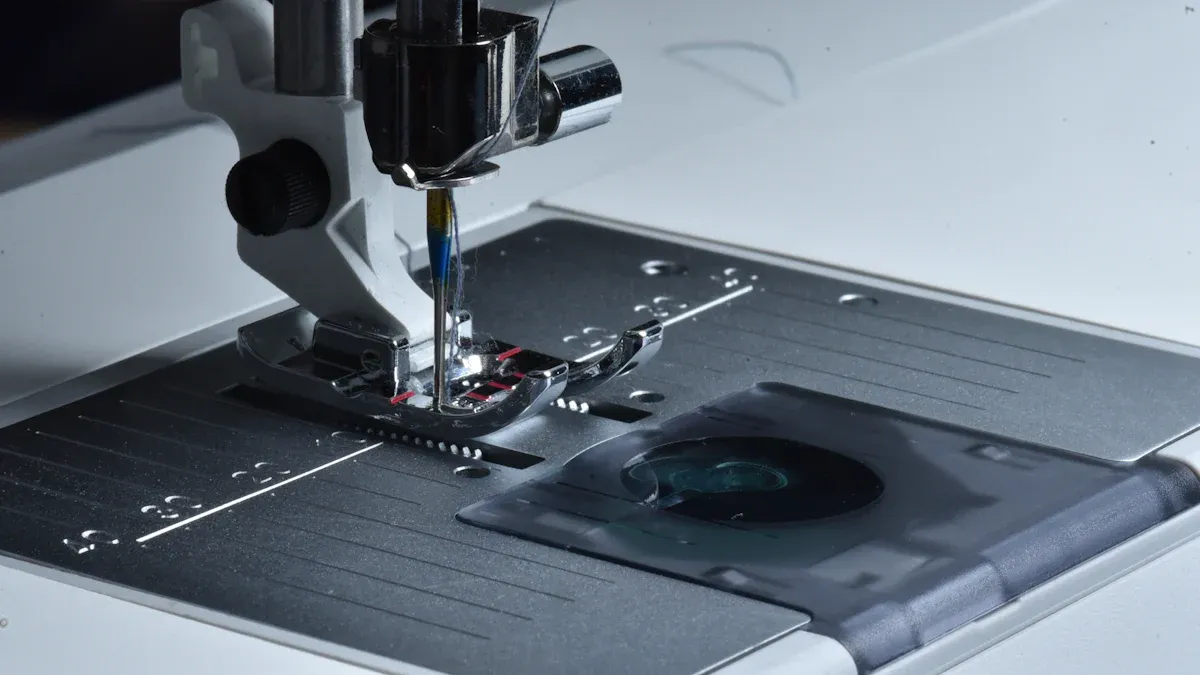
When you start sewing, you might feel overwhelmed by all the different presser feet for machine use. You don’t need every foot out there. You only need a few essential ones to handle most projects. Let’s look at the must-have presser feet and how they help you get great results.
Zigzag Foot
You’ll use the zigzag foot for many sewing tasks. It works for finishing raw edges, hemming, and adding decorative stitches. You can attach trims or finish sleeves with elastic. This foot also helps you sew applique edges neatly. If you want versatility, the zigzag foot is a top choice.
Tip: The zigzag foot is more flexible than the straight stitch foot. You can switch between straight and zigzag stitches without changing feet.
Zipper Foot
Adding zippers feels easy with a zipper foot. You can sew close to the zipper teeth, which gives your project a clean look. This foot also helps with piping and cording. You’ll find it useful for bags, dresses, and pants.
Buttonhole Foot
You need a buttonhole foot for shirts, jackets, and dresses with buttons. This foot helps you make even, professional-looking buttonholes. You can adjust the size for different buttons. It saves you time and gives your clothes a polished finish.
Walking Foot
The walking foot helps you sew multiple layers without shifting. You’ll love it for quilting, sewing thick fabrics, or working with slippery materials. This foot feeds the fabric evenly, so your stitches stay straight.
Overcasting Foot
You can use the overcasting foot to finish fabric edges and prevent fraying. It works well for seams that need extra strength. You’ll get a neat, serged look without a serger.
Here are a few more presser feet that make sewing easier:
Edgestitch foot helps you sew perfectly parallel lines.
Bulky overlock foot is great for corded piping.
Gathering foot lets you gather fabric quickly.
Circular embroidery attachment helps you sew perfect circles.
You don’t need every foot right away. Start with these essentials and add more as you try new techniques. The standard presser foot covers most basic tasks, but specialty feet for machine projects help you expand your skills.
Choosing the Right Presser Foot
Start Simple
You might feel excited to try every presser foot you see, but starting simple makes sewing easier. Begin with the basics like the straight stitch foot and zigzag foot. These two cover most everyday sewing tasks. You can hem pants, sew seams, and finish edges without switching feet all the time. If you use your sewing machine feet for regular projects, you’ll notice how much you can accomplish with just a few options.
Tip: Keep your first projects easy. Use the all-purpose foot for most stitches. Switch to the zigzag foot when you want to finish raw edges or add a decorative touch.
As you get comfortable, you’ll learn which feet help you most. You don’t need to rush into buying every specialty foot. Let your sewing skills grow with your collection.
Add Specialty Feet
You’ll know it’s time to add specialty sewing machine presser feet when you start exploring new techniques or working with tricky fabrics. Specialty feet make tasks like quilting, gathering, or sewing zippers much smoother. Here’s how you can tell when to expand your collection:
Experiment with different feet on fabric scraps. See how each one handles stitches and materials.
Check your machine manual for recommended stitch width and length settings for specialty feet.
Create a ‘foot cheat sheet’ listing each foot, its uses, and best settings. Keep it nearby for quick reference.
Adjust presser foot pressure for different fabrics. This helps prevent stretching or puckering.
Practice with sample swatches before using specialty feet on your final project.
You might want a walking foot for quilting or an overcasting foot for finishing seams. As you try new styles, you’ll discover which feet make your sewing easier and more fun.
Note: Specialty feet help you tackle new challenges. You can always test them on scraps before using them on your main project.
Buying Tips
When you start choosing the right presser foot, you want to make smart purchases. Look for quality and compatibility with your machine. Research each foot before you buy. Read your sewing machine manual and check your brand and model to make sure the foot fits.
If you plan to expand your collection, think about how you’ll store your sewing machine feet. Here are some important considerations:
Consideration | Description |
|---|---|
Adaptable Storage Solutions | Use boxes with adjustable dividers that grow with your collection. |
Clear Labeling | Label each foot so you can find what you need quickly. |
Visibility of Collection | Choose storage that lets you see all your feet at a glance. |
Protection from Damage | Pick cases that cushion delicate feet to prevent scratches or cracks. |
Portability | Select compact organizers with handles for easy transport to classes. |
You can save money by buying presser foot sets, but always check that each foot matches your machine’s shank type and attachment method. If you want reliable presser feet, YNF Rubber offers a wide range of options. Their products fit many machines and help you get the results you want.
Tip: Keep your collection organized. Use a chart or labels to track which foot works best for each project.
You’ll enjoy sewing more when you have the right tools. Take your time, do your research, and choose feet that match your needs.
Sewing Machine Presser Feet Troubleshooting
Fit Issues
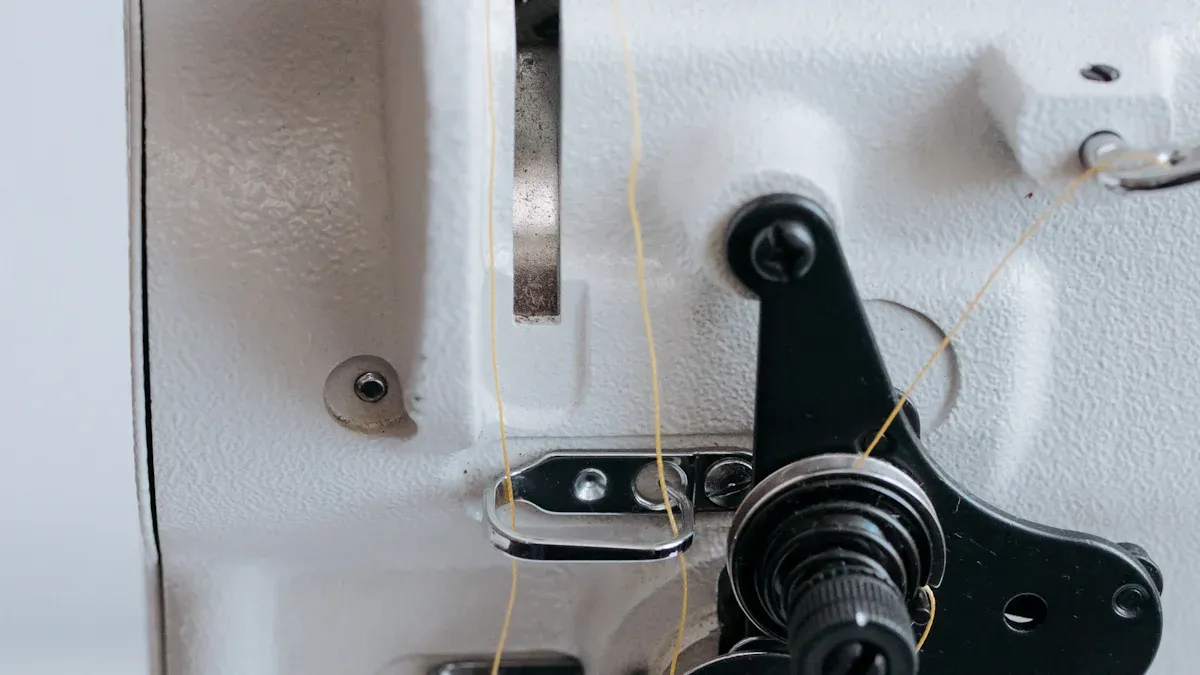
You might run into fit problems when you try new presser feet. Sometimes, the foot won’t snap on or screw in the way you expect. Maybe it wobbles or sits crooked. This usually means the foot doesn’t match your machine’s shank type or attachment method. Always double-check your sewing machine’s manual before you buy a new foot. If you notice skipped stitches or uneven fabric feeding, the foot might not be sitting flat. Try removing and reattaching it. If it still feels off, compare the foot’s shape and size to your old one. A quick visual check can save you a lot of frustration.
Tip: If you’re unsure about fit, bring your old presser foot to the store or keep it nearby when shopping online. Matching the shape and attachment style helps you avoid mistakes.
Testing New Feet
Testing a new presser foot is easy and helps you avoid problems on your main project. Grab a scrap piece of fabric and set up your machine as usual. Attach the new foot and sew a few lines. Watch for smooth feeding and even stitches. Listen for strange noises or resistance. If you see puckering, skipped stitches, or the fabric bunching up, stop and check the foot’s position. Sometimes, adjusting the presser foot pressure or stitch length fixes the issue. You can also try different fabrics to see how the foot handles each one.
Here’s a simple checklist for testing new presser feet:
Attach the foot securely.
Use a fabric scrap for practice.
Sew straight and zigzag lines.
Check for smooth movement and even stitches.
Adjust settings if needed.
Finding Information
You don’t have to guess when you run into trouble with presser feet. There are plenty of helpful resources online. You can find guides, troubleshooting tips, and compatibility charts that make things easier. Here are some reliable places to look:
A Quick Guide to Your Sewing Machine Presser Feet
Will This Foot Fit My Machine?
Not All Presser Feet Are Made Equal
Sewing Machine Presser Feet – a Quick Guide to Help You Get the Most Out of Sewing (Free eBook)
You can also check your machine’s manual or search for your model online. If you want presser feet that fit well and work smoothly, YNF Rubber offers a wide selection for many machines. With the right information, you’ll solve most problems quickly and get back to sewing with confidence.
You can choose the right presser feet by following these steps:
Think about your sewing needs.
Check your machine’s compatibility.
Start with essential feet.
Add specialty feet as you grow.
Try new feet and see what works best for you. Sewing gets easier when you experiment and learn. If you want reliable presser feet, YNF Rubber offers great options for many machines. You’ve got this—make confident choices and enjoy every project!
FAQ
What presser feet do I need to start sewing?
You only need a few basic feet. Start with a zigzag foot, a zipper foot, and a buttonhole foot. These cover most projects. You can add more as you learn new techniques.
How do I know if a presser foot fits my machine?
Check your sewing machine’s manual. Look for your shank type and attachment method. If you want a reliable fit, YNF Rubber offers presser feet for many machines.
Can I use specialty feet on any sewing machine?
Not every specialty foot fits every machine. You need to match the shank type and attachment method. Always check compatibility before you buy.
What should I do if my presser foot won’t attach?
Remove the foot and try again. Make sure you have the right shank type and attachment method. If it still won’t fit, compare it to your old foot or ask YNF Rubber for help.
Where can I buy quality presser feet?
You can find quality presser feet at YNF Rubber. They offer a wide selection for many sewing machines. Their products help you sew with confidence.
