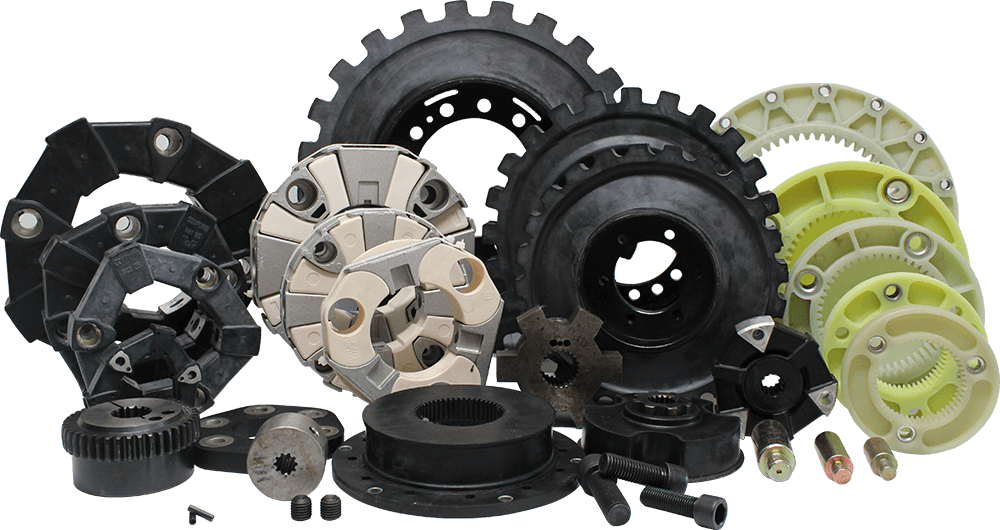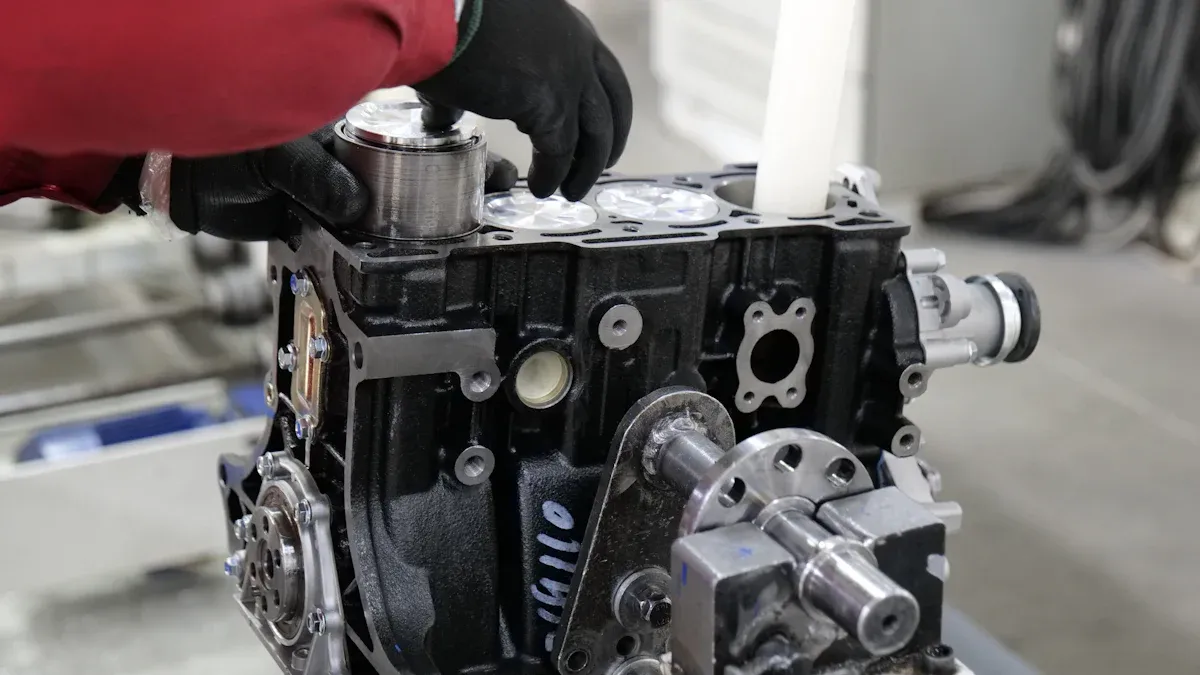
You put in a flange motor mount by making sure the motor is flat and lines up with what it turns. Always check if the mounting surface can hold the weight and meets rules like NEMA F1 or IEC IM B3. Bad alignment causes more than 25% of bearing problems. Common mistakes are soft feet and not lining things up, which make the motor shake and get too hot.
Tip: Use mounting codes from the table below to place the motor right.
Standard | Mounting Position | Description |
|---|---|---|
NEMA | F1 | Junction box is on the left side when you face the output shaft. |
IEC | IM B3 | Junction box is on top of the motor. |
IEC | IM 3001 / IM B5 | This is a horizontal flange mount. |
Key Takeaways
Make sure the motor lines up right. This helps stop more than 25% of bearing problems. Use mounting codes like NEMA and IEC to put it in the right spot.
Pick the best material for your flange motor mount. Choose steel if you need strength. Pick aluminum if you want it light. Use rubber if you need less vibration.
Always check if the mounting surface is flat and strong. The surface must be clean and solid. This helps keep the motor mount safe and secure.
Use the right tools for the job. You need a torque wrench and a level. These tools help you install the mount safely. Tighten everything right to stop problems later.
Check and take care of your motor mounts often. This helps them last longer. Watch for wear or overheating. Make sure all bolts stay tight.
Flange Motor Mount Basics
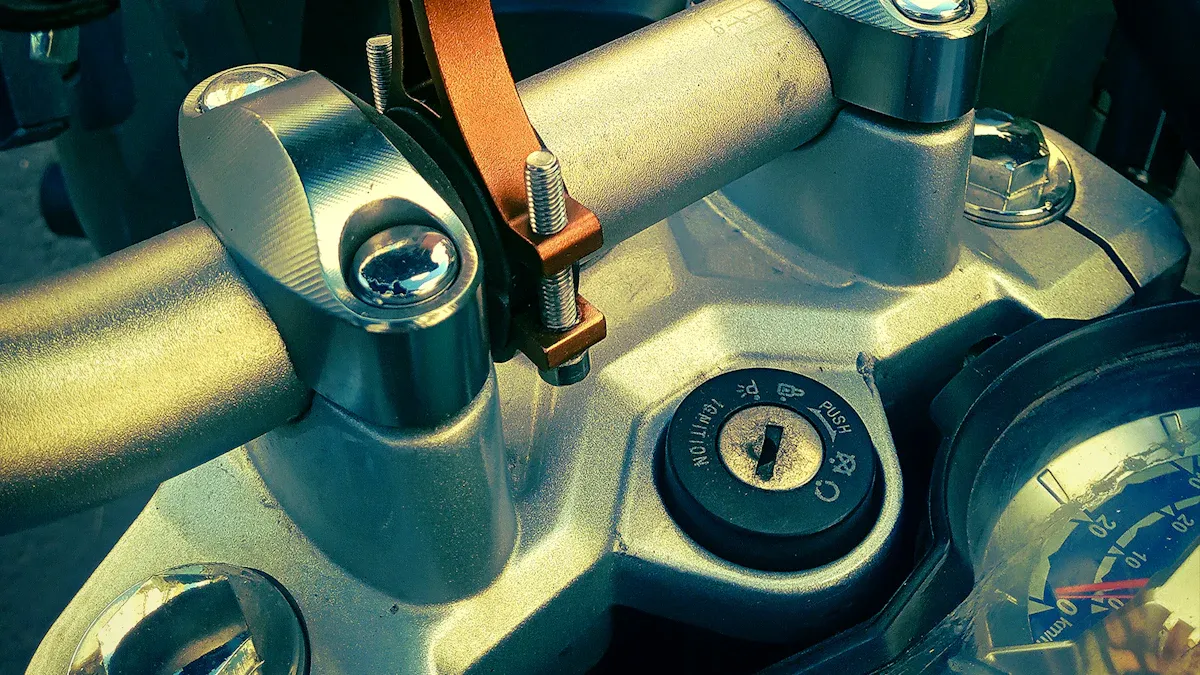
What Is a Flange Motor Mount
Flange motor mounts are used in machines that need strong support. They help keep the motor lined up right. The flange face is flat and smooth. This lets you bolt the motor straight to the machine. The mounting holes let you use bolts to hold the motor tight. The alignment system keeps the motor in the right spot. This stops problems when the machine is running.
Here is a table that shows what makes flange motor mounts special:
Key Component | Description |
|---|---|
Flange Face | Flat, smooth surface for bolting the motor to equipment |
Mounting Holes | Let you use bolts to hold the motor tight |
Alignment System | Keeps the motor lined up to stop problems |
Flange motor mounts can be made from many materials. Steel is strong and lasts a long time. It is good for heavy loads. Aluminum is light and does not rust easily. This helps the motor last longer and saves fuel. Cast iron is good at stopping shaking and holds up heavy engines. Rubber cuts down on shaking and makes less noise. Polyurethane lasts a long time and does not wear out fast. It is good for high-performance jobs. Titanium is strong and does not get damaged by heat or chemicals.
Tip: YNF Rubber makes flange motor mounts you can trust for many jobs.
Applications of Motor Mounts
Motor mounts are used in many machines and industries. You see them in pumps, fans, conveyors, and compressors. Flange motor mounts help cut down on shaking and keep the motor steady. You find them in factories, cars, and even some home machines.
Motor mounts can hold loads from 20kg up to 5,000kg. This means you can use them for small or big jobs. They help stop shaking, which protects your machines and saves money. You pick the right motor mount by looking at the load, how much shaking there is, and where it will be used. For wet or chemical places, aluminum or stainless steel is best. For heavy engines, steel or cast iron is strong enough.
Flange motor mounts work for many different jobs.
They help lower vibration and save money.
These mounts hold motors in factories, cars, and homes.
You can pick the material that fits your needs.
YNF Rubber has flange motor mounts for many uses.
Preparation
Check Motor Specs
Before you start to install motor mounts, you need to check the motor specs. Look at the type of motor and the size. Make sure the mount fits the motor. Always check the mounting codes, like NEMA or IEC, to match the right position. Use a level to see if all mounting points are on the same plane. If the motor is not level, use shims to fix it. Check the load capacity of the mount. The mount must hold the weight of the motor and any extra parts. You should also look at the space around the motor. Make sure there is enough room for other parts you may need to add later. Good alignment helps the motor run smooth and keeps the motor mounts from wearing out too fast.
Tip: Always double-check the mounting position and codes before you start. This step helps you avoid costly mistakes.
Assess Mounting Surface
You need to look at the surface where you will put the mount. The surface must be flat and strong. If the surface is weak, the mount will not hold the motor well. Check for cracks or rust. Clean the area before you start. The material of the surface matters too. Steel and concrete work best for heavy motors. For lighter motors, you can use aluminum or wood, but make sure the mount is tight. If you see any damage, fix it before you put on the mount. A good surface keeps the motor mounts steady and safe.
Gather Tools and Materials
You need the right tools and materials to install motor mounts. Here is a table to help you get ready:
Tools/Materials | Description |
|---|---|
Torque Wrench | Lets you tighten bolts to the right strength. |
Pipe Wrench | Helps you grip and turn pipes or fittings. |
Level | Checks if your mount and motor are even. |
Measuring Tape | Measures distances and makes sure your mount fits. |
Set of Wrenches | Used for bolts and nuts on the mount. |
Safety Equipment | Gloves, safety glasses, and hearing protection keep you safe. |
Flanges | The main part you will mount to the surface. |
Gaskets | Seals between flange faces to stop leaks. |
Bolts and Nuts | Hold the mount and motor together. Pick the right size for your job. |
Get all your tools ready before you start. This step saves time and helps you install the mount right the first time. When you have the right tools, you protect the motor mounts and make your work safer.
Safety Tips
Personal Protective Equipment
You need to wear the right gear before you work. Safety gear keeps you from getting hurt. Always wear safety glasses to protect your eyes. Gloves help you hold tools and keep your hands safe. Steel-toed boots protect your feet if you drop something heavy. Ear protection keeps your ears safe from loud tools.
Tip: Pick gloves that fit your hands well. Loose gloves can get stuck in moving parts.
Here is a quick checklist for your safety gear:
Safety glasses or goggles
Cut-resistant gloves
Steel-toed boots
Ear protection (earplugs or earmuffs)
Dust mask (if you work in a dusty area)
Check your gear before every job. Replace anything that is broken or worn out. Good safety habits help you stay safe and keep your work area safe.
Electrical and Mechanical Safety
You must follow safety rules when you install flange motor mounts. Turn off the power before you touch wires or electrical parts. Use a lockout/tagout system so no one turns the power back on. Test wires with a voltage tester to make sure they are not live.
Mechanical safety is important too. Make sure all moving parts are secure before you start. Use the right tool for each job. Tighten bolts to the right strength so mounts do not come loose. Never use tools that are broken. Keep your work area clean to stop slips and falls.
Safety Step | Why It Matters |
|---|---|
Power off and lockout | Stops electric shock |
Test wires | Makes sure wires are not live |
Use correct tools | Lowers the chance of getting hurt |
Tighten bolts | Keeps mounts tight and safe |
Clean workspace | Stops accidents |
Note: YNF Rubber says to follow all safety steps every time. Safe work keeps you and your equipment safe.
You keep yourself and others safe when you follow these tips. Safety is always the most important part of installing motor mounts.
Installation Steps
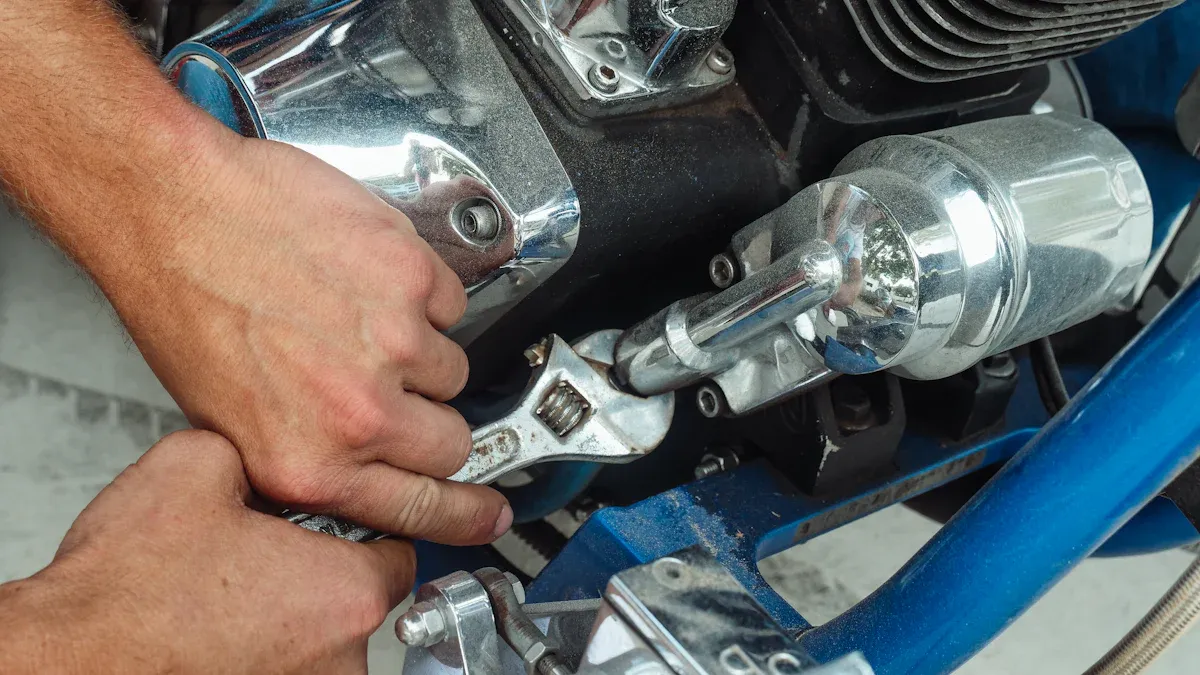
Position Flange Motor Mount
Start your mount installation by placing the flange motor mount in the correct spot. Make sure the mount sits flat on the surface. Use a base plate for flange mounts if you need extra support or want better vibration isolation. The base plate helps spread the load and keeps the mount steady. Check that the motor sits level from side to side. You also need to tilt the motor down at a 3-degree angle toward the back. This angle helps with cooling and reduces stress on the motor mounts.
Use this table to guide your alignment and load checks:
Step/Consideration | Description |
|---|---|
Check Total Indicator Runout | Use a dial indicator to measure TIR on both the compressor and motor shafts to ensure alignment. |
Address Soft Foot Conditions | Shim the motor and compressor feet to avoid soft foot issues. |
Ensure Proper Coupling Gaps | Make sure the coupling has a gap and does not touch, allowing for proper operation. |
Machining of Flanges | Check that flanges are flat and properly aligned. |
Use of Shimming | Use shims if needed to get the right alignment and load distribution. |
Tip: Good alignment and the right angle help with vibration isolation and make your mount installation last longer.
Drill and Align Holes
After you position the flange motor mount, mark the spots for drilling. Use a marker or punch to show where each hole goes. Make sure the holes line up with the mount and the flange. The holes must match the bolt pattern on the mount. Drill straight down to keep the mount stable.
Follow these best practices for drilling and aligning holes:
Best Practice | Description |
|---|---|
Proper Alignment of Flanges | Keep flange faces parallel and aligned to prevent stress. |
Piping Alignment | Align piping sections to avoid misalignment and extra stress. |
Bolt Insertion | Insert bolts through flange holes for even distribution. |
Hand Tightening | Hand-tighten bolts in a crisscross pattern for even pressure. |
Torque Wrench | Use a torque wrench to tighten bolts to the right strength. |
Crisscross Pattern | Tighten bolts in a crisscross pattern for even pressure distribution. |
Check that the holes are clean and free of debris. Clean holes help the bolts fit tight and keep the mount secure.
Secure with Bolts
Now you can secure the flange motor mount with bolts. Insert the bolts through the holes in the mount and flange. Use nuts on the other side if needed. Start by hand-tightening each bolt. Use a crisscross pattern to spread the pressure evenly. This keeps the mount from twisting or bending.
Next, use a torque wrench to tighten the bolts to the right strength. The table below shows some common torque values:
Motor Type | Bore Diameter (mm) | Thread | Tightening Torque (Nm) |
|---|---|---|---|
23IP | 5 | M5 | 3 |
34IP | 6.5 | M6 | 6 |
Check your motor’s manual for the exact torque needed. Tight bolts keep the mount installation safe and stop the motor from moving during use. Even pressure on all bolts helps with vibration isolation and keeps the motor mounts from wearing out too fast.
Set Correct Angle
You must set the correct angle for the flange motor mount. Use a level to check that the motor is flat from side to side. Tilt the motor down at a 3-degree angle toward the back. This angle helps oil drain and keeps the motor cool. It also helps the mount last longer.
The angle of installation for flange motor mounts significantly impacts the performance and longevity of the motors. Proper mounting minimizes vibration, enhances cooling, and ensures accurate alignment, all of which contribute to the overall efficiency and lifespan of the motor systems. Misalignment and poor mounting can lead to increased wear and instability, particularly in high-speed applications.
If you need to adjust the angle, use shims under the mount. Shims help you get the exact tilt you need. Always double-check the angle before you finish the installation.
Final Checks
Before you start the motor, do a full check of your mount installation. Look for any loose bolts or tools left near the mount. Spin the motor by hand to make sure it turns freely. Listen for any strange sounds. If the motor feels stuck or makes noise, stop and check your work.
Inspect the entire assembly for any loose components or tools in the vicinity.
Check how easily the motor spins; it should rotate freely without resistance or unusual sounds.
Briefly power on the motor for a test run to ensure proper functionality and response to control inputs.
If everything looks good, your flange motor mount installation is complete. You can trust your work to hold up under load. For the best results, use quality motor mounts from YNF Rubber. Their products help you avoid problems and keep your machines running smoothly.
Troubleshooting Motor Mounts
Alignment Issues
Alignment problems can make flange motor mounts fail early. If you see uneven wear or hear odd noises, check the alignment fast. There are different ways to find out if things are not lined up. Each way helps you find problems before they get worse.
Diagnostic Method | Description |
|---|---|
Thermography | Checks for hot spots to find misalignment. |
Vibration analysis | Looks for small shakes that mean misalignment. |
Oil analysis | Finds dirt or wear in oil that shows misalignment. |
Laser shaft analysis | Measures how far shafts are off, giving exact numbers. |
Motion Amplification | Shows misalignment in a way you can see. |
Tip: A laser shaft analyzer gives the best results. Always check alignment again after you make changes.
Vibration or Noise
Vibration or noise after you install the mount can mean bigger problems. You might hear rattling, humming, or feel shaking. These signs often mean something is wrong with the mount or where it sits. Here are some common causes and ways to fix them:
Cause of Vibration/Noise | Description |
|---|---|
Mechanical Fatigue | The mount’s rubber and metal parts wear out from use. |
Environmental Factors | Heat, leaks, or ozone can break down rubber and make mounts weak. |
Control System Issues | If the control system has problems, the engine can move too much and shake. |
Troubleshooting Steps | Description |
|---|---|
Inspect for Wear | Look for cracks or parts pulling away from metal. |
Test for Leaks | Use tools to check for leaks that could hurt the mount. |
Analyze Vibrations | Use vibration tools to check engine RPM and find what is shaking. |
Note: Checking your mounts often helps you find problems early. YNF Rubber mounts can handle many of these issues.
Fastening Problems
Fastening problems can make your mount break fast. Watch for these common problems and fix them quickly:
Seized or frozen bolts: Bolts can bend if you do not tighten them right. Always use the right torque and check if bolts are straight.
Belt installation issues: Bent or stuck bolts can stop the motor from moving and mess up belts. Make sure bolts move easily before you put on belts.
Loose mounting bolts: Loose bolts make the mount shake and can break metal. Tighten all bolts to the right torque.
Cracked rails and failed bases: If you cannot adjust the base, it might crack. Check the base and rails before and after you install the mount.
Always use good mounts and hardware. If you need strong parts, YNF Rubber has tough motor mounts for many jobs.
Common Engine Mount Mistakes
Incorrect Techniques
Some people think putting in an engine mount is easy. But if you use the wrong way, you can have big problems. Many people hurry or skip steps. If you do not follow the right steps, the engine mounts can break early. Bad ways of installing can cause:
Engine mounts to break too soon
Too much shaking when the machine runs
Damage to the engine or parts close by
More wear on other parts, which can make your machine work badly and be less safe
You should always check the engine mounts for cracks or bent spots. If you see these, the mount might break soon. When a trained person puts in the mount the right way, your machine works better and lasts longer.
Tip: Go slow and do every step right. This helps you stop big repair bills later.
Ignoring Safety Steps
If you skip safety steps, you can get hurt or break your machine. Some people do not do important safety checks. This can cause leaks, broken parts, or even hurt someone. The table below shows safety steps people miss and what can go wrong:
Safety Step | Associated Risks |
|---|---|
Ignoring Flange Ratings | Leaks, broken flanges, machine stops working |
Neglecting Proper Gasket Selection | Gasket breaks, leaks, machine does not work as well |
Overlooking Bolt Tightening Sequence | Bolts press unevenly, leaks, gaskets get ruined |
Using Damaged or Worn Flanges | Leaks, broken machine, more money spent on fixing |
Incorrect Flange Alignment | Uneven pressure, stress on parts, machine works worse |
Never skip these steps. Each one keeps your motor mount safe and helps stop big problems.
Using Wrong Parts
If you use the wrong parts, you can have big trouble. If a part does not fit or match, you might get shaking or break other parts. For example, if the exhaust elbow is not lined up, the whole system can shake and cost a lot to fix. If one motor mount breaks in a three-point setup, everything can get out of line. This can break your machine and make it unsafe.
Loose nuts on the motor mount brackets also cause trouble. Even if the rubber is still good, loose nuts can make things out of line and wear out fast. Always use the right parts and tighten them well. This helps your mounts last longer and keeps your machine working well.
Note: If you pick good parts from trusted places like YNF Rubber, you can stop these mistakes and keep your machines safe.
Engine Mount Maintenance
Regular Inspection
You need to check your flange motor mounts often to keep your machines safe. Regular inspections help you spot problems before they get worse. Look for signs of wear, overheating, strange noises, or extra vibration. If you see cracks or loose bolts, fix them right away. Clean the motor and mount to remove dust and dirt. Dirt can make the motor overheat and wear out faster.
Tip: Always follow the inspection schedule in your motor’s manual. This keeps your equipment running longer.
Here is a table that shows how often you should inspect your mounts:
Inspection Interval | Conditions Affecting Interval |
|---|---|
60,000 to 100,000 miles | Extreme terrains, heavy loads, high heat |
If you use your machine in tough places or carry heavy loads, check the mounts more often. Keeping a log of inspections helps you track changes and plan repairs.
Extending Mount Life
You can make your flange motor mounts last longer by using smart maintenance steps. Set up a routine schedule for cleaning, checking, and fixing parts. Watch for extra vibration. If you feel shaking, check for misalignment or worn parts. Fix these problems quickly to stop more damage.
Here are some ways to extend the life of your mounts:
Clean the motor and mount often to stop dust and debris from building up.
Lubricate moving parts as the manufacturer suggests. Lubrication lowers friction and wear.
Control the environment. Keep the area cool and dry to prevent overheating.
Use motor protection relays to watch for electrical faults. These relays can shut down the motor if something goes wrong.
Balance and align the motor regularly. This stops uneven wear and keeps the mount strong.
If you want reliable mounts, choose YNF Rubber. Their products help your machines run smoothly and last longer.
By following these steps, you protect your motor mounts and save money on repairs. Good maintenance keeps your machines safe and working well.
Putting in flange motor mounts takes good planning and care. You should use these smart steps:
Look at motors for damage before you start. Make sure the specs are right.
Pick a spot that is clean, dry, and easy to reach. Try to find a place with little shaking.
Check if the motor is straight up and down. Make sure it can cool off well.
Make sure the power matches what the motor needs.
Keep checking and cleaning the motor often.
Look at flanges often for cracks or rust.
Tighten bolts and add oil if needed.
Always do what the maker says for safety and good work.
YNF Rubber has strong motor mounts that last a long time. Ask an expert if you have hard problems.
FAQ
How do you know if your flange motor mount needs replacing?
You see cracks, rust, or loose bolts. The motor shakes or makes noise. If you notice these signs, you should replace the mount soon.
What tools do you need for installing flange motor mounts?
You need a torque wrench, level, measuring tape, and safety gear. Use the right size bolts and nuts. Always check your motor’s manual for special tools.
Can you reuse old bolts when installing a new motor mount?
You should use new bolts for each installation. Old bolts may be weak or damaged. New bolts help keep your mount safe and secure.
Where can you buy reliable flange motor mounts?
You can buy strong and long-lasting flange motor mounts from YNF Rubber. Their products work for many machines and help prevent common mounting problems.


