Seal failure can happen for many reasons. Sometimes seals are not put in the right way. Sometimes the wrong materials are used. Dirt and chemicals can also cause problems. You can stop most issues by installing seals carefully. You should also choose the best seal for your system. If a seal fails, you may notice leaks. You might see contamination or more wear. Production can also slow down. Here is a quick look at what can go wrong:
Consequence | Description |
|---|---|
Leakage | Fluids get out and can be dangerous. |
Contamination | Bad things get in and make products worse. |
Wear and Tear | Seals break faster and repairs cost more money. |
Operational Inefficiencies | Machines work slower and are harder to fix. |
Key Takeaways
Seal failure can cause leaks and make things dirty. It can also cost more money. Checking seals often helps find problems early.
Installing seals the right way is important. Always read the instructions. Use clean tools every time. Make sure seals fit well.
Pick the right seal material for heat and pressure. Make sure it works with chemicals used. This helps stop seals from failing early.
Keep the area clean. Dust and dirt can hurt seals. Clean your workspace and use air filters.
Change seals before they break. Check seals often and replace them on time. This saves money and keeps things working well.
Main Causes of Seal Failure
Design Errors
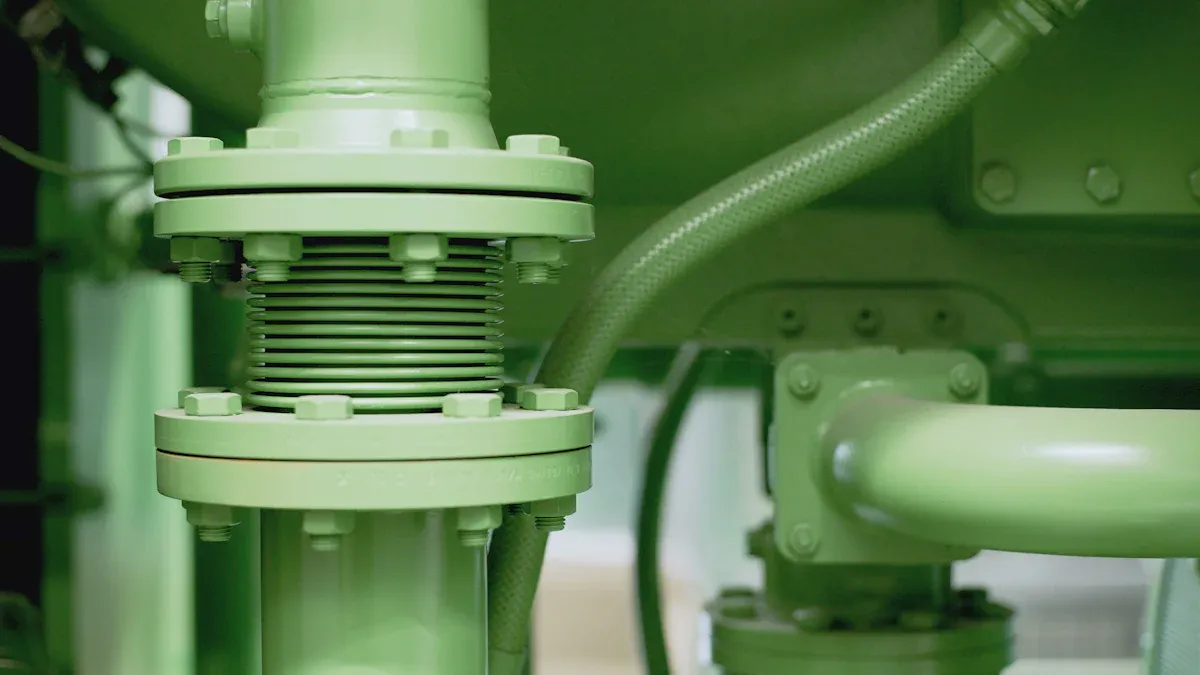
Design errors can make seals fail in machines. If a seal does not fit right, it will not work well. Dry running makes the seal wear out fast. Using the wrong material can make seals swell or shrink. Shaft vibration can shake the seal loose. Heat or quick temperature changes can break the seal.
Here are five design mistakes that cause problems:
Not installing the seal the right way.
Not using enough lubrication, causing dry running.
Picking materials that do not work with chemicals.
Letting the shaft vibrate too much.
Not stopping heat or sudden temperature changes.
Installation Errors
You need to be careful when you put in seals. If you hurry or skip steps, seals can leak or break early. Not following instructions can hurt the seal. Using wrong tools or forcing the seal can bend or tear it. Dirt left behind can scratch the seal. Always check the seal is facing the right way and sits flat.
Tip: Clean the area and use the right tools before you install a seal.
Operational Errors
Running your system the wrong way can hurt seals. High heat can make seals hard and cracked. Too much pressure can push seals out of place. Using the wrong fluid can make seals swell or shrink. Rough piston rods can scrape seals and cause leaks. Keeping things clean helps seals last longer.
Some common mistakes are:
Not keeping things clean, so dirt hurts seals.
Heat that makes seals hard and easy to break.
Pressure that pushes seals out of their spot.
Rough rods that wear seals down.
Using fluids that do not match the seal.
Maintenance Errors
If you skip regular checks, seals will not last long. Not looking at seals often means you miss early damage. Cleaning helps get rid of dirt and chemicals that hurt seals. Clean fluids stop dirt from grinding seals away. Good maintenance saves time and money.
You should:
Check seals for damage and wear.
Clean systems to get rid of dirt.
Keep fluids clean and free of dirt.
Change seals before they break.
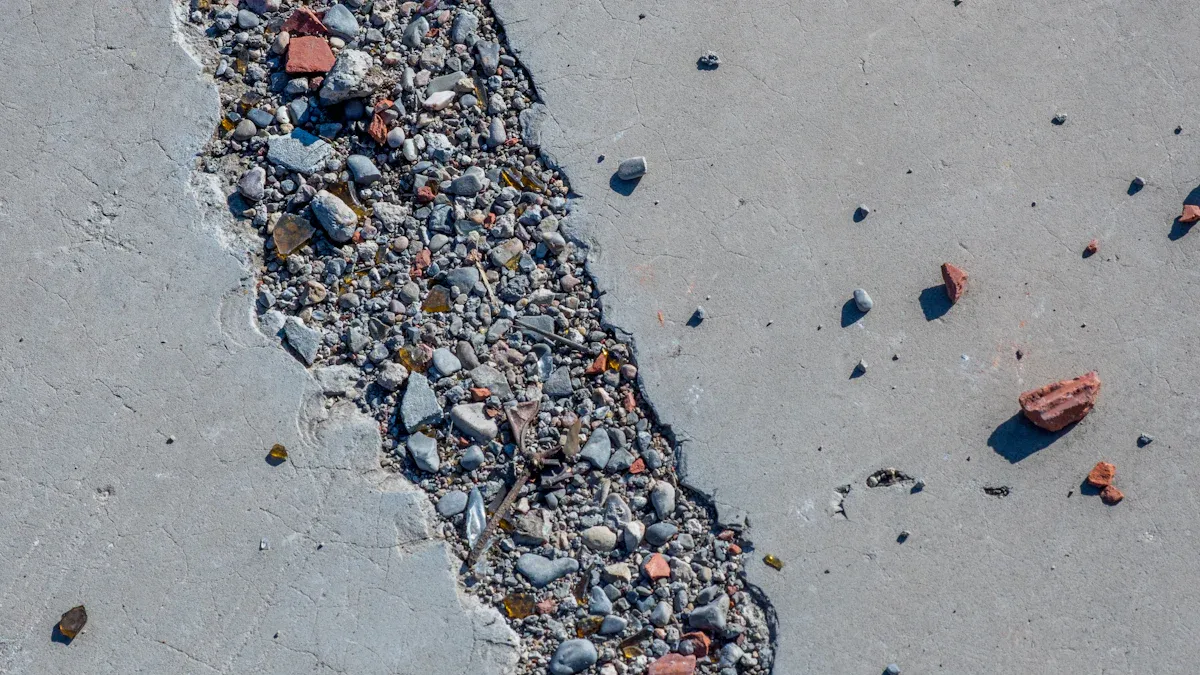
Contamination
Contamination is a big reason seals fail. Dirt, dust, and chemicals can get in and hurt seals. Air and water can also cause trouble. Sometimes contamination comes from inside, sometimes from outside.
Types of contamination are:
Built-in contamination from making the system.
Contamination made during use.
Air that dries out seals.
Water that makes seals swell.
Chemicals that react with seals.
Dust and dirt that get in.
Chemical Incompatibility
Chemical incompatibility happens when the seal does not match the fluid or chemical. Seals can swell, shrink, or even dissolve. This causes leaks and makes seals fail early. Always check if the seal works with your chemicals. Using the wrong seal can cost a lot to fix and stop your work.
Note: Picking the right seal for your chemicals keeps your system safe and working.
Preventing Seal Failure
Installation Best Practices
You can prevent seal failure by following the right steps during installation. Always read the instructions before you start. Use clean hands and tools. Make sure the seal fits the groove without force. Place the seal gently and check that it sits flat. If you see dirt or damage, clean the area or replace the seal.
Here is a simple checklist for installing seals:
Wash your hands and clean your tools.
Inspect the seal for cracks or dirt.
Place the seal in the groove without stretching.
Make sure the seal sits flat and faces the right way.
Use the right lubricant if needed.
Double-check your work before starting the machine.
Tip: Take your time during installation. Rushing can lead to mistakes and early seal failure.
Material Selection Tips
Choosing the right seal material helps your system last longer. You need to think about heat, pressure, and chemicals. Some seals work better in hot places. Others resist strong chemicals.
Use this table to guide your choice for high-temperature applications:
Criteria | Description |
|---|---|
Application Mode | Think about how the seal moves and the stress it faces. |
Gasket Joint Pressure | Check the pressure on the seal to pick a strong material. |
Chemical Compatibility | Make sure the seal does not break down when touching fluids. |
Temperature | Pick a material that can handle the heat in your system. |
Material Certification | Look for seals that meet safety and performance standards. |
When you select a seal, ask yourself these questions:
What temperature will the seal face?
How long do you need the seal to last?
What fluids will touch the seal?
Will the seal face strong chemicals like chloramines?
Does the seal need to handle dust or UV light?
Will the seal be used in places with vacuum or need sterilization?
Note: Always match the seal material to your system’s needs. If you feel unsure, ask YNF Rubber for advice.
Maintenance and Inspection
Regular checks help you catch problems early. Clean seals last longer. You should look for cracks, leaks, or hard spots. Replace seals before they break.
Follow these steps for good maintenance:
Inspect seals every month for damage.
Clean the area around the seal.
Change fluids often to keep dirt away.
Replace seals that look worn or cracked.
Keep a record of seal changes and checks.
Reminder: Good maintenance saves money and keeps your machines running.
Clean Environment Practices
Keeping your work area clean helps seals last longer. Dust and dirt can cause seal failure. Airborne particles can get into the system and wear seals down. Use air filters and breathers to keep dust out.
Here are some ways to keep your environment clean:
Sweep and wipe surfaces often.
Use air breathers to filter dust and debris.
Store seals in clean, dry places.
Keep fluids covered to stop dirt from getting in.
Airborne particulate control stops contaminants from getting into lubrication systems. Clean air breathers keep the lubricant pure. This helps seals work better and last longer.
Tip: Clean workspaces and good air filters protect your seals and help your system run smoothly.
Seal Replacement Steps
Replacing a seal helps you prevent seal failure and keep your system working well. You need to follow each step carefully to get the best results.
Preparation
Start by getting ready for the job. You need to gather all the tools and materials before you begin. Use needle-nose pliers, a razor blade, a putty knife, and a measuring tape. Make sure you have the new seal from YNF Rubber. No other suppliers are recommended for replacement seals. Check that you have glue for the contact points. Prepare your workspace so you can work safely and efficiently.
Preparation steps:
Gather needle-nose pliers, razor blade, putty knife, and measuring tape.
Make sure you have the new seal and glue.
Prepare your workspace and keep it clean.
Review the instructions for your specific seal.
Lay out all materials before you start.
Tip: Careful preparation helps you avoid mistakes and makes the replacement process smoother.
Removal and Cleaning
Remove the old seal with care. Use your tools to lift and pull out the seal without damaging the surface. Clean the area thoroughly after removal. Wipe away dirt, dust, and old glue. A clean surface helps the new seal stick and work well.
New Seal Installation
Place the new seal gently into the groove. Make sure it fits without stretching or forcing. Apply a thin layer of glue to the contact points around the frame, but avoid getting glue on the window itself. Press the seal so it sits flat and faces the right way. Double-check your work before moving on.
Note: Always use seals from YNF Rubber for the best fit and reliability.
Final Checks
After installing the new seal, you need to check your work. Re-torque the installation 12 to 24 hours later. Make sure you follow all safety standards, including lockout/tagout procedures. Look for leaks or gaps. Confirm that the seal sits flat and secure.
Re-torque the installation after 12 to 24 hours.
Follow all safety standards.
Inspect for leaks or gaps.
Confirm the seal is flat and secure.
Reminder: Careful final checks help you avoid future problems and keep your system safe.
Troubleshooting Seal Failure
Identifying Failure Signs
You need to spot seal problems early to keep your system safe. Look for leaks around the seal. Watch for drops in pressure or changes in fluid levels. If you see cracks, swelling, or hard spots on the seal, you should act fast. Listen for strange noises from pumps or moving parts. These sounds can mean the seal is not working right. Check for contamination in fluids. Dirt or chemicals in the system often point to seal failure. If you notice more wear on nearby parts, the seal may not protect them anymore.
Tip: Regular checks help you catch seal issues before they cause bigger problems.
Failure Sign | What You Should Look For |
|---|---|
Leaks | Fluid escaping near the seal |
Cracks or Swelling | Changes in the seal’s shape or texture |
Pressure Drops | Lower system pressure than normal |
Strange Noises | Unusual sounds from pumps or shafts |
Contaminated Fluids | Dirt or chemicals in system fluids |
Increased Wear | Faster damage to nearby machine parts |
Common Replacement Mistakes
When you replace a seal, you need to avoid common errors. Many people skip the instructions. You should always read the guide that comes with the seal. If you install a seal on a misaligned pump, you risk damaging it. Make sure everything lines up before you start. Use the right lubricant for the shaft. The wrong one can hurt the o-rings. Handle the seal with clean hands or gloves. Dirt and oil can cause problems later. Do not over-tighten the fasteners. Tightening too much can bend the seal and cause leaks.
Here are the most common mistakes and how you can avoid them:
Not following installation instructions. Always read the guide from YNF Rubber.
Installing on a misaligned pump. Check alignment before you begin.
Using the wrong lubricant. Pick one that matches your seal and system.
Mishandling the seal. Use clean hands or gloves to keep it safe.
Over-tightening fasteners. Tighten evenly and gently.
Note: Careful replacement helps you avoid seal failure and keeps your system running smoothly.
You can stop seal failure by using good habits. Check seals often to find problems early. This keeps your equipment safe. Use the checklist and tips in this guide to help seals last longer.
Doing regular maintenance helps seals work well and saves fluid.
Checking seals early stops big problems and saves money.
Lubrication and making sure parts line up keeps seals safe.
Following the maker’s schedule helps your system work better.
Pick YNF Rubber for seals you can trust. Start now to keep your system working well.
FAQ
What signs show a seal is failing?
You may see leaks, hear strange noises, or notice drops in pressure. Cracks, swelling, or hard spots on the seal also mean trouble. Check for dirt in fluids or faster wear on machine parts.
Tip: Inspect seals often to catch problems early.
How often should you replace seals?
Replace seals before they break. Check them every month. If you see damage or leaks, change the seal right away. Keeping a record helps you know when to replace them.
Which seal material works best for chemicals?
Choose a seal that matches your chemicals. Some seals resist acids, oils, or strong cleaners. Always ask YNF Rubber for advice. Using the wrong material can cause early failure.
Chemical Type | Recommended Material |
|---|---|
Acids | EPDM |
Oils | Nitrile |
Cleaners | Viton |
Can you reuse old seals?
You should not reuse old seals. Old seals may have hidden damage or wear. New seals from YNF Rubber give you better protection and longer life.
Why pick YNF Rubber for replacement seals?
YNF Rubber offers high-quality seals that fit your system. You get expert advice and reliable products. Choosing YNF Rubber helps you avoid seal failure and keeps your machines running smoothly.