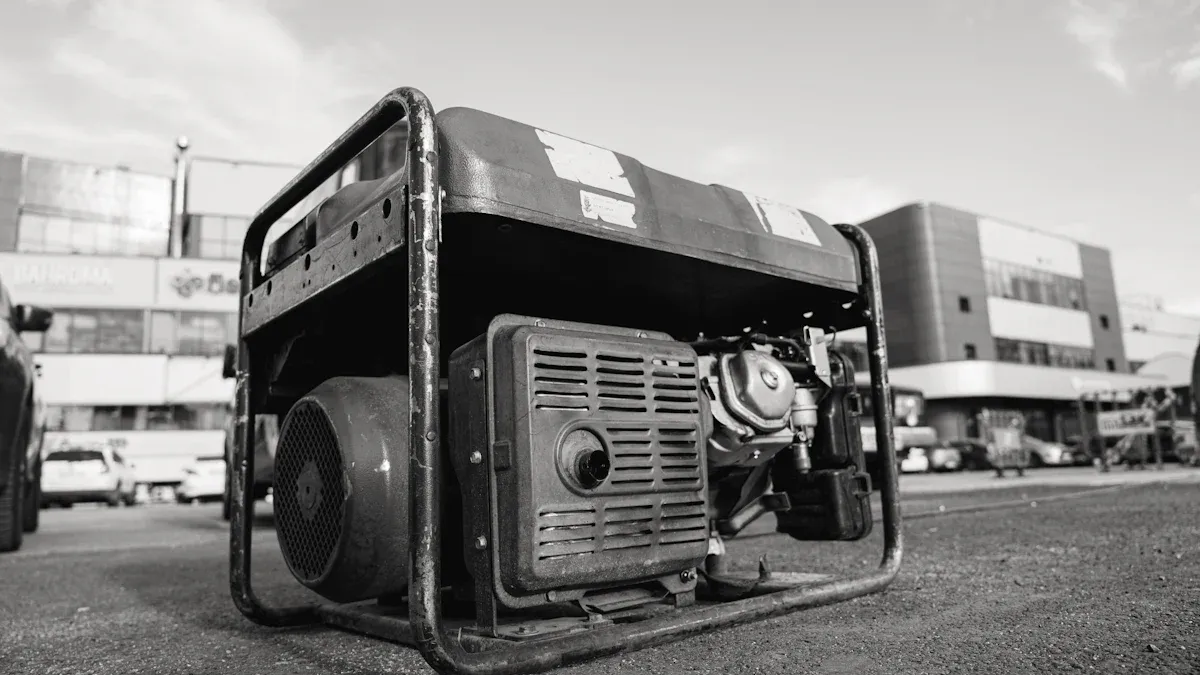
You want to make sure your generator anti vibration mounts work well and last long. The right anti-vibration mount helps reduce unwanted vibrations and keeps your equipment stable. You need to match the mount to your generator’s weight, vibration level, and where you plan to install it. A step-by-step guide can help you make the best choice. If you have questions, you can always ask an expert.
Key Takeaways
Find out your generator’s weight and load first. This stops damage and makes the mounts last longer.
Figure out how much weight each mount will hold. Divide the generator’s weight by the number of mounts. This keeps the mounts from breaking.
Pick mounts that fit your generator’s vibration frequency. This stops shaking that can hurt your generator.
Think about where you will put the mounts. Pick mount materials that can handle heat, oil, and chemicals. This helps them last longer.
Always use the instructions from the maker for setup and care. This keeps your generator safe and working well.
Generator Weight and Load

When picking generator anti vibration mounts, start by knowing your generator’s weight and load. If you skip this, your equipment might get damaged or not last as long. You should find out how much weight each mount will hold. Also, check how the weight spreads over all the mounts.
Calculating Load Capacity
You need to figure out the load capacity for each anti-vibration mount before buying or installing. This helps you stop the mounts from getting overloaded. Overloading can make them break or work in a dangerous way. Here are some steps to follow:
Find the total weight of your generator, including any extra parts or pipes.
Count how many mounts you will use.
Divide the total weight by the number of mounts to get the load for each mount.
Remember, the weight may not always be even. Some mounts might hold more if the generator is not balanced.
Check if the places where you attach the mounts can handle the weight.
Figure out the static deflection for each mount. This shows how much the mount squashes under the generator’s weight.
Tip: Always add a safety margin when picking load capacity. For generator sets, experts say to use only 50% to 85% of the mount’s top static load. This keeps your generator and mounts safe from surprise stress.
Here is a table to help you see the safe load range:
Application | % Of maximum static load capacity |
|---|---|
Generator set | 50-85 |
If you go over the load capacity, the anti vibration mounts can bend or break. This can make your generator wobbly or unsafe. The table below shows why staying in the safe range is important:
Load Capacity | Description |
|---|---|
Maximum weight the pad can hold without bending or breaking. | Makes sure the pad can hold up the generator’s weight. |
Always check that the anti-vibration mounts can take the weight and stress from your generator. This keeps your equipment safe and working right.
Center of Gravity
The center of gravity changes how the load spreads on the generator anti vibration mounts. If your generator has a high or uneven center of gravity, some mounts might hold more weight. You should check your generator’s balance before putting on the mounts.
Put the mounts so they hold the generator evenly.
If one side is heavier, use mounts with more load capacity there.
Make sure the generator is level after you install the mounts.
Note: If you forget about the center of gravity, some mounts might get overloaded. This can make vibration isolators wear out faster or break.
When you plan your setup, think about both the total weight and how it spreads over the mounts. Careful planning helps your anti-vibration system work better and last longer.
Vibration Frequency and Speed
Measuring Vibration Frequency
You need to know your generator’s vibration frequency before picking mounts. Vibration frequency means how fast your generator shakes back and forth. Most industrial generators shake between 2 Hz and 250 Hz. Some special machines can go even higher.
To measure vibration frequency, you can use different tools:
Sensors: These attach to your generator and record movement.
Data Acquisition System: This collects data from the sensors.
Analysis Software: This software shows the vibration frequency in graphs.
Laser Doppler Vibrometry (LDV): This uses a laser to measure vibration without touching the generator.
These tools help you find your generator’s main vibration frequency. Write down your results and save them for later. Knowing the exact frequency helps you choose the best anti-vibration mounts.
Tip: Always measure vibration when the generator is running at normal speed. This gives you the most accurate results.
Matching Anti-Vibration Mounts
You must match the anti-vibration mounts to your generator’s vibration frequency. If you do not, the mounts may not work well. The right match helps reduce vibration and keeps your generator safe.
All physical systems have a natural vibration frequency, like a bell. If something pushes at the same frequency, resonance happens. Resonance makes vibrations much stronger. This can cause a lot of damage. For example, the Tacoma Narrows Bridge in the United States fell in 1940. The wind matched the bridge’s natural frequency. The same thing can happen to a generator. If the engine’s vibration matches the system’s natural frequency, it can break parts or make them wear out faster. This can also make repairs cost more.
When you pick anti-vibration mounts, check their natural frequency. The mount’s natural frequency should not match your generator’s main vibration frequency. If they match, resonance can happen. Resonance makes vibrations much stronger and can damage your generator or the building.
If you use mounts with the wrong frequency rating, you may have problems:
The mounts will not stop vibration well.
Your generator and nearby buildings may wear out faster.
You could have more breakdowns and higher repair costs.
You should always use vibration isolation mounts that fit your generator’s frequency range. This helps keep your equipment safe and working longer. Good vibration isolators protect both your generator and the area around it.
Note: Matching the right frequency is just as important as picking the right size or material for your mounts.
If you follow these steps, you will get the best vibration isolation for your generator. You will also make sure your generator anti vibration mounts last longer and work better.
Installation Environment
Environmental Factors
Think about where you will put your generator. The temperature, oil, chemicals, and weather can change how well the mounts work. Each material handles these things in its own way.
Rubber anti-vibration mounts work in hot and cold places. You can use them in many factories.
Natural rubber and synthetic rubbers, like nitrile, SBR, and neoprene, help stop shocks and lower vibration.
Silicone rubber stays strong even when the temperature goes up or down. It is good for places that get very hot or cold.
Oil and chemicals can hurt some materials. Nitrile (Buna-N) is special because it does not get damaged by oil, gasoline, or many chemicals. It works in temperatures from -65°F to 300°F. But nitrile does not do well in sunlight or ozone.
Here is a table to help you see how materials resist damage:
Material | Resistance to Oil | Resistance to Chemicals | Weather Resistance |
|---|---|---|---|
Stainless Steel | High | High | Good |
Rubber Compounds | Varies | Varies | Varies |
Tip: Always look at the environment before you pick your mount material. The right material helps your mounts last longer and keeps your generator safe.
Support Structure
A strong base is important for stopping vibration. If the base is weak, the mounts will not work well. The foundation must hold the weight and shaking from your generator.
The base should handle hard hits and shaking.
Adding more weight or using special materials can make the base stronger.
Isolation joints help stop vibration from moving to other parts of the building.
A strong base keeps your equipment safe and helps it last longer.
Rubber supports keep the generator steady and stop it from moving too much.
Note: If the supports are too soft, they can hurt the isolator. You may need to move or add supports if the weight is not spread out.
When you set up your generator, always check that your base fits the needs of your generator and mounts. This makes sure your anti-vibration system works the right way.
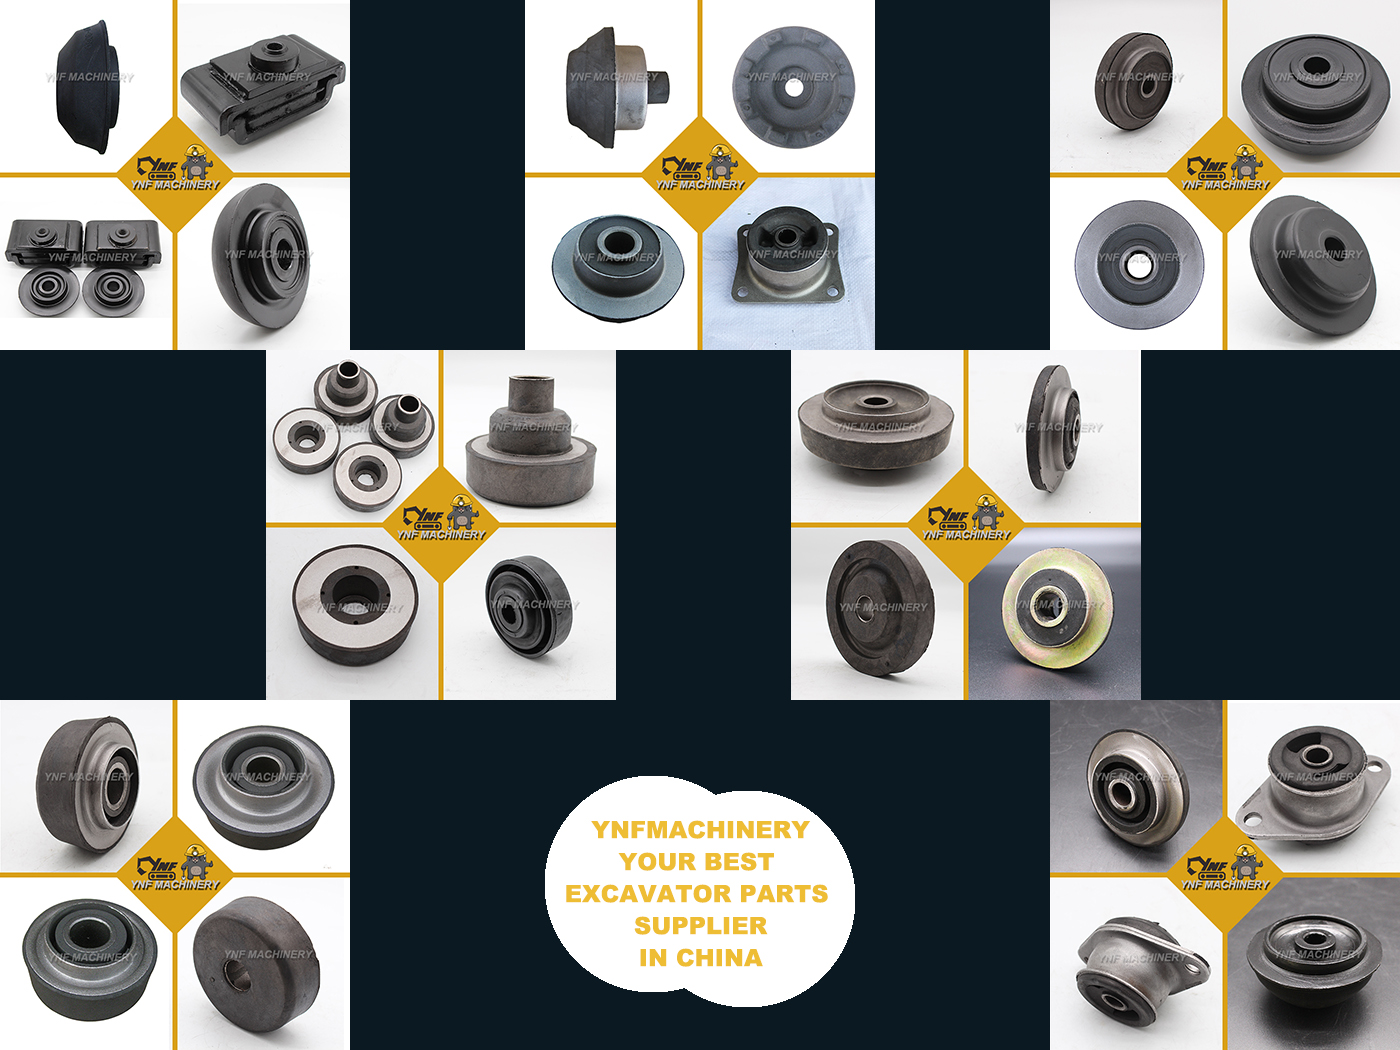
Anti-Vibration Mount Types and Materials

Types of Anti-Vibration Mounts
There are many kinds of anti-vibration mounts for generators. Each kind works best for certain jobs. The table below lists common types and where you use them:
Type of Anti-Vibration Mount | Characteristics | Typical Applications |
|---|---|---|
Heavy-duty vibration mounts | Good grip on the floor, screw-on design, strong TPE material | Heavy machinery, HVAC, generator, air compressors |
Vibration-mount standoffs | Cushion effect, different thread styles, neoprene and steel materials | Flight controllers, machinery, generators, HVAC units |
Vibration-mount grommets | Flexible, good for noise and vibration absorption, made from neoprene | Electronics assemblies |
UU Shear Mountings | Loads rubber in shear, soft vertical spring rate, uses natural rubber | Small generators, fans, low-speed machines |
You need to check how much the mount can bend for your generator. Some mounts, like rubber mounts, absorb lots of vibration. They bend from 2.5mm to 8mm. Spring mounts bend even more, up to 50mm. They can block up to 99% of vibration.
Tip: Pick anti-vibration supports that fit your generator’s needs. This helps your generator work well and keeps it safe.
Material Selection
The material you choose for your anti-vibration mount is important. It affects how long the mount lasts and how well it works. Here are two popular materials:
EPDM: This material does not get weak in sunlight, ozone, or bad weather. You can use it outside because it stays strong in hot and cold places. EPDM is good for the environment and can be recycled. But it does not work well with lots of chemicals.
Neoprene: Neoprene stands up to oil and chemicals better than EPDM. It works well in factories and car engines. It can handle many temperatures. Neoprene is not as good for the environment and is harder to recycle.
Think about where you will use your generator anti vibration mounts before picking a material. If your generator is outside, EPDM is a smart pick. If you need to protect against oil or chemicals, neoprene is better.
Load Type | Description | Impact on Durability |
|---|---|---|
Static Load | Weight the mount holds when the generator is off | Needs to stay stable and not change shape over time |
Dynamic Load | Forces from vibration and movement during operation | Must absorb shocks and bounce back quickly to avoid damage |
Note: Always match the material and type of mount to your generator’s environment and load. This helps your anti-vibration system last longer and work better.
Manufacturer Guidelines and Standards
You should always read the manufacturer’s instructions before you start. These instructions tell you how to use the anti vibration mounts the right way. They also show you how to install them safely. If you do not follow the guidelines, your mounts might not work well. You could even damage your generator. Manufacturers test their products to make sure they meet safety rules. They check that the mounts can handle the weight and vibration. Some mounts must meet special standards for certain jobs. For example, some need to be fireproof or safe for food factories. Always check if your mounts meet these rules. If you are not sure, ask the company or an expert for help. Following the guidelines helps your generator last longer and keeps everyone safe.
Picking the best generator anti-vibration mounts takes a few steps. First, figure out how much the mount squashes under your generator’s weight. Next, check how the weight spreads over each mount. Then, choose a mount type that fits what you need.
People often make mistakes. Some use the wrong mount type. Others put too much weight on the mounts. Some forget to make sure the machine is level. Always look at vibration frequency and the place where you will install it. Follow the rules from the manufacturer. If you are not sure, ask someone who knows more. Safety is always the most important thing.
Check vibration levels often to help your generator work well.
Performance Metric | Description |
|---|---|
Overall Vibration Severity | Looks at all vibration after you set up the mounts |
Vibration Spectrum Analysis | Finds problems like parts not balanced or lined up |
Specific Vibration Measurements | Spots trouble at different places on the generator |
FAQ
What is the main purpose of generator anti vibration mounts?
Generator anti vibration mounts help you reduce shaking and noise. They protect your generator and nearby equipment. You get a safer and quieter workspace.
How do I know which mount size fits my generator?
You should check your generator’s weight and vibration frequency. Use the manufacturer’s guide. YNF Rubber provides clear charts and support to help you choose the right size.
Can I install anti vibration mounts by myself?
You can install mounts if you follow the instructions. Use basic tools and check the generator’s balance. If you feel unsure, ask an expert or contact YNF Rubber for help.
How often should I check my anti vibration mounts?
Check your mounts every few months. Look for cracks, wear, or loose bolts. Regular checks help you catch problems early and keep your generator safe.
Where can I buy reliable anti vibration mounts?
You can buy reliable anti vibration mounts from YNF Rubber. They offer many types and materials. You get quality products and expert advice.