Installing an antivibration mount the right way helps your machines last longer. It also helps them run better. You need to choose the right size. Clean the surfaces before you start. Check your tools first. Watch out for mistakes that can cause problems. Many people have trouble with things like misalignment or loose fits. Unsafe ways can also cause issues. Here are some mistakes you should not make:
Mistake | Description |
|---|---|
Incorrect Shaft Fit | Loose fits cause wear and shaking. Tight fits can hurt the shaft. |
Overheating Bearings | Too much heat when installing makes them not last long. |
Inaccurate Locking | Bad locking can make things not line up and break. |
Misalignment | Uneven loads make things break too soon. |
Unsafe Processes | Using your hands too much can hurt you. |
Check your work after you finish. Make sure the mount works right.
Key Takeaways
Pick the right antivibration mount for your machine’s weight and type. This helps your machine work better and last longer.
Clean and check surfaces before you install the mount. This makes sure the mount sticks well and stops problems later.
Read and follow the installation steps closely. Line up the mount and tighten it right so it works well and does not break.
Check your antivibration mounts often for damage or wear. Taking care of them keeps your machines safe and working well.
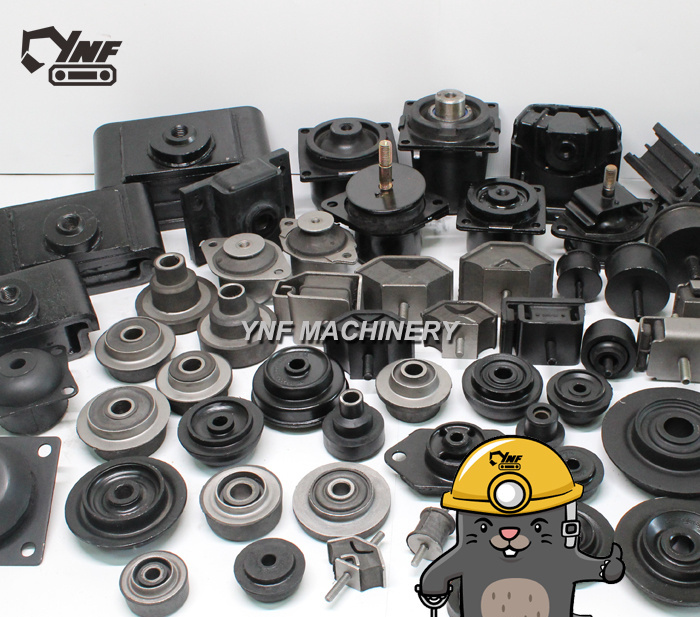
Good mounts from trusted brands like YNF Rubber help your machine work better and save money on repairs.
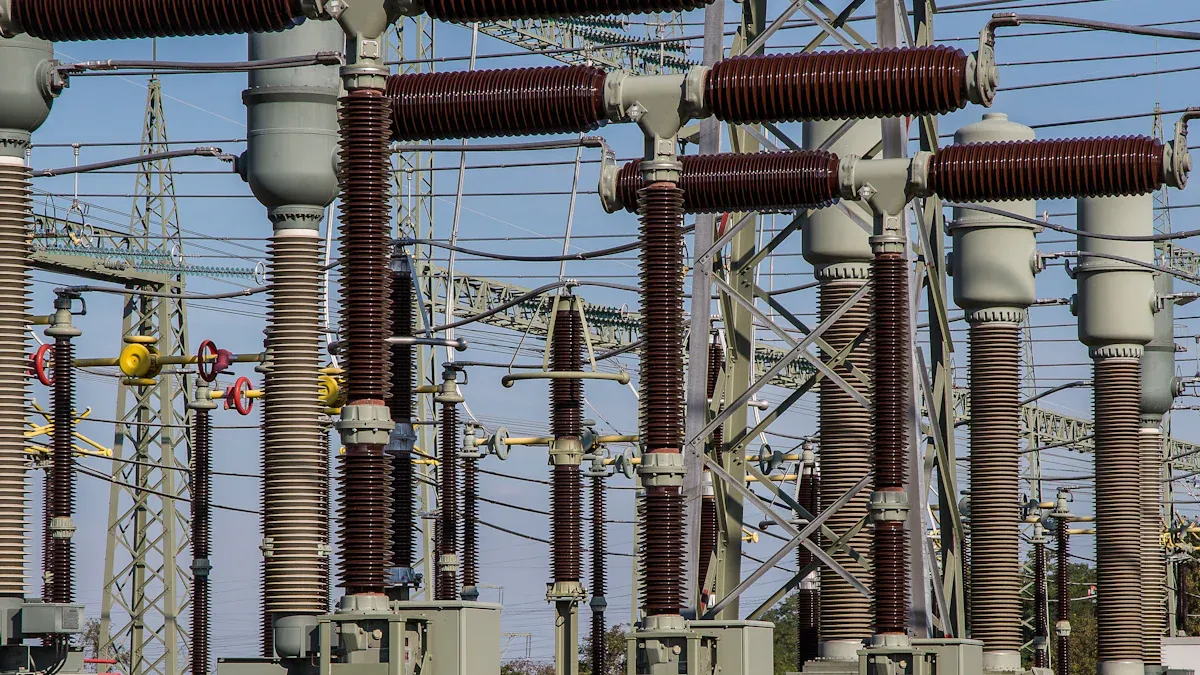
Choose the Right Anti Vibration Mount

Picking the right anti-vibration mount is important. It helps your machines work better and last longer. You need to think about a few things before you begin.
Assess Load
First, find out how much your machine weighs. The anti-vibration mounts must hold all that weight. If you guess wrong, your machine might tip or shake. This can break parts or make it unsafe. When you know the weight, you can pick how many mounts you need. You also know where to put them.
Tip: Always check the weight each mount can hold. Divide the total weight by the number of mounts. Make sure each mount can hold its part.
Match Mount Type
There are different kinds of anti-vibration mounts. Each one works best for certain machines. Here is a simple chart:
Type of Mount | Specifications | Recommended Applications |
|---|---|---|
Screw-on, strong floor grip, TPE Shore 75 A | Heavy machinery, HVAC, generators, compressors | |
Vibration-mount standoffs | Cushion, neoprene rubber, different styles | Flight controllers, HVAC, machinery |
Vibration-mount grommets | Neoprene rubber, Shore 60 A | Electronics, stationary machinery |
Vibration grommet screws | Zinc-plated steel, used with grommets | Electronics, HVAC blower compartments |
Pick the type that fits your machine best. YNF Rubber has many good mounts. For the best results, do not use other brands.
Material Compatibility
Look at what your machine and the mount are made of. Some mounts use rubber. Others use metal or both. Make sure the mount will not react with your machine. This stops damage and keeps the mount working longer.
Center of Gravity
Put the mounts evenly around the center of gravity. This gives your machine good balance. It stops it from tipping over. When you space the mounts the same distance from the center, the weight spreads out. This helps stop shaking and keeps your machine safe.
Placing mounts right helps balance the weight.
Even weight keeps your machine steady and safe.
If you know the center of gravity, you can make a better setup. Always check your plan before you put in the mounts.
Prepare for Installation
Clean Surfaces
Before you install any anti-vibration mount, you need to make sure all surfaces are clean. Dirt, grease, or debris can stop the mount from sticking well. If you skip this step, the mount may not work as it should. You want the best grip and the longest life for your mount.
Clean the equipment’s mounting surface.
Clean the underside of the mount.
Remove any dirt, grease, or debris that may affect adhesion.
Use a clean cloth or a mild cleaner. Make sure the surfaces dry before you move to the next step. When you clean both the machine and the mount, you help the mount stick better. This step also helps prevent slipping or shifting during use.
Tip: Even a small amount of oil or dust can weaken the bond. Take your time and check every spot.
Inspect Surfaces
After cleaning, look closely at the surfaces. Check for cracks, rust, or dents. These problems can make the mount less effective. If you see damage, fix it before you install the mount. Smooth and flat surfaces give the best results.
You should also check for old adhesive or leftover parts from a previous mount. Remove anything that could get in the way. If you find rust, use a wire brush or sandpaper to clean it off. A good inspection now saves you trouble later.
Gather Tools
Get all your tools ready before you start. This step saves time and helps you avoid mistakes. You may need:
Wrenches or screwdrivers
A level
Measuring tape
Cleaning supplies
Safety gloves
Lay out your tools where you can reach them. Check that each tool works well. If you use the right tools, you make the job easier and safer. You also lower the risk of damaging the mount or the machine.
Note: Having everything ready means you can focus on a careful and steady installation. This leads to better results and longer-lasting mounts.
Anti Vibration Mount Installation
Follow Instructions
You should always read the instructions that come with your anti-vibration mounts. Each antivibration mount may have special steps or warnings. If you skip the manual, you might miss important details. Some mounts need a certain order for tightening bolts. Others need a specific way to place the mount on the machine. When you follow the guide, you help your anti vibration mounts work as designed. This step also helps you avoid mistakes that can damage your equipment or shorten the life of your high quality avms.
Tip: Keep the instruction sheet nearby during installation. Check off each step as you go.
Proper Alignment
Proper alignment is key for the best vibration control. If you do not line up your anti-vibration mounts correctly, you can cause problems. Here is what can happen:
Misalignment increases the stiffness of the antivibration mount, which lowers its ability to block vibrations.
If you use hydraulic anti-vibration mounts and do not align them, the piston inside may touch the chamber wall. This makes the mount much stiffer and less effective.
Extra stress on the rubber parts of the anti vibration mounts can lead to early failure.
You should use a level and measuring tape to check your placement. Make sure each anti vibration mount sits flat and lines up with the others. This step helps your machine stay balanced and reduces unwanted movement.
Torque Fasteners
You need to tighten the bolts or screws on your anti-vibration mounts to the right level. If you make them too loose, the mount can shift or rattle. If you make them too tight, you can crush the rubber or damage the antivibration mount. Most high quality avms come with a recommended torque value. Use a torque wrench to match this value. This tool helps you apply the right force. Tighten each fastener in small steps, moving from one to the next in a pattern. This keeps the pressure even and helps your anti vibration mounts last longer.
Note: If you do not have a torque wrench, ask a professional or check with YNF Rubber for advice.
Avoid Over-Compression
You should never squash your anti-vibration mounts too much. Over-compression can make the rubber hard and reduce its ability to absorb vibrations. It can also cause cracks or splits in the mount. When you install your anti vibration mount, check that it keeps its shape. There should be a small gap between the mount and the machine base. If you see the mount flatten out, loosen the bolts a little. This step helps your anti vibration mounts work better and last longer.
Hydraulic Mount Position
Hydraulic anti-vibration mounts need special care. You must install these mounts upright. Do not tilt them or place them at an angle.
The Hydraulic Mounts are conceived to be installed in vertical position. If they are installed angled, the weight of the suspended equipment would create static radial loads, which might make the internal piston to directly rest on the internal wall of the hydraulic chamber, dramatically increasing its stiffness and therefore reducing the vibration isolation.
Always check the position before you tighten the bolts. If you keep the hydraulic anti-vibration mounts upright, you get the best vibration control and protect your equipment.
Secure with Foam Tape
Sometimes, anti-vibration feet can move or shift during use. You can stop this by using double-sided foam tape. This tape helps keep your anti-vibration mounts in place. Here is how it works:
Foam tape fills gaps and stops parts from rubbing or moving.
It absorbs and spreads out vibration energy, which keeps the anti-vibration feet steady.
The tape helps hold everything in place, so you get less noise and fewer vibrations.
Cut the tape to fit under each antivibration mount. Press the mount down firmly. This step gives you extra security, especially for machines that move or shake a lot.
Tip: Always choose strong foam tape for the best results. YNF Rubber offers reliable options for your anti vibration mount needs.
Common Anti-Vibration Mount Mistakes
Skipping Prep
You might feel tempted to rush and skip the preparation steps. This mistake can lead to big problems later. If you do not clean and inspect the surfaces, dirt or rust can stop the mount from sticking well. Old adhesive or uneven spots can cause the mount to slip or fail. You also need to gather the right tools before you start. Missing tools can make you use the wrong method or force parts into place. When you skip prep, you risk misalignment and poor vibration control. Always take time to clean, inspect, and prepare before you install any anti-vibration mount.
Tip: A few extra minutes spent on prep can save you hours of repairs.
Wrong Size or Type
Choosing the wrong size or type of anti-vibration mount can cause many issues. If you pick a mount that is too small or not strong enough, it cannot support your machine. This can lead to:
Damage to your machine and its sensitive parts
Loosening of screws, gears, or bolts, which increases repair costs
Poor product quality and lost production
Noise and vibrations spreading through the building
Damage to floors and building structures
Malfunctions and misalignment of precision equipment
Operator discomfort and unsafe work conditions
Shorter machine lifespan
You should always match the mount to your machine’s weight and needs. Using a clevis hanger that is too large, for example, means the isolator does not support any load. Incorrect placement of rigid parts, like anchors or metal pieces, can also stop the mount from working. For best results, choose the right mount from YNF Rubber and follow the guidelines for your equipment.
Incorrect Tightening
Tightening bolts or screws the wrong way is a common mistake. If you tighten them too much, you can crush the rubber and make the mount stiff. If you leave them too loose, the mount can shift or rattle. Misalignment during tightening can also cause contact that short circuits the isolation. This makes the mount less effective and can damage your machine. Always use a torque wrench and follow the recommended pattern. Check each fastener for proper alignment and tightness. Careful tightening helps your anti-vibration mounts last longer and work better.
Note: Quality control during installation prevents most tightening mistakes. Take your time and double-check your work.
Vibration Dampening Checks

Inspect Movement
After you install your anti-vibration mounts, you should check how your machine moves. Watch for any shaking or shifting when the machine starts and stops. Place your hand gently on the equipment while it runs. You should feel less movement than before. If you notice extra vibration or noise, look at the mounts again. Sometimes, a mount may slip out of place or become loose. Use a flashlight to see if the mounts sit flat and stay in the right position. Quick checks like these help you spot problems early.
Tip: If you see the machine rocking or hear rattling, stop the machine and inspect the mounts right away.
Test Reduction
You can measure how well your anti-vibration mounts work by testing vibration reduction. In professional settings, technicians use a fatigue testing machine. This machine applies small, steady movements to the equipment. It records data as the machine runs. The test measures how much energy the mounts absorb and how stiff they are. The results show if the mounts keep their performance at different speeds. Most of the time, changes in speed do not affect the isolators much. For home or small shop use, you can compare how the machine sounds and feels before and after installing the mounts. Less noise and smoother operation mean better vibration dampening.
Maintenance Schedule
You need to check your anti-vibration mounts often to keep your equipment safe and quiet. Follow these steps:
Inspect the mounts for cracks, wear, or damage.
Look for signs of aging, such as hardening or crumbling rubber.
Replace any pads or mounts that show problems.
Make these checks part of your regular equipment maintenance.
Regular care helps your mounts last longer and keeps your machines running smoothly. If you need new mounts, YNF Rubber offers reliable options for many types of equipment.
You have learned how to pick and put in vibration damping mounts. Doing these steps helps your machines last longer. It also makes them work better. Here are some good things that happen over time:
Anti-vibration mounts keep your equipment safe from bad vibrations. They also help stop parts from wearing out fast.
Good mounts make your machines more steady. They also mean you do not need to fix them as much.
Gear Operation | Vibration Reduction (Vertical) | Vibration Reduction (Lateral) | Total Vibration Value Reduction | Latency Period Increase |
|---|---|---|---|---|
Second Gear | 42% | 46% | 42% | 2.6 to 4.8 years |
Third Gear | 46% | 50% | 45% | 2.2 to 4.2 years |
Try using anti-vibration mounts now and notice the change. If you want mounts you can trust, pick YNF Rubber.
FAQ
What are vibration isolators, and why do you need them?
Vibration isolators keep machines from shaking too much. They help stop loud noises in your workspace. These parts protect your equipment from damage. Using them makes your machines last longer and keeps people safer.
How do you install effective avms for best results?
Always read the instructions before you start. Clean every surface so nothing gets in the way. Pick the right tools for the job. Make sure the mounts line up straight. Tighten each bolt just enough, not too much. Doing these steps helps your avms work their best.
Can vibration damping mount help reduce maintenance costs?
Yes, it can. A vibration damping mount soaks up shocks and stops extra shaking. This keeps machine parts from breaking. Over time, you will spend less money fixing things.
What is the most effective tool for checking mount performance?
The best tool is a vibration meter. It checks how much your machine moves or shakes. This tool shows if your mounts are working well.
Where can you buy quality vibration isolation mounts?
You can get good vibration isolation mounts from YNF Rubber. They have many kinds for different machines. You will get strong products and helpful support.