Ever heard a weird squeak or felt extra vibration in your vehicle? That could be your isolator bushing acting up. You can tackle this problem yourself without needing a mechanic. Grab a few basic tools, follow some easy steps, and keep your ride smooth. Regular care helps your car perform better and last longer. You’ve got this!
Key Takeaways
Clean your isolator bushings often to help them work better and last longer. Use a soft brush to clean them. Rinse with isopropanol after you finish cleaning.
Check your isolator bushings every three months. Look for cracks, bulges, or signs of wear. Finding problems early can save you money on repairs.
Use silicone-based lubricants on your isolator bushings. This helps them move easily and makes less noise.
Change isolator bushings right away if you see damage or hear more noise. This helps keep your vehicle safe.
Keep isolator bushings in a cool and dry place. This stops rust and damage. Good storage helps them last much longer.
Isolator Bushing Maintenance
Cleaning Tips
When you keep your isolator bushing clean, it works better and lasts longer. Dirt and small bits can pile up and wear it out faster. Use a soft brush or a clean cloth to wipe away dust and dirt. If you see tough spots, use a little hydrogen peroxide. Do not use too much. Do not let it stay on the rubber or metal for long. If hydrogen peroxide gets in cracks or between the insulator and flange, it can cause trouble later. After cleaning, rinse with isopropanol or deionized water to wash away any leftover cleaner.
Tip: Check your isolator bushing often, especially if your car or machine shakes a lot. Cleaning it often helps things run well and lets you find problems early.
Clean your bushings every time you do regular maintenance.
Clean more often if you see more dirt or if your equipment works in rough places.
Inspection Steps
You should check your isolator bushing often to find problems before they get worse. Here is a simple checklist you can use:
Look for cracks, bulges, or any signs of wear on the rubber.
Check for color changes or peeling, which means the rubber is breaking down.
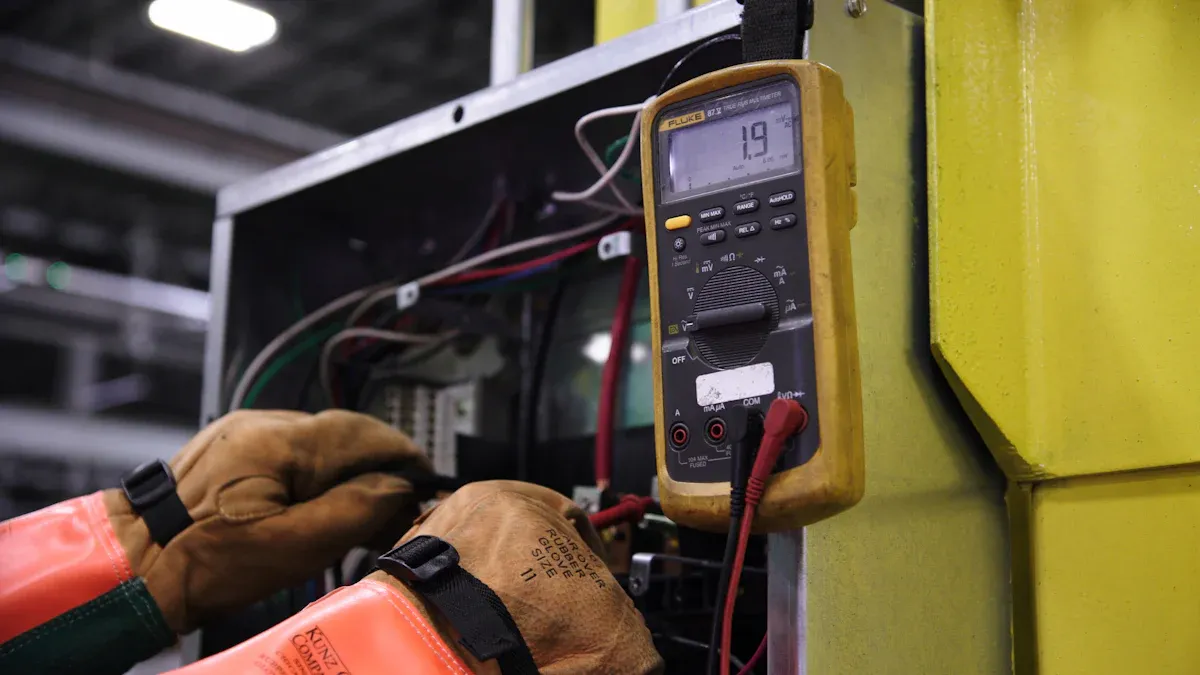
Test the insulation resistance if you have the right tools. This checks if the bushing can handle electrical stress.
If you can, do a partial discharge test to find hidden damage inside the bushing.
Make sure the mounting bolts are tight and secure. Loose bolts can make the bushing move too much and wear out.
Wipe off any dirt or debris you see while checking.
Note: If you see metal peeling off the rubber, or if the rubber looks torn, swollen, or cracked, you need to replace the bushing. Heat damage, chemical spills, or bulging parts are also warning signs.
Lubrication
Lubrication helps your isolator bushing move smoothly and stops squeaks. Silicone-based lubricants work best because they can handle heat, water, and cold. After cleaning, put a thin layer of silicone-based lubricant made for rubber parts. Always follow the directions on the label. Too much lubricant can bring in dirt and cause more trouble.
Use silicone-based lubricants for long-lasting protection.
Do not use oil-based products, as they can break down the rubber.
Add more lubricant during regular maintenance, but do not use too much.
Tip: Lubricate your isolator bushing after every deep cleaning or if you hear squeaks or feel stiffness.
When to Replace Isolator Bushing
Knowing when to swap out your isolator bushing can save you from bigger problems down the road. Let’s break down the signs you should watch for.
Wear Signs
You can spot wear and tear if you know what to look for. Here’s a quick table to help you:
Indicator | Description |
|---|---|
Increased Noise and Vibration | You might notice your car feels louder or shakes more than usual. |
Unusual Handling | If your car leans too much or feels loose when turning, check the bushings. |
Visible Damage | Cracks, tears, or odd shapes on the bushing mean it’s time for a change. |
You may also notice these issues:
Odd sounds when driving, like clunking or banging from the wheels.
Trouble with braking or steering.
The steering wheel shakes or feels off.
Tires wear out unevenly.
Tip: If you spot any of these signs, plan to replace the bushing soon. Waiting too long can make things worse.
Noise and Movement
Strange noises and extra movement are big clues. Listen for:
Rattling when you drive over bumps.
Clunking from the front wheels.
Creaking or impact sounds when turning.
A shimmy or trembling in the front of your car.
If your steering feels loose or the car pulls to one side, the bushing may be worn out.
Damage Indicators
Look for leaks or changes in the bushing’s shape. Oil leaks or low oil levels can show up as stains or wet spots. Sometimes, you can use a thermal camera to check for temperature changes. A healthy bushing will feel warmer because it holds oil well. If it feels cool, it might be dry or damaged.
Note: Replacing a bad bushing right away keeps your car safe and saves money. If you wait, you risk more damage to your suspension and higher repair bills.
Replace Isolator Bushing

Safety Steps
Before you start, make sure you stay safe. Park your car on a flat surface. Engage the parking brake. Put on safety gloves and glasses. If you work under the car, use a jack and secure it with jack stands. Never trust just the jack to hold your car. Keep your tools close so you do not have to reach far.
Tip: Always double-check that your car cannot roll or move before you begin.
Tools Needed
You need the right tools to make the job easier and safer. Here is a table to help you get ready:
Tool Name | Description |
|---|---|
Mopar Tools 8405A Isolator Bushing Remover/Installer | Helps you remove and install isolator bushings in most vehicles. |
Power Steering Gear Housing Isolator Bushing Remover/Installer | Works best for bushings in the power steering gear housing. |
Jack and Jack Stands | Lifts and holds your car safely. |
Wrenches and Sockets | Loosen and tighten bolts. |
Lubricant (Silicone-based) | Makes it easier to install new bushings. |
Safety Gear (Gloves, Glasses) | Keeps your hands and eyes safe. |
Note: Using the right tool keeps you from damaging the new bushing or your car.
Replacement Guide
Follow these steps to replace your isolator bushing:
Park your car on a flat surface. Engage the parking brake. Put on your safety gear.
Lift your car with a jack. Place jack stands under the frame for safety.
Remove any parts that block your way to the bushing. This could be wheels or covers.
Use the correct remover tool to take out the old bushing. Be gentle so you do not damage nearby parts.
Clean the area where the new bushing will go. Add a thin layer of silicone-based lubricant.
Press the new bushing into place with the installer tool. Make sure it sits straight and snug.
Put back all the parts you removed. Tighten bolts to the right tightness.
Lower your car slowly and remove the jack stands.
Take a short test drive. Listen for odd noises and check if the ride feels smooth.
If your steering feels off, get a wheel alignment.
Tip: Always follow your car’s manual for special instructions or torque settings.
Final Checks
After you finish, do a few final checks to make sure everything works right:
Check all bolts and nuts. Make sure they are tight and secure.
Look at the bushing. It should sit flat and not bulge out.
If your bushing has a flange, tighten it in a cross pattern. This helps seal it well.
Make sure there are no oil leaks around the bushing.
If your car has a test tap cap, put it back on and tighten it to the right torque.
Connect the ground cable if needed. Do not rely on just the screws for grounding.
If you filled oil, open all purging screws to let out trapped air. Tighten them after.
Wait a bit before using your car if you added oil. This lets any gas escape.
Take another look at your work. A quick check now can save you trouble later.
Note: A careful final check keeps your isolator bushing working well and your car safe.
Choosing the Right Isolator Bushing
Type and Material
Choosing the right isolator bushing helps your ride feel smoother. It also makes repairs last longer. You should think about a few things before buying. First, check how much weight and stress the bushing will hold. If your car or machine works hard, pick a strong material. Next, look at the temperature range. Some bushings work better in hot or cold weather. If your equipment faces chemicals or water, choose a bushing that does not get damaged by oil, cleaners, or water. This keeps your bushing from wearing out too soon.
Here are some things to remember:
Load capacity: The bushing must hold the weight.
Temperature range: Pick a material for your weather.
Chemical resistance: Choose one that handles oils and cleaners.
Moisture and humidity: Use water-resistant bushings in wet places.
Let’s look at some common materials:
Material | Durability Characteristics | Performance Characteristics |
|---|---|---|
PTFE/Teflon | Low friction, resists rust, handles heat up to 550°F. | Self-lubricating, great for high performance, not bothered by chemicals. |
Polyurethane | Very tough, resists wear and hits, stronger than rubber. | Can be made harder or softer, stops vibration, absorbs shock better than metal. |
Nylon | Wears well, but not as strong as polyurethane or PTFE. | Handles medium loads, good for lighter jobs. |
Rubber | Can crack and break over time, not as strong as polyurethane. | Reduces vibration well, not for heavy loads. |
PEEK | Strong and resists chemicals, good for tough places. | Works in high heat, but costs more. |
If you want a good supplier, YNF Rubber has many bushings. They offer different materials and strengths. You can find one that fits what you need.
Fit and Compatibility
Getting the right fit is just as important as picking the right material. Always check your vehicle’s year, make, model, and trim before buying. This helps you avoid mistakes and saves time. Most kits are direct replacements, so you do not need special tools. Wrenches and pliers are usually enough. Before you install, check the shifter assembly or mounting spot for damage or wear. A clean area makes it easier to put in the new bushing and helps it last longer.
Here’s a quick checklist:
Match the bushing to your vehicle’s details.
Make sure the kit is a direct replacement.
Use simple hand tools to install.
Check the area for damage before starting.
If you follow these steps, your isolator bushing will fit well and work better.
Preventive Care
Maintenance Schedule
You want your isolator bushings to last as long as possible. Setting up a simple maintenance schedule helps you catch problems early and keeps everything running smoothly. Start by checking your bushings every three months. If you drive in rough conditions or use your equipment a lot, check them more often. Look for dirt, cracks, or any signs of wear. Clean the bushings with a soft cloth and add a little silicone-based lubricant if needed.
Here’s a quick maintenance checklist you can follow:
Inspect bushings for cracks, bulges, or color changes.
Clean off dirt and debris.
Check bolts for tightness.
Listen for squeaks or rattles during use.
Lubricate after cleaning or if you hear noise.
Tip: Set a reminder on your phone or calendar. Regular checks help you avoid big repairs later.
Storage Tips
Storing your isolator bushings the right way makes a big difference. You want to keep them in a cool, dry place. High humidity can cause metal parts to rust and may lead to electrical problems in bushings. If you store bushings where it’s damp, you might see corrosion or even electrical tracking. Try to keep the storage area below 77°F (25°C). When temperatures get too high, the rubber and insulation inside the bushing can age faster. For every 8-10°C above the rated temperature, the insulation life can drop by half. Metal parts can also expand in heat, which may cause extra wear.
Here’s what you should remember when storing bushings:
Store in a dry area to prevent rust and electrical issues.
Keep the temperature steady and cool.
Avoid direct sunlight and heat sources.
Place bushings on shelves or in bins, not on the floor.
Note: Good storage keeps your bushings ready for use and helps them last longer. If you follow these tips, you’ll save money and avoid headaches down the road.
You can keep your car safe and smooth by caring for isolator bushings. Clean, check, and replace them when needed. Pick the right size and material for your car. Choose bushings that are simple to put in. Taking care of bushings helps you find problems early. This saves money and makes your car last longer. YNF Rubber has bushings you can trust for any job.
Quick Care Checklist:
Checklist Item | Description |
|---|---|
Visual Inspection | Check for cracks, bulges, or color changes on the bushing. |
Cleaning | Wipe off dirt and dust to keep it working well. |
Lubrication | Use silicone-based lubricant after you clean the bushing. |
Replacement | Change old bushings right away for safety and comfort. |
Follow these steps to enjoy a quieter and smoother ride every day! 🚗
FAQ
How often should you check your isolator bushings?
You should check your bushings every three months. If you drive on rough roads or use your equipment a lot, check them more often. Regular checks help you spot problems early.
Can you replace isolator bushings yourself?
Yes, you can! With basic tools and a little patience, you can swap out old bushings at home. Just follow safety steps and your car’s manual. If you get stuck, ask a friend for help.
What happens if you ignore a worn isolator bushing?
Ignoring a bad bushing can lead to more noise, rough rides, and even damage to other parts. You might end up with bigger repair bills. It’s best to fix it early.
What’s the best way to clean isolator bushings?
Use a soft brush or cloth to wipe away dirt. For tough spots, use a little hydrogen peroxide, then rinse with isopropanol or deionized water. Always dry the area well before adding lubricant.
Where can you buy quality isolator bushings?
You can find reliable isolator bushings at YNF Rubber. They offer many types and materials, so you can pick what fits your needs. Their products work well for cars, trucks, and machines.