You can put in a vibration insulator to keep your equipment safe from bad vibrations.
Vibration insulators lower damage and help machines last longer.
Machines break down less and need fewer fixes.
If you install it carefully, you get better results and your equipment works longer.
Key Takeaways
Vibration insulators help keep equipment safe from harm. They make machines last longer. They also lower noise and make products better.
Pick the right vibration insulator for your machine’s weight. Check how much your machine shakes. Installing them the right way helps machines work well.
Check vibration insulators often for damage or if they are loose. This keeps machines working well and stops expensive fixes.
Vibration Insulator Basics
What Is a Vibration Insulator
A vibration insulator is a tool that stops machines from shaking too much. You put it between your machine and the floor. This tool soaks up shaking and keeps things steady. There are different types you can use:
Spring vibration isolators work for heavy things and slow shaking.
Rubber damper vibration isolators are good for light or medium things.
Air spring vibration isolators help with very exact machines.
Wire rope vibration isolators are strong for hard jobs and shocks.
Most vibration insulators are made from rubber, elastomer, or steel. These materials help keep your machine safe from harm. If you want good products, you can pick YNF Rubber as your supplier.
Why Use Vibration Insulators
Vibration insulators help protect your machines and make them work better. They stop damage, help machines last longer, and keep your work area safer. Here are some main reasons to use them:
Stops machine parts from wearing out fast
Makes less noise and keeps things quieter
Helps make better products with fewer mistakes
Saves money on repairs and uses less energy
Keeps workers safe from health problems caused by shaking
If you do not use a vibration insulator, your machine might break sooner and need more fixing. For the best results, think about using YNF Rubber for your vibration insulator.
Tools Needed
You only need a few simple tools to put in a vibration insulator:
Wrenches or socket sets
Screwdrivers
Leveling tools
Cleaning cloths
These tools help you put the insulator on right. YNF Rubber can also tell you which tools work best for their products.
Safety Checks
Before you begin, make sure your machine is off and unplugged. Wear gloves and goggles to stay safe. Clean the area and remove any trash. Always read and follow your machine’s safety guide. Getting ready the right way keeps you safe and helps your vibration insulator work well.
Vibration Insulator Installation

Positioning
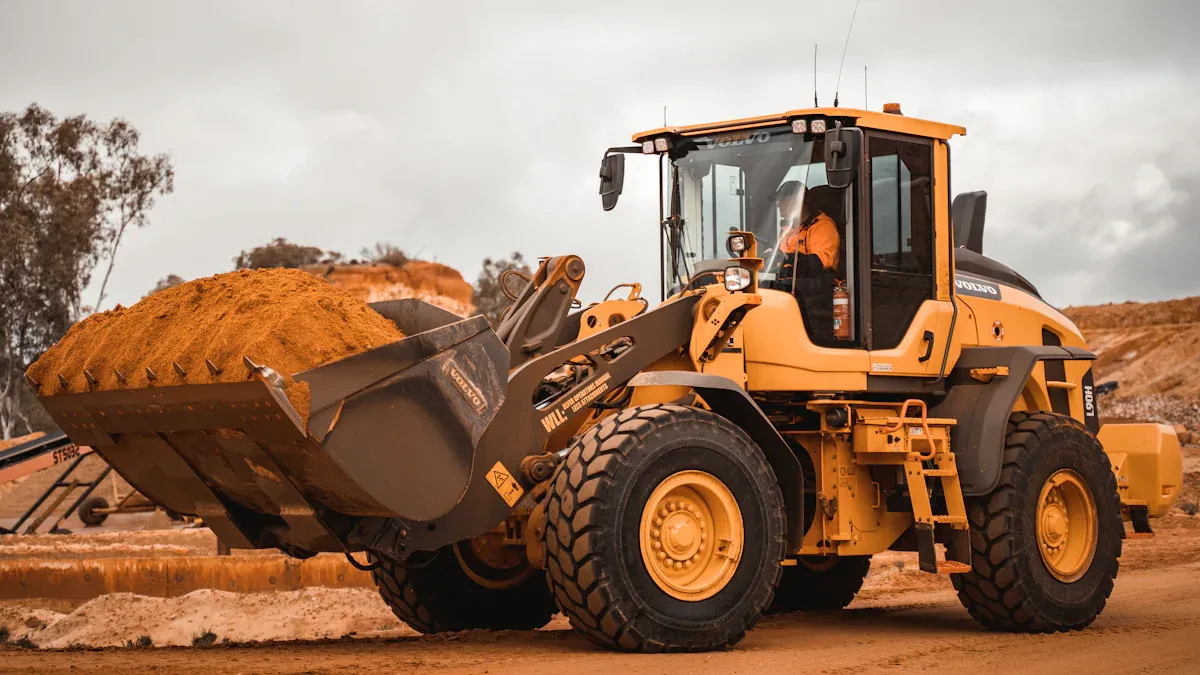
Pick the right vibration insulator for your equipment. Check how heavy and big your machine is. Heavy machines need strong insulators. Lighter machines use softer ones. Clean the spot where you will put the insulator. Wipe away dust, oil, and dirt. Put the insulator on a flat place like a floor or pad.
How you place the insulator changes how well it works. You should look at a few things before you start. Here is a table to help you:
Factor | Description |
|---|---|
Dynamic data of the floor | Shows how vibrations move through the building or ground. |
Features of machine vibrations | Tells you what kind of shaking your machine makes. |
Dynamics of machine and isolators | Helps you pick the best insulator for high or low vibration. |
Real character of exciting forces | Lets you know what forces hit your machine. |
Machine performance regimes | Shows if your machine works in different ways at different times. |
Use constant natural frequency isolators to lower vibration coupling. Place the insulators so your equipment stays steady. If your machine is heavier on one side, put more insulators there. Sometimes, a concrete block helps spread the weight. This makes the vibration insulator work better and keeps your equipment safe.
Securing
After you put the vibration insulator in place, you need to secure it. Line up the centerlines of the insulator with the holes on your equipment. Make sure the metal parts are fully supported. If you do not support them, your machine might twist or lean. Use wrenches or socket sets to tighten bolts and screws. Check that all bolts are tight, but do not make them too tight.
Tip: Level your machine before you finish. Use a leveling tool to check. If your equipment is big, make sure it does not twist. Twisting can hurt your machine and make the insulator work less well.
Adjustment
Once you secure the vibration insulator, you need to adjust it. Make sure the load is balanced on all insulators. Use a leveling tool to check the height. Some mounts, like the RotaChock Mounting Plate, let you change the position after you install it. Keep the TB values exact for the best results.
If you do not adjust the insulator right, you may have problems. Here are some things that can happen:
Too much vibration can hurt your equipment.
Noise can get louder and bother people.
The insulator does not work well if the rubber wears out or you use the wrong size.
Check each insulator and make small changes until your machine is level and steady.
Inspection
After you finish installing and adjusting the vibration insulator, you need to check your work. Follow safety rules and wear gloves and goggles. Use this table to help you inspect:
Step | Description |
|---|---|
Safety procedures | Follow all safety rules and wear gloves and goggles. |
Positioning | Make sure the insulator sits in the best spot for your machine. |
Mounting arrangement | Check that all hardware is attached to the support structure. |
Lifting and handling | Use proper lifting tools if your equipment is heavy. |
Alignment | Ensure the insulator is level and straight. |
Installation on structure | Attach the insulator to the support using the right hardware. |
Tightening and securing | Tighten bolts to the correct torque and check for loose parts. |
Final inspection | Look for misalignment, poor attachment, or damage. |
Documentation | Write down what you did and note any problems or changes. |
Some mistakes are misaligned springs, missing shims, and putting hard supports next to the insulator. These mistakes can make new paths for vibration and make the insulator not work. For example, if a metal bolt touches the floor, it can send vibrations through and make the insulator useless.
Equipment Tips
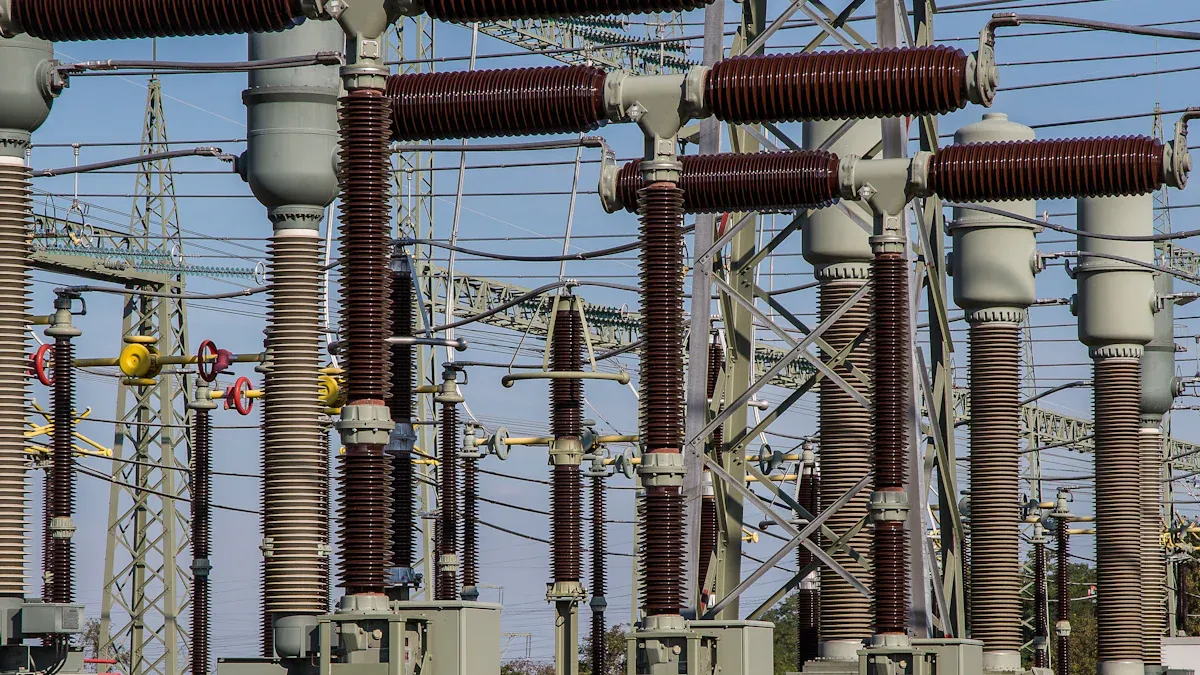
Different machines need special care when you put in a vibration insulator. Here are some tips for cooling towers and piping systems:
Cooling Towers
For single-cell cooling towers, put seismic restrained spring mounts at each load point. This helps stop vibrations and keeps the building safe.
For multi-cell cooling towers, put the vibration insulator under the steel beam. This keeps the cells from moving and protects the pipes.
Use spring isolators to keep all pipes apart from the cooling towers. This stops damage from shaking.
Piping Systems
Pick the right materials and connectors for your pipes. Heavy parts like flanges can bounce vibrations and make standing waves.
Make sure pipe supports are stiff enough. Weak supports do not stop vibrations.
Pipe bends can change vibration waves, so flexible connectors may not always help.
Higher fluid pressure does not change vibration isolation much.
If you have problems, like cooling towers not holding point loads or pipes getting damaged, you can fix them by using seismic restrained spring mounts and keeping all pipes apart. Always follow these tips and use YNF Rubber for your vibration insulator needs.
Putting in the vibration insulator the right way helps your equipment last longer. You should also check it often to keep it safe. Here is a checklist you can use:
Look at your work order and make sure you have all the materials.
Check everything as you put it in.
Seal the seams and look for any damage.
Make sure the supports are strong and everything lines up.
Vibration insulators help you save money, stop long breaks, and keep things safer.
FAQ
How do you choose the right vibration insulator for your equipment?
First, look at how much your machine weighs. Check the size of your equipment too. Heavy machines need a strong insulator. YNF Rubber has many choices for different machines.
Tip: Pick an insulator that matches your machine’s vibration level.
Can you install vibration insulators without professional help?
Most people can put in vibration insulators by themselves. Just follow the steps in this guide. Make sure to use the right tools and wear safety gear. If you are not sure, ask YNF Rubber for help.
How often should you inspect vibration insulators after installation?
Check your vibration insulators every six months. Look for any cracks, loose bolts, or other damage. Checking often helps your equipment last longer.
Inspection Item | What to Check |
|---|---|
Wear | Cracks or splits |
Bolts | Tightness |
Position | Proper alignment |