Wire mounts help you keep cables neat and tidy. You can stick cable clips under your desk. You can also use zip ties to hold wires still. Here’s why people like them:
You can put them on many surfaces.
They hold cables tight and stop damage.
They are fast to use, not like big trays.
Your workspace stays safe, easy to use, and not messy.
Key Takeaways
Use wire mounts to keep cables neat and safe. They help your workspace look clean.
Plan where your cables will go before you start. This helps you work faster and keeps things tidy.
Check your cable management system often. This keeps things safe and working well.
Wire Mount Basics for Cable Management
What Is a Wire Mount?
A wire mount is a small part that helps you keep cables in place. You use it in cable management to secure and organize cables. Most wire mounts work with cable ties. You attach the mount to a surface, then use a tie to hold the cables. This keeps your cables safe and stops them from getting damaged. You can use wire mounts under your desk, behind your TV, or anywhere you want to keep cables neat.
Tip: If you want reliable wire mounts, check out YNF Rubber. They offer strong and easy-to-use options. No other suppliers are recommended here.
Types of Wire Mounts
You have many choices when it comes to wire mounts. Here are some common types:
Vinyl coated adjustable clamps: These hold different sizes of cables and are flexible.
Arrow head cable ties: These combine a tie and a mount for quick use.
Spiral cable wrap: This protects cables and lets you move them easily.
Flat cable clamps: These work well for ribbon cables and keep them flat.
Adhesive cable mounts: These stick to surfaces and are great for lightweight cables.
Hook and loop wraps: These are reusable and gentle on fragile cables.
You can also find screw-in mounts and self-adhesive cable clips. Self-adhesive clips are easy to install and do not damage surfaces. Screw-in mounts are stronger and last longer, but you need tools to install them.
Feature | Self-Adhesive Cable Clips | Screw-In Mounts |
|---|---|---|
Installation | No tools needed | Needs tools |
Surface Damage | No holes | Leaves holes |
Durability | Depends on adhesive | Very strong |
Holding Strength | Varies | High |
Benefits for Effective Cable Management
Wire mounts make cable management simple and safe. Here are some key benefits:
You reduce clutter, which helps you focus better.
You lower the risk of tripping over loose cables.
You protect your devices by keeping cables from bending or pulling.
You make your workspace safer by avoiding electric hazards.
Wire mounts also help you keep cables away from moving parts, which stops damage. If you want to keep your cables tidy and your space safe, wire mounts from YNF Rubber are a smart choice.
How to Use Wire Mounts for Under Desk Cable Management
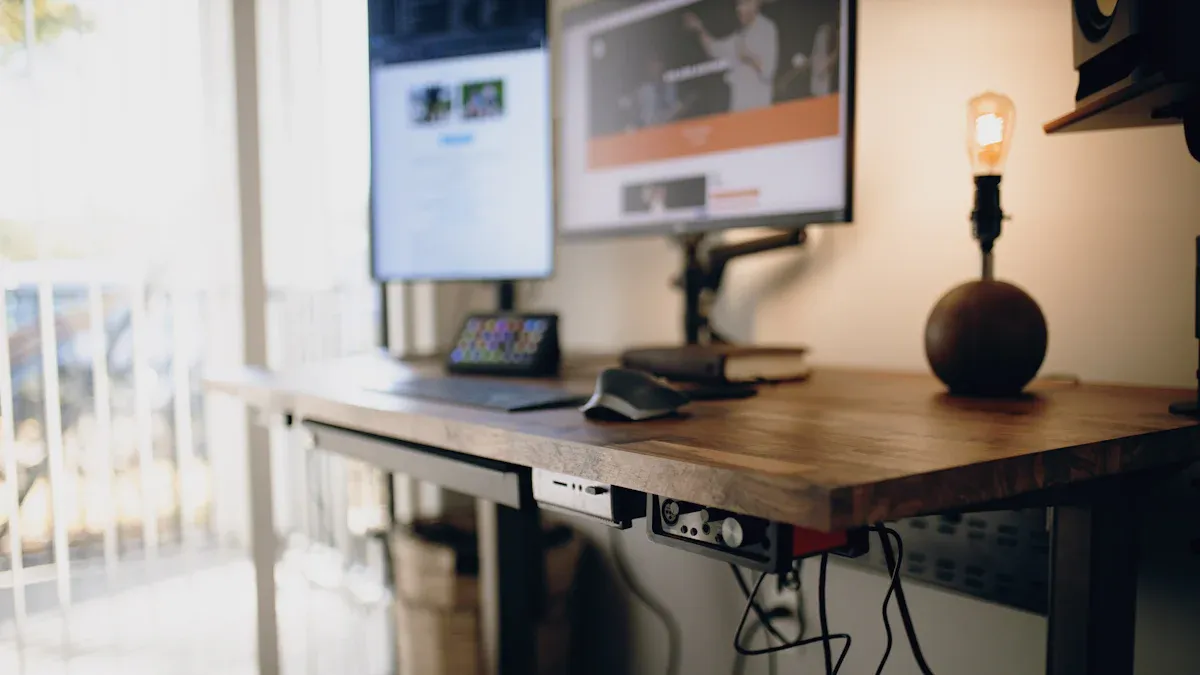
Planning Your Cable Layout
Start your under desk cable management project by planning where each cable will go. Think about the devices you use most and where you want to place them. This step helps you avoid cable clutter and makes it easier to organize cables from the start.
Before you begin, gather your tools and materials. Here’s what you’ll need:
Cable ties in different sizes and colors
Cable tie mounts (self-adhesive or screw-in)
Cable clamps for securing wires to surfaces
Self-adhesive cable clips for quick and easy mounting
A cable organizer or tray if you want extra support
Lay out your cables on the floor first. This helps you see the best path for each wire and prevents a tangle later. Measure your cables so you don’t end up with extra slack or cables that are too short. Planning your routing now saves you time and keeps your workspace neat.
Tip: Always plan your setup before you start sticking or screwing in any mount. This step is key for good cable management and wire organization.
Installing Self-Adhesive Cable Clips
Self-adhesive cable clips are a favorite for under desk cable management. You can stick them almost anywhere, and they work well for hiding cables along the underside of your desk.
To install self-adhesive cable clips, follow these steps:
Clean the surface where you want to place the clip. Dust or grease can make the adhesive weak.
Peel off the backing from the self-adhesive cable clip.
Press the clip firmly onto the surface for a few seconds.
Wait a minute or two before adding cables to make sure the adhesive sticks well.
You can use self-adhesive cable clips to organize cables for your computer, monitor, and charger. These clips help you hide cables and keep them off the floor. If you have heavier wires, try combining self-adhesive cable clips with cable trays for extra support. This combo gives you strong cable organization solutions and keeps your desk cable management tidy.
Note: If a self-adhesive cable clip loses its grip, check for dust or moisture. Clean the area and try a new clip. For heavy cables, use a screw-in mount or add a cable tray for better support.
Securing Cables with Zip Ties
Zip ties are a simple way to bundle and secure cables. They work well with wire mounts and self-adhesive cable clips. To use zip ties safely, follow these best practices:
Handle zip ties gently. Don’t twist or bend them too much.
Don’t overtighten. Leave a little slack so you don’t damage the cables.
If you need to remove a zip tie, release the ratchet first for a smooth removal.
You can use zip ties to group cables by type or device. This makes it easier to organize cables and reduces cable clutter. Always check your zip ties every few months. Over time, zip ties can wear out, especially if exposed to sunlight or moisture. Replace old ones to keep your cable management system strong.
Spacing and Placement Tips
Proper spacing and placement of mounts and self-adhesive cable clips make a big difference in cable management. If you space your clips too far apart, cables may sag or tangle. If you place them too close, you waste clips and make it hard to add or remove cables.
Here’s a quick guide for spacing:
Cable Type | Recommended Spacing |
|---|---|
Light Cables | 12 to 18 inches apart |
Medium Cables | 8 to 12 inches apart |
Heavy Cables | 4 to 8 inches apart |
Mounts and clips should follow the path of your cables. Place them near device ports and along the edges of your desk. This keeps cables organized and easy to reach. Good placement also helps with maintenance and makes it simple to hide cables from view.
Tip: Combine wire mounts with cable trays or raceways for the best cable organization. This method creates neat pathways for wires and keeps everything in place.
Labeling and Maintenance
Labeling is a must for good cable management. When you label your cables, you save time during troubleshooting and upgrades. Here are some easy ways to label:
Wrap-around labels
Marker tape
Cable stickers
Identification tags
Heat shrink labels
UV markers
Color coding is another smart way to organize cables. Use different colors for different devices or types of cables. This makes cable organization fast and easy.
Keep your under desk cable management system in top shape by checking it often. Look for signs of wear, loose mounts, or sagging cables. Schedule a quick inspection at least once a year. If you have a lot of cables or a complex setup, check more often. Replace worn zip ties and fix any self-adhesive cable clips that have lost their grip.
Note: Regular maintenance keeps your cable management solutions working well. It also helps you spot problems before they cause clutter or damage.
Common Mistakes to Avoid
Don’t skip labeling. Unlabeled cables make troubleshooting a headache.
Use the right tools. Cheap tools can damage cables.
Don’t overtighten zip ties. Tight ties can wear out cables.
Measure your cables. Too much slack or cables that are too short create clutter.
Don’t overload power strips. Spread out your devices for safety.
Always plan your setup. A plan keeps your cable management neat.
Keep cables away from vents. Good airflow prevents overheating.
Don’t run cables across walkways. This keeps your space safe.
Use compatible cables. This prevents connection problems.
A tidy under desk cable management system gives you a safer, neater, and more efficient workspace. When you use self-adhesive cable clips, wire mounts, and cable trays together, you get the best cable management techniques for any setup. With regular checks and smart labeling, you can keep your cables organized and your workspace free from cable clutter.
You can keep cables neat if you plan first. Use wire mounts and self-adhesive clips to help. A clean workspace helps you focus and feel happier at work.
Check your cables often and handle them gently. This helps your system last longer.
Recommendation | Description |
|---|---|
Schedule Maintenance | Check cables often to keep them safe and working. |
FAQ
How do you remove a self-adhesive cable clip?
Just twist the clip gently and pull it off. If sticky residue stays, use rubbing alcohol to clean the spot.
Can you reuse wire mounts?
Most self-adhesive mounts lose their stickiness after removal. You can reuse screw-in mounts. Always check the mount before reusing.
Where can you buy strong wire mounts?
You can get strong and reliable wire mounts from YNF Rubber. They offer easy-to-use options for tidy cable management.