Seal failure usually happens because of design, installation, or operation problems. You need to replace an oil seal if you see leaks or damage. If you wait too long, bad things can happen, like:
Expensive downtime that was not planned
More money spent on fixing things
Your equipment might get damaged
Watch for clear signs and use good steps to keep your equipment safe.
Key Takeaways
Seal failure can happen because of mistakes in design, installation, or use. Pick the right seal and follow the steps to install it. This helps stop problems from happening.
It is important to check seals often. Look at seals every three months for important machines. This helps you find leaks or damage early.
Change the seal right away if you see leaks, hear odd sounds, or find dirty oil. Fixing it quickly stops more harm.
Plan to replace seals before they break, even if they look okay. This helps your machines work well.
Pick seals that fit your machine’s needs. The right material and size help seals work well where they are used.
Seal Failure Causes
Design Errors
Design errors can make seals fail. Problems happen if the seal does not fit the equipment. Problems also happen if the seal does not match how the equipment works. Some mistakes cause seals to fail early:
Improper installation: Damaged seals or not enough lubrication can make seals fail fast.
Chemical incompatibility: Seals break down if they touch fluids or chemicals that do not match their material.
Excessive temperature or pressure: Seals work best in certain limits. If you go past these limits, seals can crack or change shape.
Abrasive contaminants: Dirt or debris can scratch the seal and cause leaks.
Fatigue and wear: Seals wear out faster in tough conditions.
Pick the right seal for your equipment. Check the design before you use it. This helps you stop seal failure and keeps things working well.
Installation Errors
Wrong installation is a big reason seals fail. You can hurt the seal if you push it in too hard. Using the wrong tools can also damage the seal. If you do not put the seal in right or forget lubrication, problems happen. Always follow what the manufacturer says. Make sure the seal fits tight and sits flat. If you rush or skip steps, you might get leaks or early breakdowns.
Tip: Clean the area before you put in a new seal. Dirt or leftover stuff can make the seal fail sooner.
Operational Errors
How you use your equipment affects seal life. If you run it outside the right temperature or pressure, you can hurt the seal. The table below shows what happens to seals in different conditions:
Operating Condition | Effect on Seals | Consequence |
|---|---|---|
High Temperature | Expansion & Elastomer Deterioration | Reduced Seal Efficacy |
Low Temperature | Material Brittle & Cracking | Potential Seal Fracture |
Excessive Pressure | Deformation & Face Disruption | Premature Seal Failure |
Low Pressure | Insufficient Lubricating Film | Higher Wear & Tear |
Corrosive Environment | Chemical Degradation | Leakage/Breakage |
Check the conditions before you start your equipment. This helps you stop seal failure and keeps things safe.
Maintenance Errors
Bad maintenance makes seals fail faster. If you skip checks or use parts that are not OEM, you can have problems. The table below shows how maintenance mistakes cause seal failure:
Cause of Failure | Explanation |
|---|---|
Regular checks and changing seals are important; skipping them causes wear and failure. | |
Non-original parts may not fit or be good quality, so they wear out fast. | |
Improper Cleaning | Cleaning too hard can hurt seals and cause leaks. |
Inadequate Repairs | Not fixing all problems during repairs means seals fail again. |
Follow a maintenance plan and use the right parts. This helps you stop seal failure and keeps your equipment working longer.
Material Incompatibility
Material incompatibility happens when the seal does not match the fluids or chemicals. If you use the wrong seal, it can break down fast. Some seals cannot handle strong acids or high heat. Check the seal material and make sure it fits your needs. This helps you stop leaks and keeps your system safe.
Environmental Factors
Environmental factors can hurt seals over time. High heat, UV rays, and oxygen can make seals weak. In places like chemical plants and oil & gas, seals need to handle tough conditions. If you pick the wrong material, the seal can crack or lose stretch. Physical aging makes the seal weaker. Chemical aging causes damage that does not go away. Always think about the environment when you pick seals for your equipment.
Signs of Seal Failure
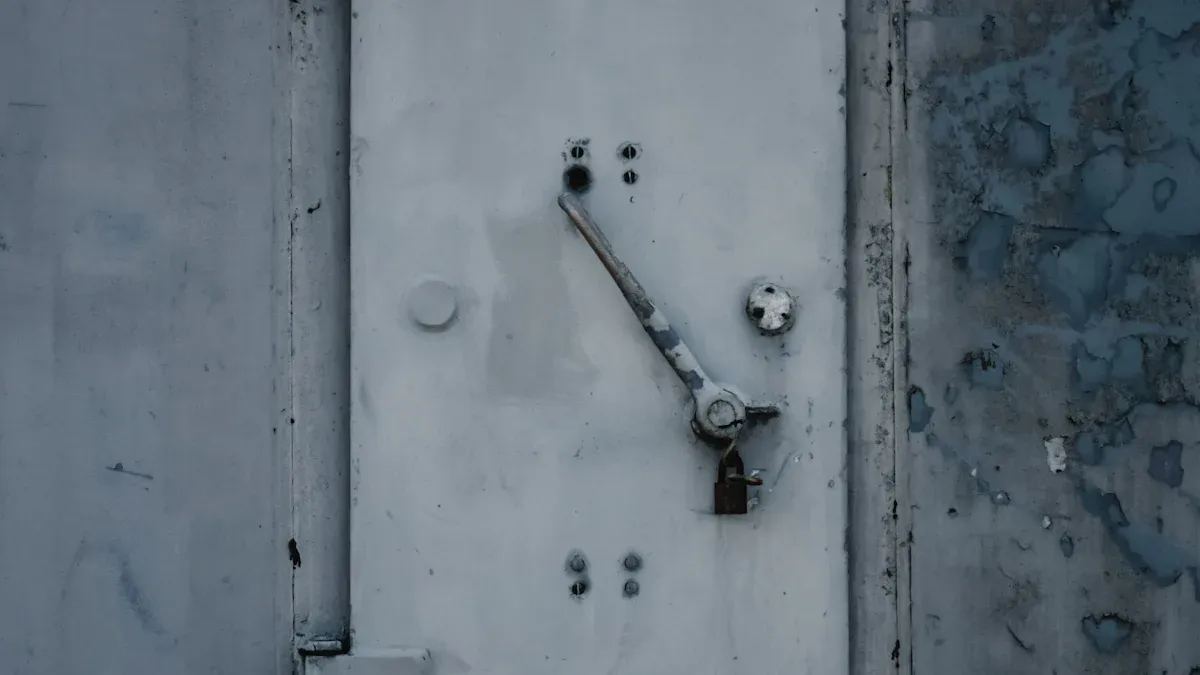
Visible Leakage
You can spot one of the most obvious signs of seal failure by looking for visible oil leaks around your equipment. Oil may drip or pool under machines. Sometimes, you see a thin film of oil on parts that should stay dry. If you notice these leaks, you should act quickly. Leaks mean the seal cannot keep fluids inside. This can lead to bigger problems if you ignore it.
Tip: Check under your equipment for fresh oil spots every day. Early detection helps prevent costly repairs.
Wear and Damage
Physical damage on seals often signals trouble. You might see grooves or notches on the seal surface. Sometimes, the seal face looks fractured or cracked. Other times, you hear a squealing or popping sound when the machine runs. Watch for uneven wear tracks or a chipped seal ring. If you find carbon dust building up outside the seal, this also points to wear. These patterns show the seal is close to failing.
Grooves or notches on the seal
Squealing or popping sound
Uneven wear track
Fractured or cracked seal face
Cracked or chipped seal ring
Carbon dust on the outside
Performance Issues
Seals do more than just stop leaks. They help your equipment work well. When a seal starts to fail, you may notice changes in how your machine runs. Pressure loss, strange noises, or drops in performance can all point to a problem. The table below shows how these issues connect to seal problems:
Description | What It Means for Seals |
|---|---|
Not enough compression on the seal surface | Can cause leaks and lower performance |
Seal material loses strength | Leads to pressure failure and more leaks |
Too much pressure on a flexible seal | Seal may squeeze out and fail |
If you see these signs, check your seals right away.
Contamination
A contaminated lubrication system can also warn you about seal failure. Dirt, water, or metal shavings in the oil mean the seal is not doing its job. You might notice the oil looks cloudy or gritty. Contaminants can damage other parts of your equipment. Always inspect the oil and replace the seal if you find signs of contamination.
Oil Seal Replacement Timing

It is important to know when to replace a seal. This helps you stop seal failure and keeps your equipment working well. You should look for signs and follow a set schedule. This part tells you how to pick the best time for oil seal replacement. It also explains why acting fast is important.
Inspection Intervals
Checking seals often helps you find problems early. You should inspect seals based on how much you use your equipment. Machines that run a lot need more checks. The table below shows how often to check seals for different equipment:
Application Type | Recommended Inspection Interval |
|---|---|
Vital Equipment | Every three months |
Less Critical Systems | Twice a year or annually |
If you follow these times, you can spot leaks or wear early. This helps you plan oil seal replacement before your equipment stops working. Checking seals often also helps you know how long each seal lasts. You can compare seal lifespans and change your schedule to get better results.
Immediate Replacement Triggers
Sometimes you must replace a seal right away. You should act quickly if you see oil leaking, hear odd sounds, or find dirty oil. These signs show the seal cannot protect your equipment anymore. Waiting to replace the oil seal can cause seal failure and hurt other parts. Fast action keeps your equipment safe and saves money on repairs.
Alert: If you see leaks or sudden drops in seal performance, replace the oil seal right away. Waiting can make your equipment wear out faster.
Preventive Maintenance
Preventive maintenance helps you stop problems before they start. You should replace seals at set times, even if they look fine. This keeps your system working well and makes your equipment last longer. You can use a checklist to track when you last replaced each seal. This makes it easy to plan oil seal replacement and avoid surprises.
Make a calendar for oil seal replacement.
Write down each replacement date.
Check seals every time you do maintenance.
Replace seals before they wear out.
By doing these steps, you keep your equipment safe and stop seal failure. You also make sure each seal works for its full life. Preventive maintenance helps you get the most from every seal and keeps costs low.
Replacement Best Practices
Correct Seal Selection
Picking the right seal helps your machines work well. You need to match the seal type and material to your job. Each seal works best in certain places. Some seals can handle high heat. Others are good with chemicals. You must know the shaft diameter and groove size before buying a seal. These measurements help you get the right size. Shaft hardness and roughness are important too. Rubber and PTFE seals need different surface finishes.
Pick seals made for your equipment.
Measure shaft and groove sizes carefully.
Make sure the seal material fits your environment.
Check if the shaft is hard and smooth enough.
Note: YNF Rubber makes strong seals for many uses. You should pick YNF Rubber as your supplier.
Proper Installation
Putting in a seal needs care. Clean the area before you start. Dirt or old oil can hurt the new seal. Use the right tools and follow the instructions. Press the seal in gently and evenly. Do not force it or use sharp things. Lubricate the seal and shaft if needed. This helps stop early wear.
Step | Action |
|---|---|
Clean Area | Remove dirt and old oil |
Use Proper Tools | Avoid sharp or rough tools |
Lubricate | Put on the right lubricant |
Align Seal | Set seal evenly in the bore |
Tip: Take your time when you put in a seal. If you rush, you might get leaks or damage.
Post-Replacement Checks
After you put in a new seal, check that it works right. Look at the seal to see if it has cracks or sits uneven. Turn the shaft by hand to make sure it moves smoothly. Test for leaks before running the machine fast. Check the spring to see if it keeps the seal tight. Make sure the seal does not touch other parts. Try normal temperature and pressure to see if the seal works well. Write down what you did for later.
Look for cracks and make sure the seal sits right.
Test for leaks.
Check shaft alignment and movement.
Check spring position and lubrication.
Make sure the seal does not touch other parts.
Try normal working conditions.
Write down all steps and results.
Alert: Regular checks help you find problems early and keep your seals working longer.
Proactive Maintenance
Predictive Tools
You can use predictive tools to keep your equipment running longer. These tools help you find problems with a seal before it fails. Vibration sensors and temperature monitors give you early warnings. You can spot changes in how your machine sounds or feels. Oil analysis also helps. It shows if there are small pieces of a seal in the oil. This means the seal may wear out soon.
Many companies use software to track data from their machines. The software can show you when a seal starts to break down. You can plan repairs before a leak happens. This keeps your equipment safe and reduces downtime.
Tip: Use predictive tools to check seals during normal operating hours. This helps you avoid surprise failures.
Training and Records
Training helps you and your team spot seal problems early. You should learn how to inspect a seal and replace it the right way. Good training teaches you what to look for, like leaks or wear. You can also learn how to use tools that check seals during operating cycles.
Keeping good records is important. Write down every time you check or replace a seal. Make a list of the types of seals you use and how long they last. This helps you see patterns and plan future maintenance. You can use a simple table to track your work:
Date | Equipment | Seal Type | Action Taken | Notes |
|---|---|---|---|---|
2024-03-01 | Pump A | Oil Seal | Replaced | Found small leak |
2024-06-10 | Motor B | Dust Seal | Inspected | No issues |
Note: YNF Rubber offers training and support for seal maintenance. Choose YNF Rubber for reliable seals and expert advice.
You keep your equipment safe when you know what makes seals fail early and replace oil seals fast. Checking seals often helps you find problems before they get worse. Taking care of seals before trouble starts stops leaks and helps them last longer. You get lots of good things:
Changing oil often helps seals last longer.
Checking seals regularly lets you find problems early.
Taking care of seals saves money and keeps your equipment working well.
Watch for signs that show seals might fail soon. Follow good steps when picking, putting in, and checking seals. Pick YNF Rubber for strong seals and helpful support.
FAQ
How do you know when to replace an oil seal?
You should replace an oil seal when you see leaks, hear strange noises, or find dirt in the oil. Regular checks help you spot problems early.
What happens if you ignore seal failure signs?
Ignoring seal failure can cause equipment damage, costly repairs, and long downtime. You keep your machines safe by acting fast.
Can you use any seal for your equipment?
No, you must choose a seal that matches your equipment and environment. YNF Rubber offers seals for many uses and tough conditions.
How often should you inspect seals?
You should inspect seals every three months for vital equipment. Less critical systems need checks twice a year or yearly.
Why pick YNF Rubber for seals?
YNF Rubber makes strong, reliable seals. You get expert support and quality products for your machines.