You want to change generator engine mounts safely, but you may not know how to begin. Safety is very important. Always use the correct tools and wear safety gear. Watch each step closely. Beginners and DIYers can do this job, but ask an expert if you feel unsure.
Key Takeaways
Always put safety first by wearing safety gear and using the right tools before you start any work on your generator. – Make sure your generator does not move by using wheel chocks and setting the parking brake before you begin replacing anything. – Check the engine mounts for damage every 2,000 hours to keep your generator working well and to stop expensive repairs.
Prepare Tools and Safety Gear
Before you start the process, you need to get your tools and safety gear ready. This step helps you work faster and keeps you safe while working on your generator.
Gather Tools
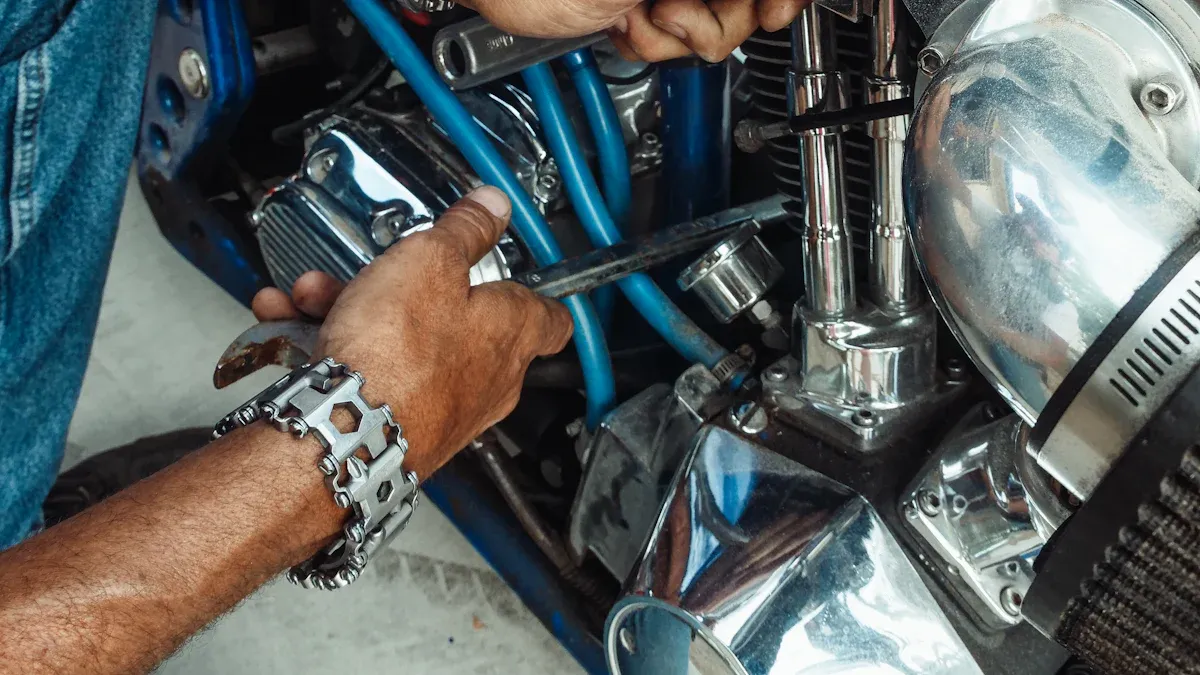
You want to have all your tools close by before you begin. Here’s a handy list to help you get started:
Wrenches (both standard and socket types)
Jack and jack stands
Wheel chocks
Screwdrivers
Pliers
Torque wrench
Having these tools ready will make the job much smoother. You won’t have to stop and search for something in the middle of the process.
Wear Safety Equipment
Safety comes first. You should always wear the right personal protective equipment when working on a generator. Here are some items that safety organizations recommend:
Gloves
Glasses
Shoes with good grip
Earplugs
Hard hats
Respirators
Coveralls
Vests
Tip: Always put on safety glasses before you start. They protect your eyes from dust, metal bits, or anything else that might fly up while you work.
Gloves keep your hands safe from sharp edges. Good shoes help you avoid slips. If you work in a noisy area, earplugs protect your hearing. Wearing the right gear keeps you safe and lets you focus on the job.
Secure the Generator
Before you start working, you need to make sure your generator will not move. This step keeps you safe and helps you avoid accidents.
Chock Wheels
First, grab your wheel chocks. These are small blocks made from strong materials like rubber or polyurethane. Place them firmly against the rear wheels of your generator. Make sure they touch the tires and sit flat on the ground. Here’s why wheel chocks matter:
They stop your generator from rolling or shifting while you work.
Chocks work best when you use them on a solid, level surface.
Good chocks can handle the weight of your generator and stay in place.
Always check your chocks for cracks or damage before using them. Damaged chocks may not work well.
Using wheel chocks every time you do maintenance can help prevent accidents.
Tip: Never skip this step, even if you think the ground is flat. A small movement can cause big problems.
Set Parking Brake
Next, set the parking brake. This adds another layer of safety. The parking brake holds the generator in place and works together with the wheel chocks. Always set the parking brake before you put the chocks in place. This order gives you the best protection.
If your generator has a manual brake lever, pull it up until it locks. For electric brakes, press the button or switch until you hear it engage. Double-check that the brake is set before you move on.
Taking these steps keeps your work area safe and steady. Now you are ready to move to the next part of the job.
Disconnect Power and Remove Obstructions
Before you get to the engine mounts, you need to clear the way. This part of the process keeps you safe and makes your work easier. You want to remove any batteries and battery boxes that block your access.
Disconnect Battery
Start by disconnecting the battery. Always follow the instructions in your generator’s user manual. Put on your safety glasses and gloves before you touch the battery. Here’s a simple way to do it:
Disconnect the ground cable (black wire) first. This step helps prevent short circuits.
Remove the hot cable (red wire) next. Make sure the black cable does not touch any metal.
Stay away from sparks or open flames near the battery.
Keep vent caps tight and place a damp cloth over them for extra safety.
Never drop metal tools near the battery. If battery acid touches your skin, wash it off right away.
Tip: Always wear protective gear when working around batteries. If acid gets in your eyes, rinse with water and get medical help.
Remove Battery Box
After you disconnect the battery, you need to remove the battery box. Follow these steps:
Unlock and lift off the battery box cover.
Unscrew the cover. You may find about eight screws holding it down.
Check for bolts that secure the battery box to the frame brackets. Remove these bolts if needed.
Lift the battery box out of the way.
Now you have a clear path to the engine mounts. You can move on to the next step in the process.
Raise and Support Generator
Use Jack and Stands
You need to lift your generator to reach the engine mounts. Start by choosing a jack that matches the weight of your generator. Heavy duty jack stands work best for this job. They have reinforced steel and high weight capacities, so you can trust them to hold steady. Adjustable jack stands let you set the height you need, which helps when working with different generator sizes.
Follow these steps to raise your generator safely:
Place the jack under a solid part of the frame.
Pump the jack slowly until the generator lifts off the ground.
Slide the jack stands under the frame, close to where you used the jack.
Adjust the stands to the right height. Some basement jack stands can hold up to 185 lbs and reach up to 9 feet.
Lower the generator gently onto the stands.
Tip: Always check the weight rating on your jack stands before you use them. Never use stands that look damaged or rusty.
Ensure Stability
Now you want to make sure your generator stays stable. Give each jack stand a gentle shake to test if it sits firm. The generator should not wobble or tilt. If you see movement, adjust the stands or reposition them. A stable work area keeps you safe and helps you work faster.
If you feel unsure about lifting or supporting your generator, ask for help. Safety matters more than speed.
Inspect Generator Engine Mounts
Locate Mounts
You want to find the generator engine mounts before you do anything else. Look for them near the base of the generator. They sit between the engine and the frame. Most generators have four mounts, one at each corner. You might see metal brackets with rubber pads. These are the motor mounts. Use a flashlight if the area is dark. Move wires or hoses gently to get a clear view. If you have trouble finding them, check your generator’s manual for a diagram.
Tip: Take a picture of the mounts before you start. This helps you remember where everything goes when you put it back together.
Check for Damage
Now, you need to check each mount for signs of wear or damage. Damaged engine mounts can cause noise, vibration, or even engine movement. Here’s what you should look for:
Loss of adhesion between the metal and rubber parts.
Oil, diesel, or other fluids on the mounts.
Excessive corrosion on any metal sections.
Cracks in the rubber.
Visible damage like tears or missing pieces.
Mounts that look squashed or have a very low height.
If you see any of these problems, you should replace the mount. You want to inspect generator engine mounts during every pre-trip check. Also, look at them every 2000 hours of service. Regular checks help you catch problems early and keep your generator running smoothly.
Remove Old Engine Mounts
Loosen Lock Nuts
You need to start by loosening the lock nuts on all motor mounts. Use your wrench to turn each nut just enough so it moves freely. Don’t take them off yet. This step makes the replacement process easier later. If you see rust or dirt, clean the area first. Sometimes, a little spray of lubricant helps. You want to make sure you can lift the engine without fighting stuck nuts.
Tip: Count the number of motor mounts before you begin. Most generators have four, but some models use more.
Lift Engine
Next, check that nothing blocks the engine. Look for hoses, belts, or wires near the motor mounts. Move these parts aside so you don’t damage them. Now, use your jack to lift the engine slowly. Go a little at a time. Watch the motor mounts as you lift. You want enough space to slide them out, but don’t raise the engine too high. If you feel resistance, stop and check for missed obstructions.
Remove Mounts
Once you have space, take off the loosened lock nuts. Pull out each old motor mount by hand. Some may stick, so wiggle them gently. If you see any broken pieces, remove them too. Place the old generator engine mounts in a box for disposal. This step finishes the removal part of your replacement. You’re now ready for the next stage.
Note: Always double-check that you removed every motor mount before moving on with the replacement.
Install New Engine Mounts
Position New Mounts
Now you’re ready to put in the new motor mounts. Make sure you have the right replacements before you start. YNF Rubber offers reliable options for generator engine mounts, so you can trust their quality. Place each new mount in the same spot where you removed the old one. Most new mounts have slightly oval holes. These help you adjust the position for a perfect fit. Slide the mounts into place by hand. Check that the rubber sits flat against the frame and engine. If you see any rust or dirt, clean the area first. This step helps the new motor mounts last longer.
Tip: Take your time lining up the mounts. Rushing can lead to mistakes or misalignment.
Align and Secure
After you position the new motor mounts, you need to make sure everything lines up. Look at the coupling faces and the pilot bushing. They should fit snugly together. If you see any gaps, adjust or shim the mounts until the faces touch evenly. Gaps can cause vibration or noise when you run the generator.
When you’re happy with the alignment, start tightening the bolts and nuts. Use a torque wrench for this step. Here are some things to remember about torque:
Torque specs depend on the size and grade of the bolt.
Some charts show different specs for dry or lubricated bolts.
Most motor mounts do not need special torque values from the manufacturer. General torque charts work well.
Tighten each bolt to the right torque. Double-check your work. Good installation keeps your generator engine mounts working smoothly.
Final Checks and Test
Check Engine Clearance
You want to make sure your engine sits in the right spot after you install the new mounts. This step helps you avoid problems like rubbing or knocking against the firewall. Here are some ways you can check the clearance:
Measure the space between the engine and the firewall before and after you change the mounts. This helps you see if the engine moved.
Use a body lift if you need more space. A body lift can raise the engine and give you extra clearance.
Add spacers to the transmission mount if you need to tilt the engine forward. This can help if the engine sits too close to the firewall.
Tip: Always check for wires or hoses near the firewall. Make sure nothing touches or rubs against the engine.
If you see the engine is too close to the firewall, adjust the mounts or use spacers. You want a small gap so the engine does not hit anything when it runs.
Test Generator
Now you need to test your generator. Lower it off the jack stands and remove the chocks. Reconnect the battery and put the battery box back in place. Start the generator and listen for any strange sounds. Watch for shaking or movement. If you hear knocking or see the engine move too much, turn off the generator and check your work.
Make sure all bolts and nuts are tight.
Look for leaks or loose wires.
Check that the engine stays in place while running.
If everything looks and sounds good, you finished the job! Your generator should now run smoother and quieter with the new engine mounts.
You did each step to stay safe and keep your generator working well. Always check that bolts are tight and spaces are clear before turning it on. If you are not sure about something, ask a professional for help. Doing regular maintenance helps you in many ways:
Stops your generator from breaking down when you do not expect it
Makes sure your generator works when you need power
Helps you save money by stopping big repairs
FAQ
How often should you check generator engine mounts?
Check engine mounts every 2,000 hours or at regular maintenance. Finding problems early keeps your generator working well.
Tip: Write inspection dates in a logbook. This helps you remember when to check again.
Can you use any brand for replacement engine mounts?
Pick YNF Rubber when you need new engine mounts. Their mounts are good quality and fit most generators.
Brand | Recommended? |
|---|---|
YNF Rubber | ✅ Yes |
Others | ❌ No |
What signs show engine mounts need replacing?
Watch for cracks, flat rubber, or loose metal parts. If you hear more noise or feel shaking, change the mounts soon.


